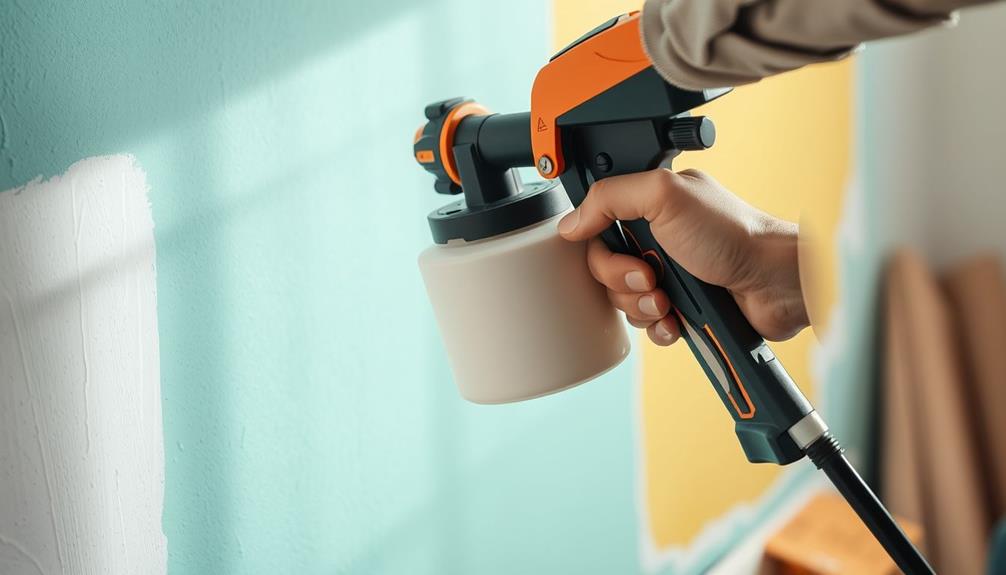
To keep your airless paint sprayer running smoothly, you must regularly replace worn parts. Check spray tips every 15-40 gallons for latex and 35-60 gallons for oil-based paints. Inspect the throat packing wet cup for leaks and make certain filters are clean to prevent clogging. When hoses show kinks or leaks, replace them to maintain pressure. Don't forget about the motor and bearings; any signs of freezing or resistance need immediate attention. Staying on top of these repairs will enhance efficiency and prolong your sprayer's life. There's much more to learn about keeping your sprayer in top shape!
Key Takeaways
- Regularly inspect spray tips and replace them every 15-40 gallons for latex paints and 35-60 gallons for oils/stains to maintain spray quality.
- Check the throat packing wet cup for leaks, tightening or replacing as needed to prevent paint loss and ensure efficiency.
- Examine filters for clogs; clean or replace manifold and gun filters to maintain optimal paint flow and pressure.
- Monitor high-pressure paint hoses for kinks or leaks; replace any damaged hoses to ensure safe and effective operation.
- Inspect the pump inlet strainer regularly for dried paint or debris; clean it to maintain proper functionality and paint flow.
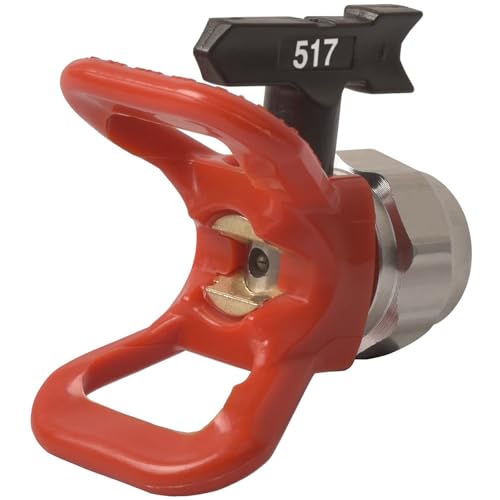
GDHXW 7/8 Guard Combo 517 Airless Spray Tip for Standard Airless Paint Spray Guns
- Nozzle Model: 517 for airless spray guns
- Thread Compatibility: Fits 7/8 threaded spray guns
- Material: High-strength metal and plastic
As an affiliate, we earn on qualifying purchases.
As an affiliate, we earn on qualifying purchases.
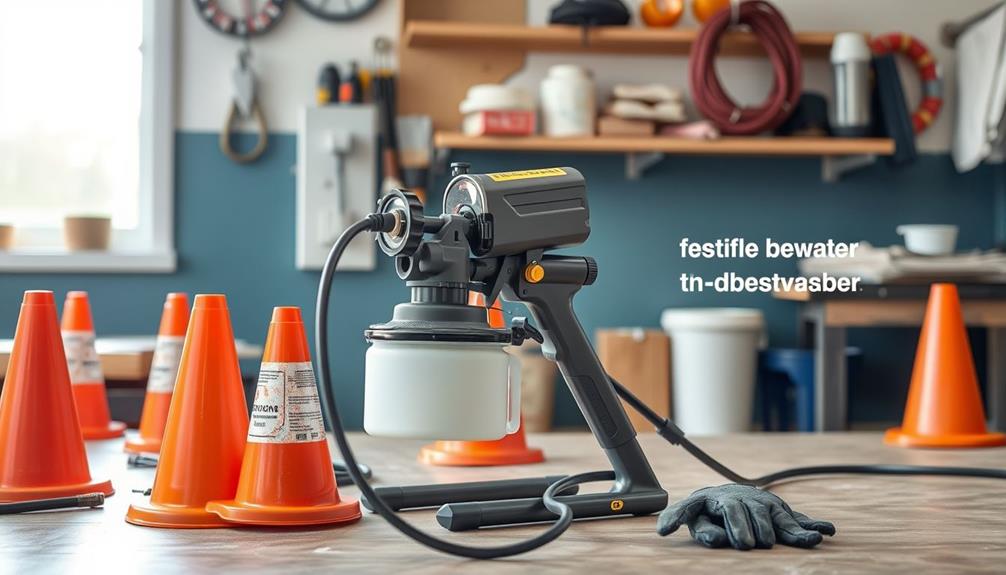
Importance of Regular Maintenance
Regular maintenance is essential for keeping your airless paint sprayer in top shape. By committing to regular maintenance, you can greatly extend the lifespan of your equipment and guarantee that it performs at its best.
Neglecting maintenance can lead to breakdowns and costly repairs that could have easily been avoided. Proper techniques for best use and cleanup are also important in maintaining your sprayer's efficiency.
One of the most important aspects is cleaning your sprayer immediately after use. This practice prevents dried paint buildup, which can severely damage components like the pump rod and valves.
Additionally, inspecting and replacing worn parts, such as spray tips and filters, is necessary as it helps reduce paint usage and minimizes equipment wear, enhancing overall efficiency.
Performing weekly and annual checks, including tightening connections and inspecting hoses, allows you to identify potential issues early, reducing the risk of serious failures.
Utilizing proper cleaning products, like Graco Throat Seal Liquid (TSL), keeps packings wet and prevents leaks, contributing to your sprayer's longevity.
Investing time in regular maintenance not only saves you money in the long run but also guarantees that you achieve the best results in your painting projects.
Cleaning Procedures for Sprayers

Cleaning your airless paint sprayer is vital for keeping it in top shape. Proper maintenance, including effective filtration techniques, can greatly enhance your sprayer's performance.
By following a step-by-step cleaning guide, you can prevent paint buildup that leads to equipment issues.
Let's explore the essential procedures to guarantee your sprayer performs at its best every time.
Importance of Regular Cleaning
Neglecting to clean your airless paint sprayer after each use can lead to serious issues down the line. Regular cleaning is essential to prevent paint residues from hardening and damaging the internal components. If you skip this step, you risk clogs that can hinder performance and lead to costly repairs.
To maintain the longevity of your equipment, it's important to understand the key factors in choosing a home cleaning service as they also apply to maintaining your tools.
Immediately after using your sprayer, flush the system with water or mineral spirits to effectively remove any leftover paint. This simple action minimizes the chances of buildup and guarantees smoother operation for your next project.
Don't forget to thoroughly clean the filters, tips, and valves; these parts are critical for maintaining optimal functionality and performance.
To reduce the need for extensive cleaning later, consider using a tarp to cover the pump during spraying. This helps protect it from external paint splatter and debris.
Finally, always follow the manufacturer's specific cleaning recommendations. This not only assures the best results but also extends the lifespan of your equipment.
Step-by-Step Cleaning Guide
Maintaining your airless paint sprayer through a thorough cleaning process guarantees it operates efficiently and lasts longer. Start right after use by flushing the system with water or mineral spirits to remove paint residues. This helps prevent clogs and keeps your sprayer performing at its best.
Utilizing a budget-friendly vacuum cleaner can also help in keeping your workspace clean and free of paint debris, making the cleanup process easier.
Next, remove and clean the filters, tips, and valves. Rinse them with the appropriate cleaning solution to verify they function properly.
Don't forget to inspect the wet cup for leaks; it should be adequately lubricated with Graco Throat Seal Liquid (TSL) to keep the packings moist.
To minimize future cleaning efforts, cover the pump with a tarp during spraying. This shields it from paint splatter and debris.
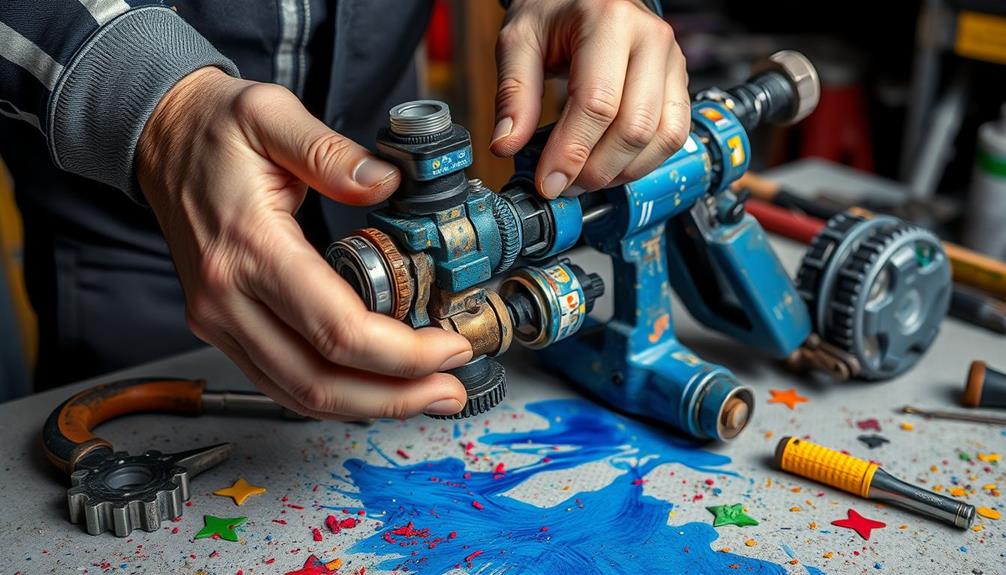
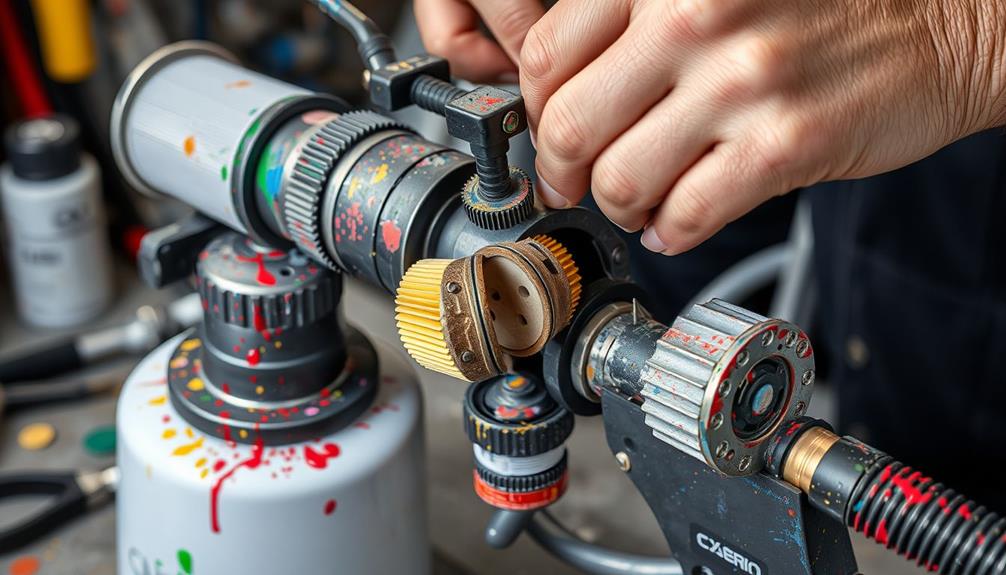
Identifying Worn Parts
How can you confirm your airless paint sprayer operates at peak performance? Start by regularly inspecting the spray tips. A worn-out tip can lead to uneven spray patterns and increased paint usage, so replace it every 15-40 gallons for latex paints and every 35-60 gallons for oils and stains.
Additionally, making sure that your equipment is well-maintained can prevent issues related to clogs, which is similar to the importance of dog health and nutrition for your furry friends.
Next, check the throat packing wet cup for leaks. If it's dry or leaking, you'll need to tighten or replace the packing to prevent paint from leaking during operation.
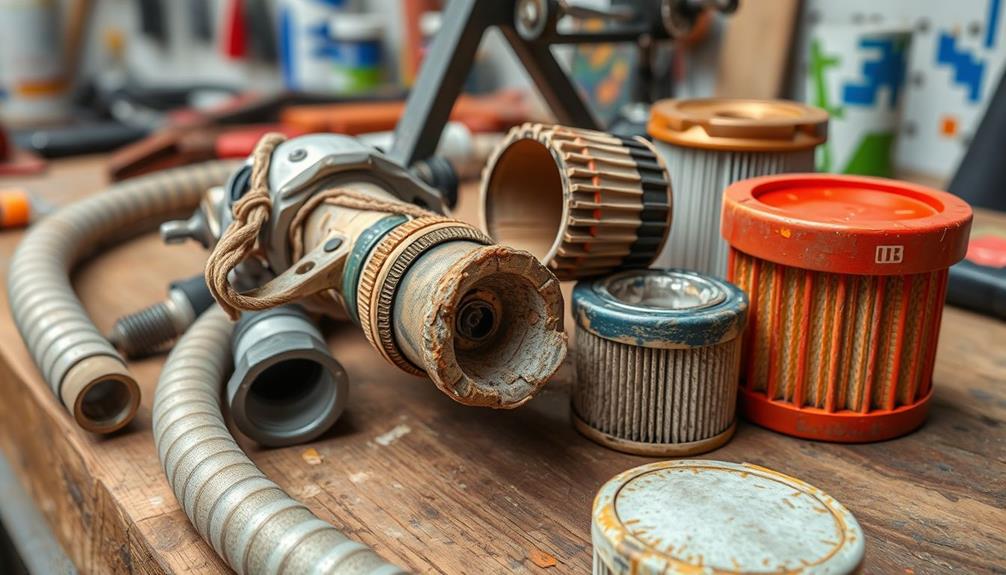
Don't forget to examine the filters, including the manifold filter and gun filter. Clogs or debris can disrupt the flow, so clean or replace them as necessary.
Monitor your high-pressure paint hoses as well. Look for kinks or leaks—any visible damage means it's time for an immediate replacement.
Finally, inspect the pump inlet strainer for dried paint or debris. Cleaning or replacing it's essential to avoid restrictions that can impair your sprayer's functionality.
Replacing Electrical Components

When replacing electrical components in your airless paint sprayer, focus on proper fuse replacement techniques to avoid future issues.
It's also essential to take into account the impact of regular maintenance, similar to how garage door openers require periodic checks for peak performance.
Make sure you inspect the motor and wiring for any damage, as this can affect performance considerably.
Fuse Replacement Techniques
Replacing a blown fuse in your airless paint sprayer is a straightforward process that can save you from costly repairs. Start by making sure you have the correct amperage and voltage rating for your new fuse, typically a glass fuse rated at 10 amps and 250 volts for maximum safety and performance.
Understanding the foundational elements of equipment maintenance is essential, as it aligns with the principles of best practices in software quality assurance.
When you're ready to replace the fuse, consider using fuse replacement techniques that include modifying the fuse holder to an inline fuse holder. This makes future replacements easier, allowing quick access without disassembling the entire unit.
Remember to distinguish between AC and DC fuses; using the wrong type can lead to further electrical issues or equipment damage.
As you replace the fuse, take the time to inspect surrounding electrical components for any signs of wear or damage. This proactive step can help prevent future failures.
After replacing the fuse, conduct tests to verify that the electrical system is functioning correctly before you reassemble the sprayer.
Motor Inspection Guidelines
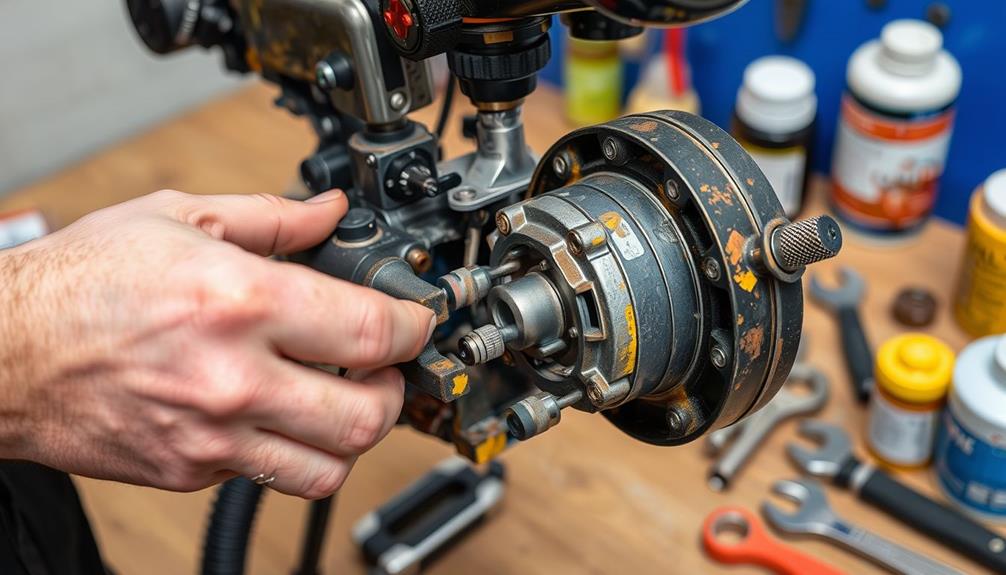
After addressing the fuse replacement, it's important to turn your attention to the motor's condition.
Start your motor inspection by checking for signs of freezing or resistance; these can indicate bearing issues or potential motor failure that needs your attention. Make sure that your airless paint sprayer is properly maintained to enhance its reliability and performance, similar to the importance of home security systems.
Confirm that the fuse used in the motor is the correct type—typically a blown glass fuse rated for 250 volts and 10 amps. If it's not, consider replacing it or making modifications for better accessibility.
Next, verify that the bearing size matches the 6000 series specifications, specifically 26mm outer, 10mm inner, and 8mm wide, to guarantee proper fitment. If you find it necessary to replace bearings, opt for rubber-sealed options like the 6002 RS to enhance longevity and performance.
Also, confirm these bearings are pressed onto the shaft correctly for best operation.
Lastly, don't forget to regularly inspect other electrical components, such as the circuit and switch, during your motor inspection. Identifying any potential issues here can prevent future problems and keep your airless paint sprayer running smoothly.
Maintaining Pump and Motor
To keep your airless paint sprayer running smoothly, regular maintenance of the pump and motor is essential.
Begin by inspecting the motor for any signs of freezing or obstruction. A frozen motor can hinder the pump's performance, so address any issues immediately. It's also important to make certain the surrounding environment is free from airborne pollutants, as poor air quality can affect overall equipment efficiency.
Next, check the pump's bearings; if you notice wear, replace the 6000 series bearings with 6002 RS bearings that have rubber seals.
Don't forget to examine the throat packing wet cup for leaks. Tighten it as necessary to maintain peak pump efficiency and prevent paint loss.
Additionally, verify the pump inlet strainer is clean and free of dried paint or debris. A clogged strainer can disrupt paint flow, leading to poor results, similar to how air purifiers improve indoor air quality.
To further enhance performance, utilize Graco Throat Seal Liquid (TSL) to keep the pump packings moist. This simple step helps prolong the life of your pump, guaranteeing consistent performance over time.
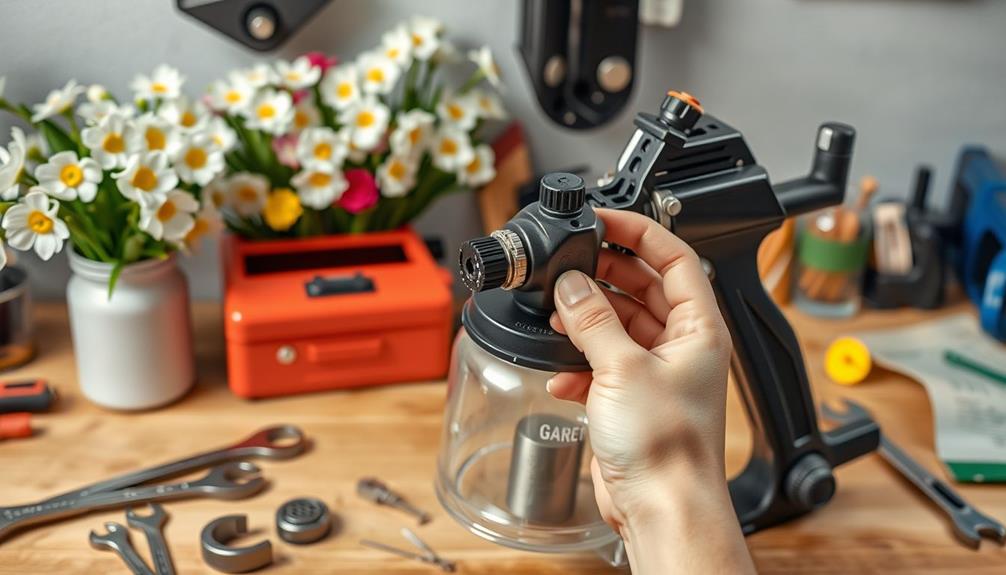
Care for Spray Tips

Proper care for spray tips is essential for maintaining the quality of your paint application. To guarantee optimal performance, you should replace spray tips regularly—every 15-40 gallons for latex paints and every 35-60 gallons for oils and stains. After each use, inspect the spray tips for clogs or wear. Damaged tips can lead to uneven spray patterns and increased overspray, so it's imperative to address any issues immediately.
Additionally, consider the importance of a well-maintained home theater setup for ideal viewing experiences, as attention to detail in one area can inspire the same care in another.
When your sprayer was put away, make certain to clean the spray tips thoroughly. Soak them in a suitable cleaning solution and use a brush to remove any paint residue. This practice not only helps maintain their effectiveness but also extends their lifespan.
Choosing the appropriate spray tip size based on the material being sprayed and the desired finish is essential for achieving the best results.
Component-Specific Maintenance
Maintaining your airless paint sprayer involves more than just caring for the spray tips; it requires attention to various components that guarantee peak performance.
Begin by inspecting the pump rod regularly for signs of wear. A worn pump rod can lead to decreased efficiency, so replace it as needed.
Next, don't forget about the throat packing wet cup. Check it for leaks and tighten it to prevent paint from leaking, which can harm both performance and equipment longevity.
Also, inspect the pump inlet strainer for dried paint or debris. Cleaning or replacing it guarantees proper paint flow and prevents clogs that could disrupt your work.
Make it a habit to clean or replace clogged filters and spray gun elements. This helps maintain ideal pressure and prevents damage due to restricted paint flow.
Finally, verify the drain tube is free from clogs and replace it if it's damaged. This will help avoid paint buildup and keep your sprayer operating efficiently.
Winterizing Your Sprayer

Winterizing your airless paint sprayer is vital to prevent damage from freezing temperatures. Start by cleaning your sprayer thoroughly to eliminate any paint residues. Dried paint can cause serious internal damage, so take the time to guarantee it's spotless.
Once cleaned, use a pump preserver like Graco Pump Armor to safeguard the internal components during storage. This step is significant as it protects against freezing and extends the life of your sprayer.
Avoid using automotive anti-freeze as a preservative; it can lead to costly repairs when spring comes around. If you didn't clean the sprayer properly before winterizing, you'll need to run clean water through the pump to reactivate it in the spring. This action flushes out any potential dried paint that could cause issues.
Neglecting these winterizing procedures can result in severe damage, leading to repairs that might require professional assistance. By taking these steps, you'll guarantee your airless paint sprayer remains in excellent condition, ready for use when the warmer months return.
Spring Reactivation Steps
After safely storing your airless paint sprayer for the winter, it's time to reactivate it for the spring season.
Begin by ensuring the unit is thoroughly cleaned and dried, preventing any internal damage from dried paint residues that could lead to extra wear and tear.
Next, run clean water through the pump for at least five minutes. This flushes out any remaining preservatives and confirms that everything's functioning properly.
It's essential to inspect all filters, including the manifold and gun filters. Look for clogs and clean or replace them as necessary to maintain ideal performance.
Don't forget to check the condition of your spray tips. If they're worn or damaged, replace them; this can markedly impact the quality of your spray pattern.
Frequently Asked Questions
How to Service an Airless Paint Sprayer?
To service an airless paint sprayer, clean it after each use, check filters daily, inspect for leaks, and replace worn spray tips regularly. Don't forget to lubricate the throat packing for peak performance.
How Often Do You Need to Repack a Paint Sprayer?
Repacking a paint sprayer's like changing the oil in your car; it keeps everything running smoothly. You should repack every 3 to 6 months, or sooner if you notice leaks or pressure drops.
Can You Leave Paint in an Airless Sprayer Between Coats?
You shouldn't leave paint in an airless sprayer between coats. It can dry and clog the system. If you need a break, clean the sprayer thoroughly to avoid any potential issues later on.
How to Maintain a Paint Sprayer?
To maintain your paint sprayer, clean it after each use, inspect hoses weekly, check for leaks daily, replace worn parts regularly, and schedule annual professional maintenance. These steps guarantee peak performance and extend your sprayer's lifespan.
Conclusion
Just as a well-tuned engine drives a smooth journey, regular maintenance keeps your airless paint sprayer in top shape. By tending to worn parts and following the seasonal rituals of cleaning and care, you guarantee your sprayer runs like a finely crafted instrument, ready to transform blank surfaces into vibrant canvases. Embrace these practices, and your sprayer will reward you with flawless finishes, turning every project into a masterpiece, brushstroke by brushstroke.