To achieve flawless finishes with an airless paint sprayer, start by practicing on a safe surface, like cardboard. Clean and prep your surface to guarantee paint adheres well. Choose the right tip size and adjust your spray distance, maintaining about 12 inches from the surface. For smooth surfaces, use lower pressure; rough ones require higher pressure. Always move the gun before triggering to avoid streaks. Keep an eye on your technique to prevent drips and uneven application. Each surface has unique needs, and mastering these techniques can lead to stunning results you'll be proud of. There's more to explore!
Key Takeaways
- Properly prepare surfaces by cleaning, filling holes, and sanding for improved paint adhesion before using an airless sprayer.
- Select the right spray tip size and adjust pressure based on the surface texture for optimal paint application.
- Maintain a consistent distance of 12-15 inches from the surface while spraying to minimize overspray and ensure even coverage.
- Use specific techniques for different surfaces, such as moving the spray gun before triggering and releasing it before stopping motion to avoid drips.
- Regular maintenance, like straining paint and using fine mesh filters, enhances sprayer performance and prolongs equipment lifespan.

14 Pieces Airless Paint Sprayer Tips Set, Anglecai 6 Reversible Spray Nozzles, 6 Airless Paint Spray Gun Filters, 2 Nozzle Tip Guards for Guns House Painting
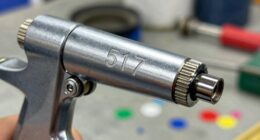
Compatible Size Models: Our airless sprayer nozzles have 6 different models, 211, 315, 417, 515, 517 and 523,…
As an affiliate, we earn on qualifying purchases.
As an affiliate, we earn on qualifying purchases.
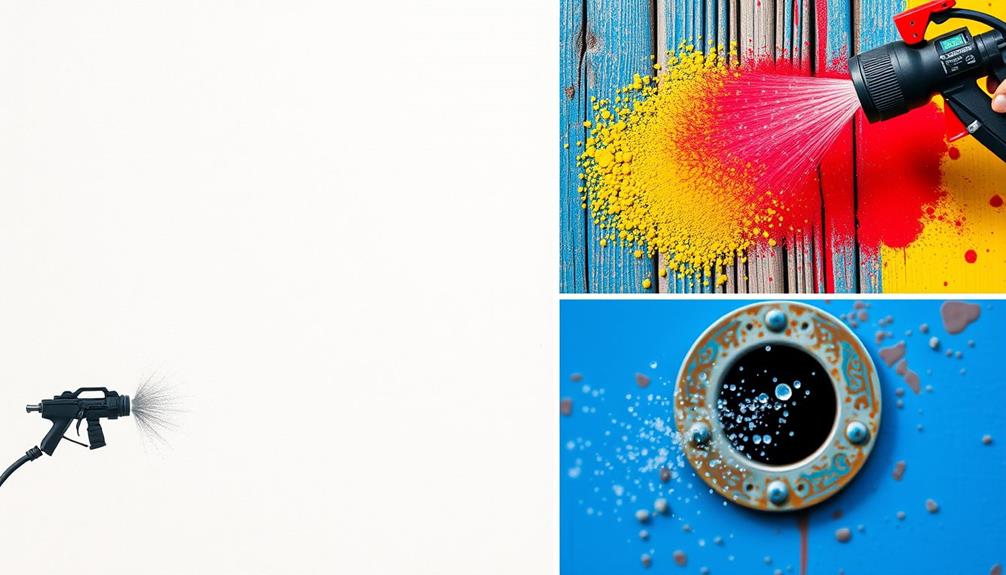
Practice First
Before you immerse yourself in painting, it's vital to practice first. Start by familiarizing yourself with your spray gun, as mastering the airless paint sprayer basics is imperative for the best results.
Using water for practice allows you to get comfortable with the sprayer's operation and settings without the pressure of wasting paint. Choose a safe practice area, like a garage door or a large piece of cardboard, to test your technique without damaging any surfaces.
Always refer to the sprayer's manual for proper startup procedures and verify you understand the equipment thoroughly. Before installing the spray tip, engage the gun trigger safety to prevent any accidental spraying.
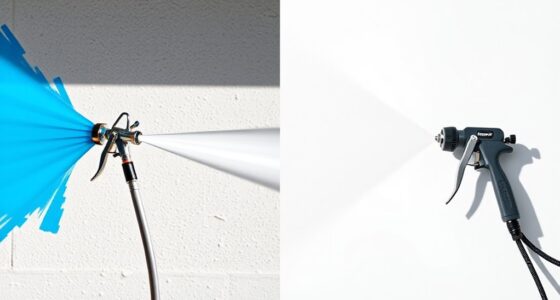
Focus on your practice techniques during this phase, maintaining a consistent distance of about 12 inches from the surface. This distance is vital for achieving an even spray pattern.
As you practice, adjust the pressure setting for the best results. Don't rush the process; take your time to fine-tune your skills.

4 PCS Texture Sprayer Orifice Tip Set, 3 Nozzle Tips 1 Threaded Collar Drywall Wall Painting Sprayer Nozzle Tips Set Drywall Texture Hopper GunOrifice Sets for Air Hopper Spray(3/16",1/4",5/16")
Versatile Nozzle Set: this drywall wall painting sprayer set includes three different nozzle tips (3/16", 1/4", and 5/16")…
As an affiliate, we earn on qualifying purchases.
As an affiliate, we earn on qualifying purchases.
Safety Measures

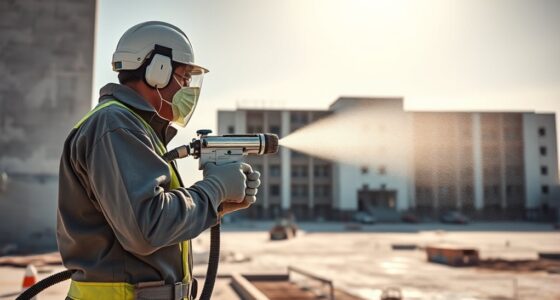
Practicing with your airless paint sprayer is just one part of ensuring a successful project; safety measures are equally important. Always wear a respirator mask to prevent inhaling harmful paint vapors, as home security systems can help you monitor your workspace for safety. Protect your eyes from overspray by donning a pair of safety goggles. These simple steps can make a significant difference in your safety.
Additionally, use gloves and long-sleeved clothing to safeguard your skin from potential irritants found in paint. Non-slip footwear is vital for preventing accidents in your workspace.
It's important to maintain a well-ventilated area while painting; this reduces the risk of inhaling fumes and creates a safer working environment.
Don't forget to follow all legal safety requirements specific to your location. This includes proper labeling of materials and responsible disposal of waste, ensuring you're compliant with regulations.
Finally, take regular breaks during your painting sessions to minimize prolonged exposure to fumes. This practice not only enhances your safety but also helps maintain your focus and efficiency throughout the project.
Prioritizing these safety measures will help you achieve a successful and safe painting experience.

LAUCO Premium Respirator Kit – Reusable Half Face Cover Set with Safety Glasses for Gas, Painting, Machine Polishing, Staining, Car Spraying, Sanding & Cutting, DIY and Other Work Protection
Our Premium Respirator Kit offers unparalleled protection for your face and eyes in a wide range of hazardous…
As an affiliate, we earn on qualifying purchases.
As an affiliate, we earn on qualifying purchases.
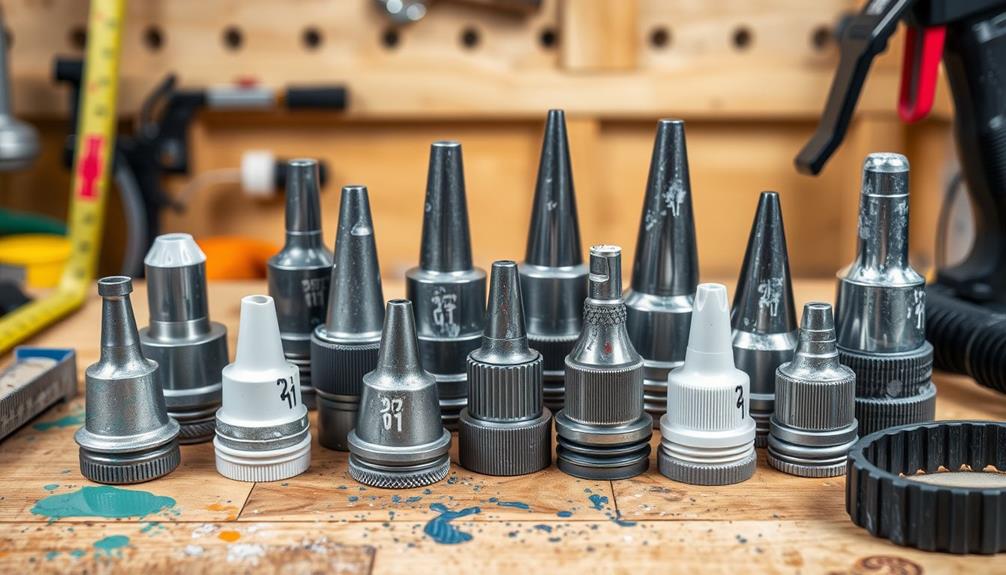
Equipment Selection
When selecting equipment for your airless paint sprayer, it's vital to take into account several key factors to guarantee ideal results.
Start by choosing the right spray tip. The tip size greatly influences your spray results; smaller nozzles work well for detail work, while larger ones are perfect for broader coverage. Additionally, pay attention to the nozzle angle, which can range from 0° for narrow sprays to 80° for wider coverage. This flexibility allows you to adapt based on the surface you're painting. You may also want to think about using an efficient sound system setup, similar to how you'd enhance audio immersion in a home theater setup.
Next, reflect on the bore diameter of the nozzle. A larger bore accommodates thicker materials, ensuring you can use your preferred paint type. For thinner paints, opt for a smaller bore to maintain an even flow.
Selecting the appropriate filter is also essential; coarser filters are recommended for thicker materials to prevent clogging, promoting a consistent spray.
Lastly, if you're working in hard-to-reach areas, using extensions can enhance your efficiency and improve application quality.

TCP Global – 190 Micron Filter Tips Ultra-Fine Paint Strainer (50 Pack) – Pure Blue Nylon Mesh Cone Strainer – Paint Filter Cones for Auto, House & Hobby
Bulk Quantity Strainer Filter Pack: 50 count of "Pure Blue" ultra-flow fine nylon mesh paint filter funnel, each…
As an affiliate, we earn on qualifying purchases.
As an affiliate, we earn on qualifying purchases.
Surface Preparation
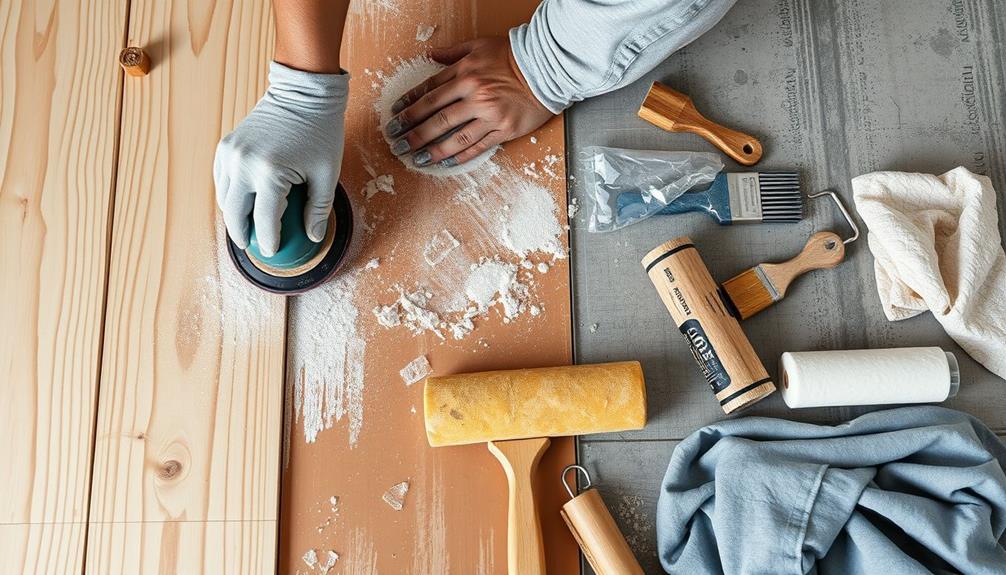
Before you start painting, make certain to clean the surface thoroughly to remove any dirt, grease, or loose materials.
Proper surface preparation is essential for achieving a perfect finish, especially when using tools like the Graco FFLP Fine Finish Low Pressure Reversible Tip, which allows for detailed work without overspray.
Sanding glossy areas and filling in cracks will help the paint stick better, so don't skip this step.
Cleaning Surface Thoroughly
Achieving a flawless finish starts with thorough surface preparation. One vital step in this process is cleaning your surface properly. If you skip this, your paint won't adhere well, leading to imperfections.
Gas appliances, for instance, often require careful handling during cleaning to guarantee no residue obstructs their operation and performance; safety precautions necessary must be taken when working around them.
Here's how to guarantee your surface is ready for painting:
- Remove Dirt and Grease: Use a suitable cleaner to wash away dirt, grease, and any loose materials. This guarantees that the paint has a clean slate for proper adhesion.
- Fill Cracks and Holes: Inspect the surface for cracks or holes and fill them with spackle or filler. Let it dry completely before proceeding to achieve an even surface.
- Dust Removal: After filling, lightly sand the area to smooth it out. Then, vacuum or wipe down the surface to eliminate dust particles that could compromise the quality of your paint application.
Sanding for Adhesion
Sanding is an important part of surface preparation that plays a significant role in guaranteeing your paint adheres properly. When you sand glossy surfaces, you create a rough texture for the new coat to grip, enhancing adhesion and preventing issues like peeling or chipping.
Additionally, using the right oil and maintaining your sprayer can further enhance the finish quality of your project, securing smooth application and longevity of your equipment correct oil selection. Use fine-grit sandpaper, around 180-220 grit, to avoid deep scratches while still promoting ideal adhesion.
After sanding, it's necessary to clean the surface thoroughly to remove any dust and debris. This step is essential because leftover particles can interfere with your paint sprayer's ability to apply an even paint coverage.
For previously painted surfaces, remember to feather the edges of any imperfections during sanding. This technique helps blend the new paint seamlessly with the old, guaranteeing a professional finish.
Always prioritize your safety while sanding by wearing a mask and goggles to protect against inhaling dust and shield your eyes from particles.
Proper surface preparation, including sanding, sets the stage for a successful painting project and guarantees your paint adheres effectively for a lasting result.
Paint Straining Importance
Proper paint straining is essential for a flawless finish and efficient application when using an airless paint sprayer. Straining paint helps remove debris and particles that could clog the spray tip, ensuring a smooth and consistent application.
By taking this simple step, you can prevent the headaches of dealing with clogged spray tips and uneven spray patterns. Additionally, just as a self-cleaning brush roll reduces hair wrap in pet vacuums, straining your paint will enhance your sprayer's efficiency and effectiveness.
Here are three key reasons to prioritize straining paint:
- Improves Spray Pattern: Straining paint eliminates larger particles, leading to a more even spray pattern. You'll notice a significant difference in your results.
- Reduces Downtime: Clogged spray tips caused by unstrained paint can lead to frequent interruptions for cleaning. Straining paint minimizes this, allowing you to work more efficiently.
- Extends Equipment Lifespan: Regularly straining paint reduces wear and tear on your spray tips and equipment, saving you money on repairs and replacements.
For ideal flow and performance, use a fine mesh filter with a size of 100-200 microns. By making paint straining a priority, you'll enhance your airless sprayer's performance and achieve better painting results.
Pressure and Distance Management
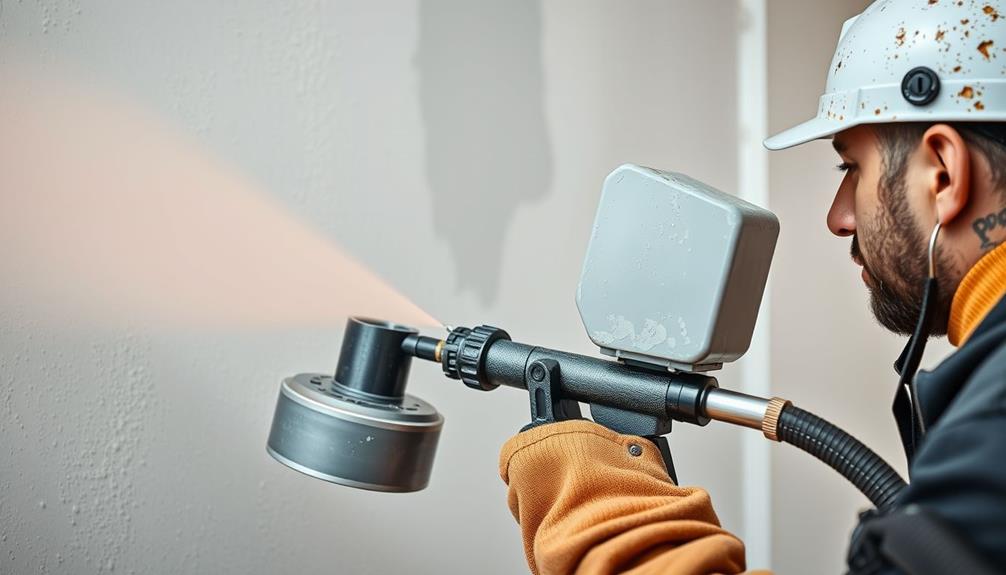
To achieve a flawless finish, you need to manage both pressure and distance effectively.
Start by adjusting the hydraulic pressure based on your paint's viscosity and the surface type, ensuring ideal atomization. Proper maintenance practices, such as leak prevention, can also contribute to a smoother application process.
Then, maintain a consistent distance of 12-15 inches from the surface to avoid runs and achieve an even spray pattern.
Optimal Pressure Adjustments
Achieving the perfect spray pattern hinges on ideal pressure adjustments and maintaining the right distance from the surface.
You'll want to adjust hydraulic pressure based on the viscosity of the paint and the type of surface you're spraying. To enhance your project experience, consider incorporating elements from a Modern Farmhouse Bedroom, as the serene atmosphere can inspire a calm and focused painting environment.
Here are three key tips to help you nail those adjustments:
- Test on Cardboard: Always test the spray on cardboard first. This lets you fine-tune pressure settings for peak atomization and a consistent spray pattern before you tackle the actual surface.
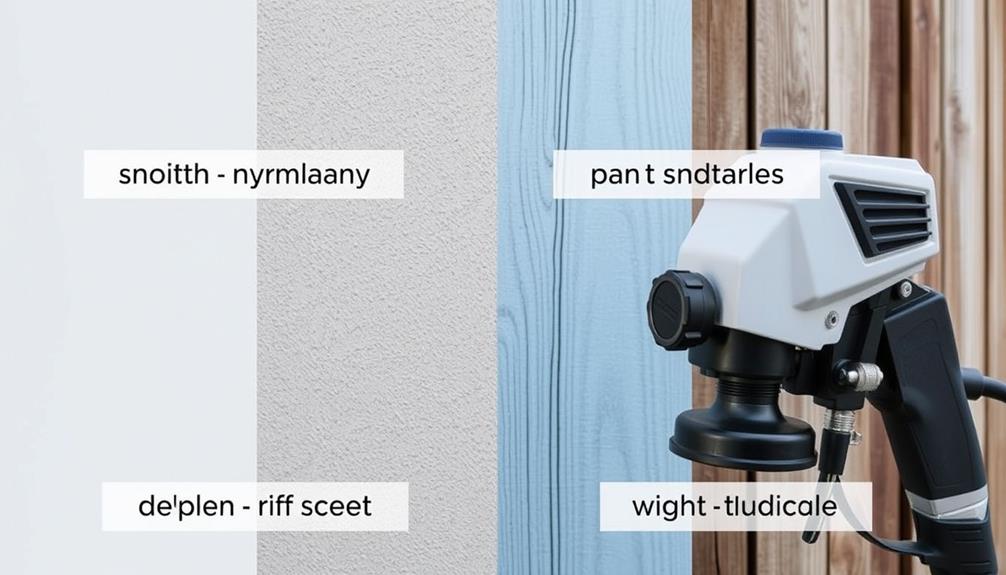
- Consider Surface Texture: Different surfaces require different pressure settings. Smooth surfaces benefit from lower pressure for better control, while rough surfaces usually need higher pressure for even coverage.
- Maintain Ideal Spray Distance: Keep an ideal spray distance of 12-15 inches from the surface. This distance helps prevent paint runs and excessive overspray while ensuring focused spray patterns.
Regularly inspect and adjust the pressure as necessary throughout your project.
This way, you can accommodate changes in surface texture and painting conditions, ensuring the best results with your airless spray gun.
Maintaining Proper Distance
When it comes to airless paint spraying, maintaining the right distance from the surface is vital for a flawless finish. Aim for an ideal distance of 12-15 inches. This helps prevent paint running and excessive overspray, guaranteeing a focused spray pattern. Effective atomization of paint is essential, as it notably impacts coating quality and prevents uneven application.
To achieve the best results, adjust the hydraulic pressure based on the paint's viscosity. Thicker paints often require higher pressure, but remember that maintaining proper distance maximizes coverage without over-application.
Testing your spray patterns on cardboard can help fine-tune your pressure settings and confirm that your distance is appropriate for a consistent spray pattern. Continuous monitoring of your distance during application will guarantee uniform coverage and help you avoid drips or streaks.
Here's a quick reference table for effective distance management:
| Distance (inches) | Effect on Spray Pattern | Recommended Pressure Setting |
|---|---|---|
| 12 | Tight, focused pattern | Medium |
| 15 | Moderate coverage | Low to Medium |
| 18 | Wide, less concentrated | Medium to High |
| 10 | Risk of running paint | High |
| 20 | Potential overspray | Low |
Tips for Spraying Success
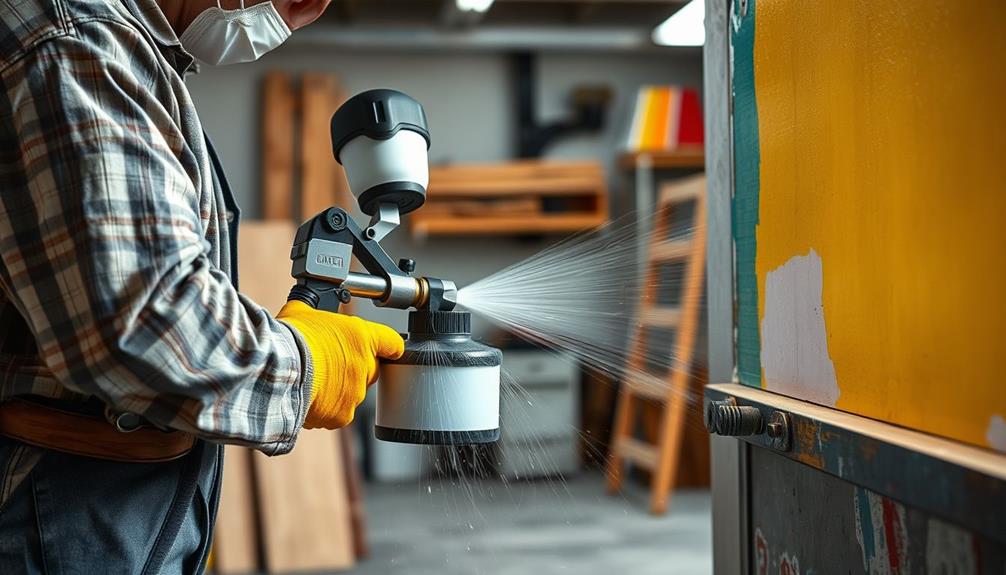
Getting the best results from your airless paint sprayer hinges on a few essential techniques. By following these tips, you'll guarantee an even application and a flawless finish.
Remember, just as with dog training, consistency is key for achieving great results. Utilizing positive reinforcement methods can help in various endeavors, including mastering your painting technique.
- Maintain Proper Distance: Keep your spray gun approximately 12 inches from the surface. This distance helps achieve an even application while preventing overspray.
- Angle the Tip: Always keep the spray gun perpendicular to the surface. This positioning allows for uniform coverage and avoids uneven paint distribution.
- Trigger in Motion: Only trigger the gun while in motion. This practice minimizes excess material and prevents drips or runs that can ruin your finish.
Additionally, remember to overlap each pass by about 50% for complete coverage and a streak-free look.
Start with corners and edges, aiming the spray gun into these areas first to achieve even application before tackling larger surfaces.
Technique Optimization

To maximize the effectiveness of your airless paint sprayer, refining your technique plays a pivotal role. Start by always moving the spray gun before you trigger the gun. This practice helps prevent streaks and guarantees an even application from the outset. When you're done with a stroke, make sure to release the trigger before stopping movement; this avoids drips and maintains a clean edge.
Another key aspect is to hold the gun at a 90-degree angle to the surface. This ensures uniform paint distribution and enhances the quality of your finish. Consistently maintain a distance of 10 to 25 cm (approximately 4 to 10 inches) from the surface for even coverage and to prevent overspray.
Here's a quick reference to optimize your technique:
| Technique | Benefits |
|---|---|
| Start moving first | Prevents streaks |
| Release trigger last | Avoids drips |
| Maintain angle | Guarantees uniform paint distribution |
Practicing these techniques will greatly improve your overall finish quality, resulting in a professional-looking outcome with minimal rework.
Common Mistakes to Avoid
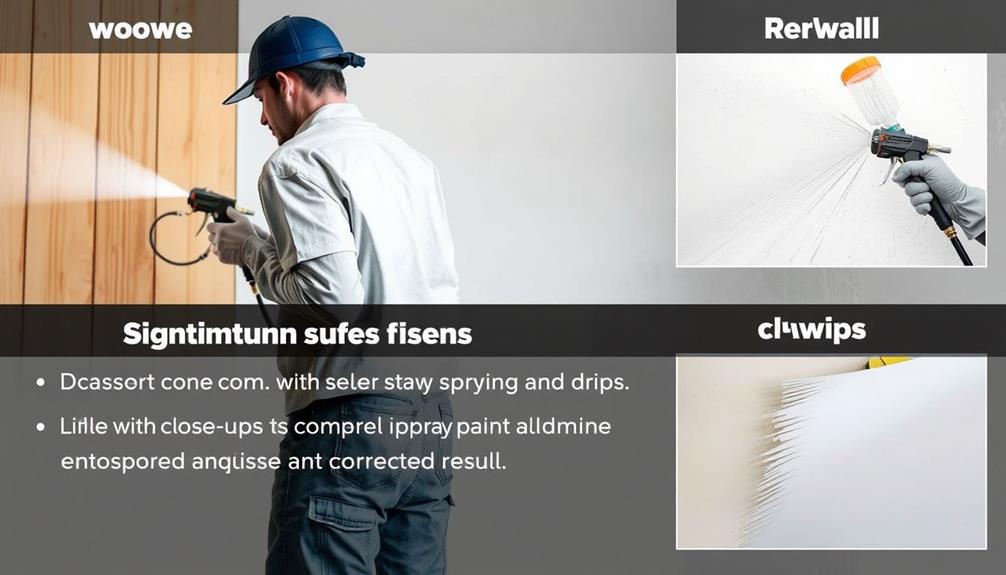
Even seasoned painters can fall into common pitfalls with airless paint sprayers that hinder their results. To achieve a flawless finish, it's vital to avoid these mistakes:
1. Cranking Up the Pressure: High pressure can lead to excessive overspray and an uneven finish. It wastes paint and time, so keep the pressure at a manageable level.
Additionally, understanding the recommended pressure settings for different surfaces is essential for peak results, as it directly affects the quality of the application.
2. Inconsistent Triggering: Make sure to trigger the spray gun adequately while moving. Failing to do so can create visible inconsistencies in the paint application, resulting in a lack of uniformity.
Utilizing techniques similar to those used in home cleaning services can help guarantee a smooth and consistent application.
3. Overlapping Too Much: When you overlap without releasing the trigger, you risk uneven thickness. This not only affects appearance but also the durability of the finish.
Remember to respect drying times between coats to prevent peeling or bubbling, and adjust your spray techniques based on surface types—whether textured or glossy.
Neglecting these aspects can lead to poor adhesion and coverage issues. By steering clear of these common mistakes, you'll enhance your painting results considerably.
Related Products and Resources

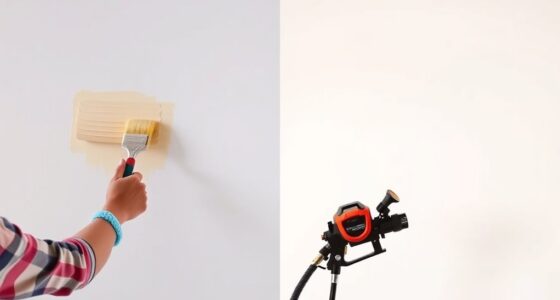
Choosing the right airless paint sprayer can greatly impact your project's outcome. Whether you're a DIY enthusiast or a professional contractor, selecting the appropriate sprayer and accessories will enhance your painting efficiency and finish quality.
Here's a quick comparison of different airless paint sprayer series:
| Series | Best For | Key Features |
|---|---|---|
| Project Series | DIY Projects | Easy to use, versatile |
| Pro Series | Professional Use | High performance, durable |
| DIY Series | Home Enthusiasts | Affordable, functional |
| Accessories | Custom Applications | Spray tips, nozzle extensions |
| Support | Optimization Help | 24/7 help line, detailed manuals |
With options like spray tips and nozzle extensions, you can customize your airless sprayer to meet your unique needs. Don't forget to take advantage of the support resources available, including the 24/7 help line at 888-541-9788. These tools and resources guarantee you can achieve the best results with your airless sprayer, whether you're working on walls, fences, or furniture. Invest in the right gun and tips, and watch your projects transform!
Frequently Asked Questions
What Is the Number One Rule When Using Airless Spray Guns?
When using airless spray guns, the number one rule's to maintain a consistent distance of about 12 inches from the surface. This helps guarantee even coverage and reduces the risk of overspray, improving your results.
What Do Different Paint Sprayer Tips Do?
"Don't judge a book by its cover." Different paint sprayer tips control the spray pattern and flow, impacting coverage. Choose wisely based on surface type and paint viscosity for ideal results and minimal overspray.
How Do You Adjust the Spray Pattern on an Airless Sprayer?
To adjust the spray pattern on your airless sprayer, change the tip size, set the pressure control, and test on cardboard. Hold the gun perpendicular to the surface for an even, controlled spray.
How Much Overlap Is Necessary When Spraying Flat Surfaces?
So, you think spraying flat surfaces is like painting a masterpiece? Think again! You'll want to overlap each pass by about 50% to avoid streaks and achieve that flawless finish you're dreaming of.
Conclusion
So, armed with your newfound mastery of airless paint sprayer techniques, you're ready to transform surfaces like a modern-day Picasso—minus the beret. Just remember, perfection takes practice, so don't despair if your first attempt looks more like a Jackson Pollock than a smooth finish. With safety gear and a bit of finesse, you'll be the envy of DIY enthusiasts everywhere. After all, who doesn't want to turn their walls into a canvas of chaos—err, creativity? Happy spraying!