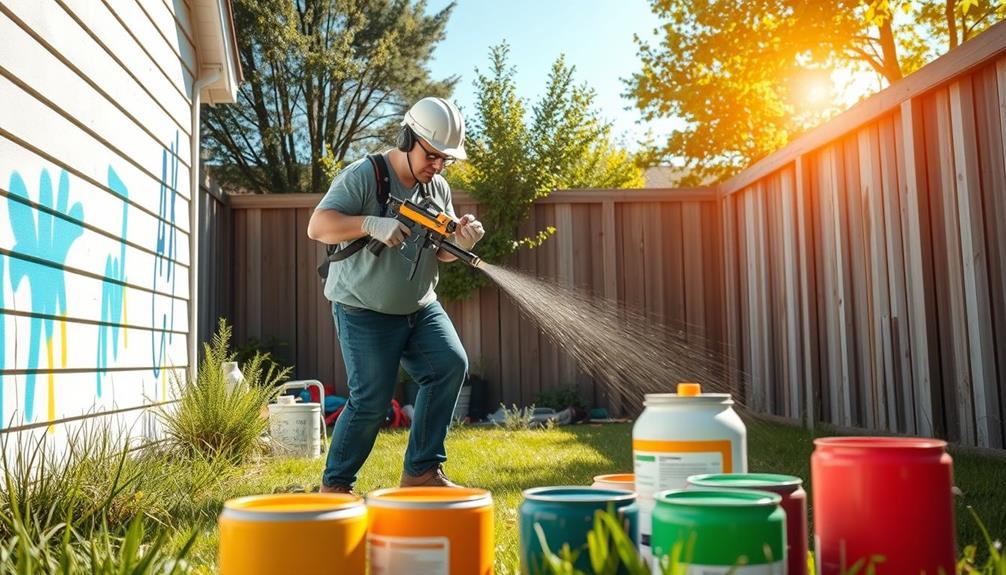
Using an airless paint sprayer can elevate your painting game, but you'll need some key tips to get started. First, always wear protective gear like a mask and goggles. Choose the right nozzle for your paint type; smaller ones for thinner paints and larger for heavier ones. Test your spray pattern on cardboard, adjusting pressure for an even coat. Maintain a consistent distance of 10-12 inches from the surface and overlap strokes by 30% for uniform coverage. Remember to clean your sprayer immediately after use to keep it in top shape. Keep going, and you'll uncover even more useful insights!
Key Takeaways
- Always wear appropriate personal protective equipment, including a respiratory mask and safety goggles, to ensure safety during painting.
- Choose the correct nozzle size for your paint type to achieve optimal spray patterns and finish quality.
- Prepare surfaces thoroughly by cleaning and sanding to enhance paint adhesion and finish durability.
- Maintain a consistent distance of 10-12 inches from the surface while spraying to prevent streaks and achieve even coverage.
- Test the spray pattern on cardboard before starting to ensure proper pressure settings and avoid uneven application.
Essential Safety Measures
When it comes to using an airless paint sprayer, prioritizing safety is vital. You need to protect yourself from the harmful effects of paint fumes and overspray. Start by wearing a respiratory mask to filter out hazardous particles and reduce inhalation risks.
It's also beneficial to use an ozone air purifier in your workspace, as it can help eliminate harmful pollutants from the air. Don't forget your safety goggles—these will shield your eyes from any accidental splashes or overspray.
It's also important to wear long-sleeved clothing and closed-toe shoes. This attire provides an extra layer of protection against paint splatters and spills that could stain or irritate your skin.
Additionally, make sure your workspace is well-ventilated. Proper airflow not only helps improve air quality but also minimizes the risks associated with inhaling fumes while you work.
Regularly take breaks during your painting project to avoid prolonged exposure to any harmful substances. This practice helps you stay focused on safety precautions and guarantees you don't become overwhelmed.
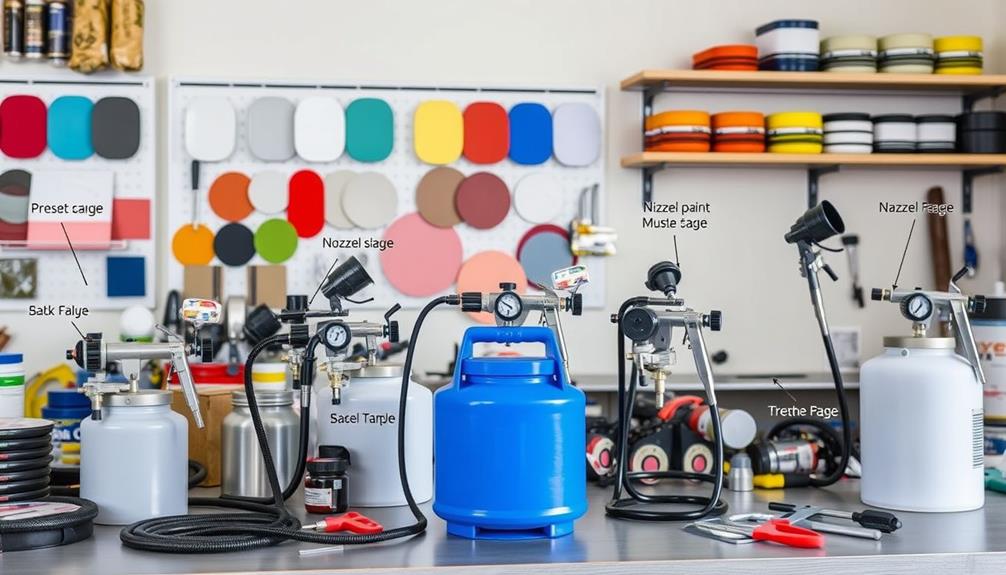
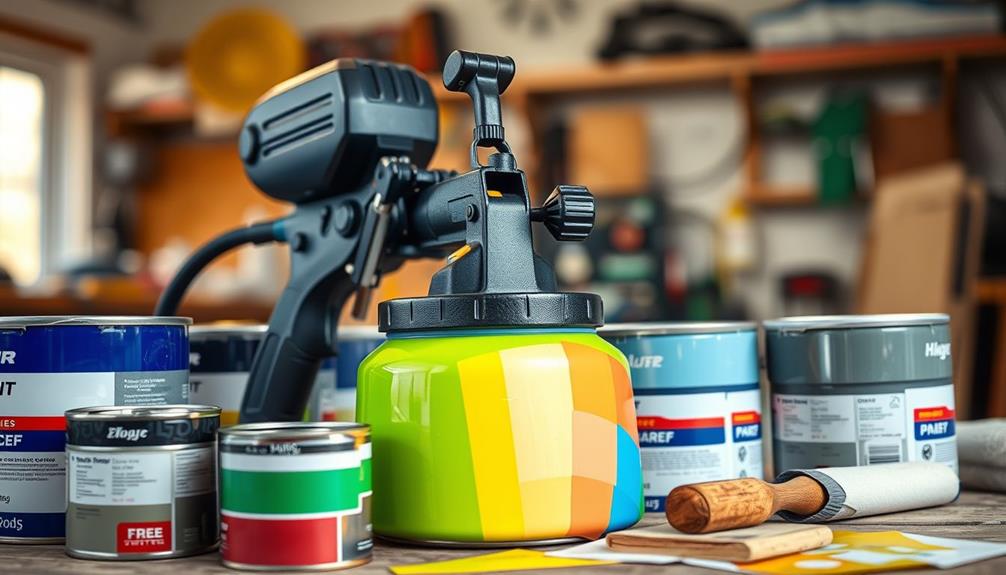
Choosing the Right Equipment
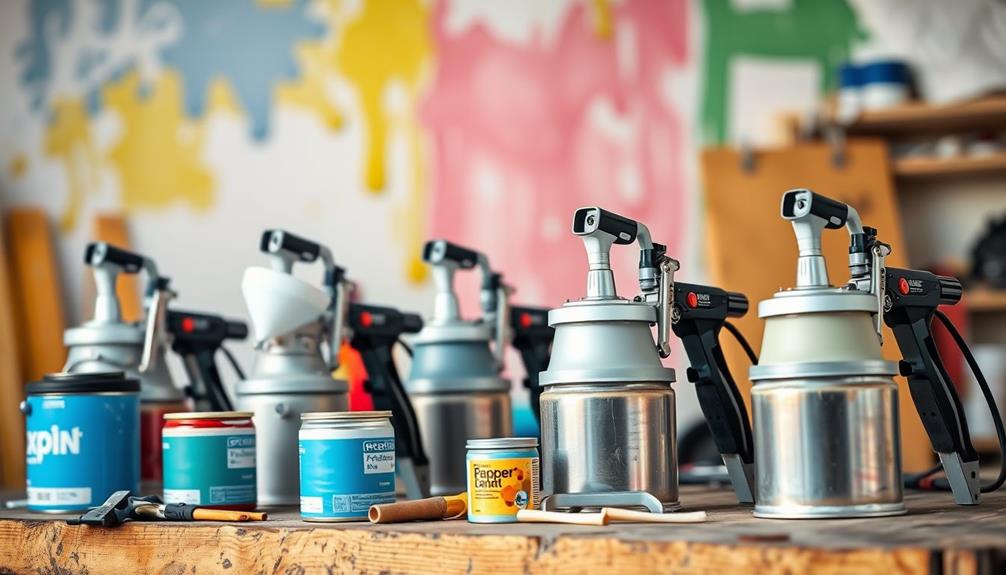
When choosing the right equipment for your airless paint sprayer, start by focusing on nozzle size selection, as it directly affects your spray pattern and fluid output.
For instance, using the appropriate Graco FFLP Fine Finish Low Pressure Reversible Tip can greatly enhance your control and finish quality.
Next, adjust your pressure settings to match the project requirements for a smooth finish.
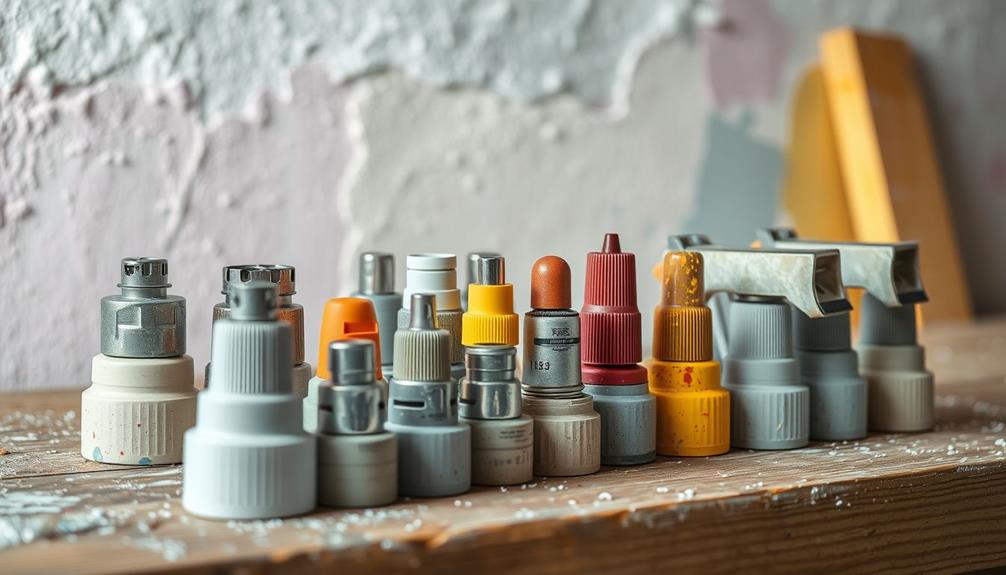
Nozzle Size Selection
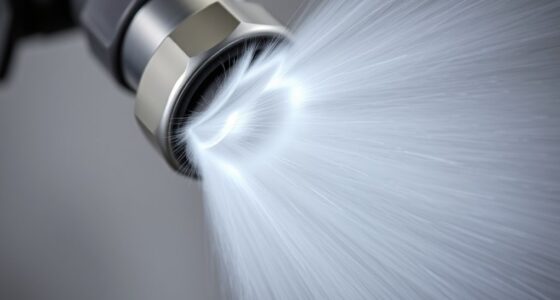
Selecting the right nozzle size is vital for achieving the best results with your airless paint sprayer. The nozzle size greatly influences the spray pattern and coating thickness, so knowing which size to use makes a big difference. For lighter coatings, opt for a .009 to .013 orifice size, while heavy latex paints require a .021 to .025 size.
You can identify nozzle sizes using a three-digit code; the first number, multiplied by two, indicates the fan width at 12 inches from the surface. This helps you choose the right spread for your project. A narrower nozzle orifice provides a finer spray, perfect for detailed work, while a wider orifice allows for quicker coverage of larger areas.
Regularly inspect and replace worn nozzles to avoid overspray and wasted materials. Matching the nozzle size with the specific paint or coating type is vital, as manufacturers often provide recommendations for tip sizes based on material viscosity.
| Orifice Size | Best For |
|---|---|
| .009 – .013 | Light coatings |
| .021 – .025 | Heavy latex paints |
| .015 – .019 | Medium viscosity paints |
| .017 – .021 | General purpose coverage |
Pressure Setting Adjustment
Achieving the perfect finish with your airless paint sprayer hinges on proper pressure setting adjustments. Getting the pressure right is essential for optimizing your spray pattern, ensuring smooth application while minimizing overspray.
Flushing issues can similarly arise from improper settings, leading to uneven application results. Here are some key tips to help you master pressure settings:
- Start with low pressure and gradually increase it for a full, even spray pattern.
- Test your spray pattern on cardboard to identify the best pressure setting before applying to your surface.
- Remember, thicker materials often need higher pressure for proper flow and coverage.
- Maintaining appropriate pressure settings prolongs your sprayer's lifespan by reducing wear and tear.
Adjusting the pressure control knob allows you to fine-tune the airless spraying experience, enhancing the application quality.
If you notice runs or tails in your spray pattern, it's a sign to dial back the pressure. Regular practice with adjustments not only improves your skills but also leads to stunning finishes on your projects.
Filter Compatibility Guidelines
Choosing the right filter for your airless paint sprayer can make all the difference in the quality of your finish. Filter compatibility is vital, as the mesh size directly impacts your sprayer's performance. For thicker materials, opt for coarser filters, like a 60 mesh, to prevent clogging. On the other hand, if you're working with thinner paints, a finer filter, such as a 100 mesh, will be your best bet for peak performance.
Airless paint sprayers require specific techniques for peak use, and selecting the appropriate filter is one of the most important steps.
Regularly inspecting and replacing your filters is fundamental to maintain a consistent paint flow and a high-quality finish. A clogged filter can lead to uneven application and may even damage your sprayer. By choosing the appropriate mesh size for the viscosity of the material, you not only enhance the sprayer's efficiency but also reduce the risk of overspray.
Always keep your project materials in mind when selecting a filter. Matching the filter to your paint's characteristics guarantees that you're set up for success. With the right filter, you'll achieve a smoother, more professional-looking finish every time.
Surface Preparation Techniques
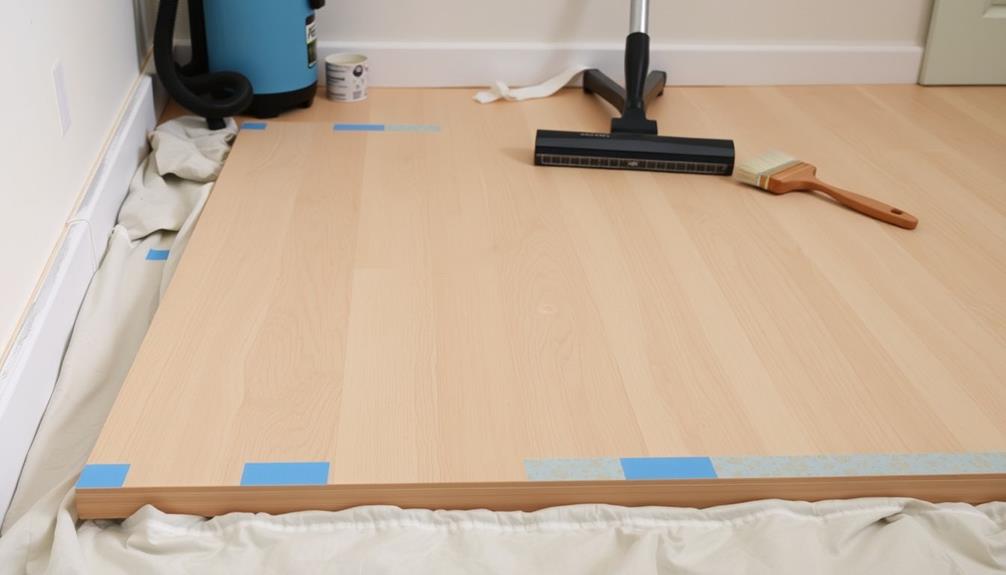
When it comes to painting, proper surface preparation is essential to achieving a flawless finish. To get started, make certain your surfaces are clean. Use a multi-purpose cleaner and rags to remove dirt, grease, and any old paint residues. This guarantees ideal paint adhesion, which is vital for a long-lasting result.
Additionally, making certain your workspace is organized can help streamline the process, similar to how key factors in choosing a home cleaning service can impact the quality of your cleaning experience.
Here are some fundamental tips for effective surface preparation:
- Sand surfaces: Especially important for new wood, sanding smooths raised grain and enhances paint application.
- Remove hardware: Knobs and handles should be taken off to avoid getting paint on unwanted areas and to achieve a cleaner finish.
- Protect surrounding areas: Use plastic drop cloths to shield floors and furniture from overspray and paint splatters.
- Elevate pieces: Consider using furniture feet or sawhorses for easier access, allowing for a more controlled spray application.
Effective Application Strategies

When using an airless paint sprayer, mastering the overlap technique is essential for achieving a smooth finish without visible lines.
Additionally, understanding the importance of breathtaking destinations can inspire creativity in your project.
Don't forget to take advantage of nozzle extensions; they'll help you reach tricky spots more easily while maintaining consistent coverage.
Nozzle Extension Benefits
Using a nozzle extension can greatly enhance your paint spraying experience, especially in those hard-to-reach areas.
You'll find that nozzle extensions allow you to spray with better control, precision, and comfort. Additionally, using a headphone amplifier can improve your overall audio experience while you work, making it more enjoyable.
Here are some key benefits:
- Increased Reach: Easily access tight corners and high spots without straining or constantly repositioning your sprayer.
- Reduced Fatigue: Maintain a more comfortable spraying position during long projects, making the process less tiring.
- Better Control Over Spray Patterns: Achieve more precise application in tricky spots, ensuring you don't miss any areas.
- Consistent Distance: Maintain the right distance from the surface, essential for achieving even coverage and minimizing overspray.
When using nozzle extensions, remember to adjust your spray angle for ideal coverage.
This helps you avoid uneven finishes while maximizing the effectiveness of your paint application.
By incorporating these strategies, you'll find that using a nozzle extension not only improves your workflow but also elevates the quality of your finish.
Enjoy your painting project with these simple yet effective tools!
Overlap Technique Importance
Achieving a flawless paint finish often hinges on mastering the overlap technique. By overlapping each stroke by about 30%, you guarantee even coverage and eliminate streaks. Maintaining a consistent distance of 10 to 12 inches from the surface while overlapping promotes uniformity and reduces drip risks.
Here's a quick reference table to help you with the overlap technique:
| Technique Aspect | Recommended Practice | Benefits |
|---|---|---|
| Overlapping | 30% overlap per stroke | Even coverage, no streaks |
| Consistent Distance | 10-12 inches from surface | Maintains uniformity |
| Spray Pattern Control | Start off the edge | Smooth shifts |
When you start your spray pattern off the edge and move across, you gain more control and guarantee a smoother overlap. Consistent speed during spraying is vital; varying your pace can create uneven application and visible lines. Always aim to overlap the spray pattern in the same direction to maintain a consistent finish and minimize inconsistencies. By focusing on these strategies, you'll elevate your painting results considerably.
Technique Optimization Tips

Mastering technique is vital for achieving a flawless finish with your airless paint sprayer. Here are some key improvement tips to enhance your spraying:
- Start moving the spray gun before you trigger it to avoid streaks. Regular practice can also help you develop a steady hand, which is essential for consistent results. Consider using unique Akita names for exotic breeds to inspire creativity in your painting projects.
- Release the trigger before stopping the movement to prevent drips.
- Keep the spray gun at a 90° angle to guarantee even coverage.
- Maintain a consistent distance of 10 to 12 inches from the surface for ideal results.
By practicing these spraying techniques, you'll minimize overspray and enhance the overall quality of your finish.
Always remember that overlapping your strokes by about 30% can greatly reduce imperfections and create a smooth application. The correct tip size is also essential; the right one will help you achieve the desired coverage and finish.
With these strategies, you'll build confidence and skill in using your airless paint sprayer, leading to professional-looking results.
Keep practicing, and soon you'll be able to tackle any project with ease!
Common Beginner Mistakes
Avoiding common beginner mistakes can make a significant difference in your painting projects. One frequent error is failing to test the spray pattern on cardboard before you start. This can lead to uneven coverage and wasted paint. Proper surface preparation is essential too—cleaning and sanding the surface guarantees better paint adhesion and finish quality.
Another mistake new users make is mismanaging pressure settings. Setting the pressure too high or too low can result in poor atomization or excessive overspray. Always test ideal pressure settings based on your material and conditions. Maintaining a consistent distance from the surface is critical as well—ideally, you should keep 10 to 12 inches away to avoid streaks.
Lastly, don't forget to overlap each spray pass by about 50%. This simple spray tip helps you avoid missed spots and creates a uniform finish.
| Common Mistakes | Consequences | Solutions |
|---|---|---|
| Not testing spray pattern | Uneven coverage | Always test on cardboard |
| Poor surface preparation | Bad adhesion, finish quality | Clean and sand surfaces |
| Incorrect pressure settings | Poor atomization, overspray | Test pressure based on materials |
| Inconsistent distance | Streaks, uneven coats | Maintain 10-12 inches distance |
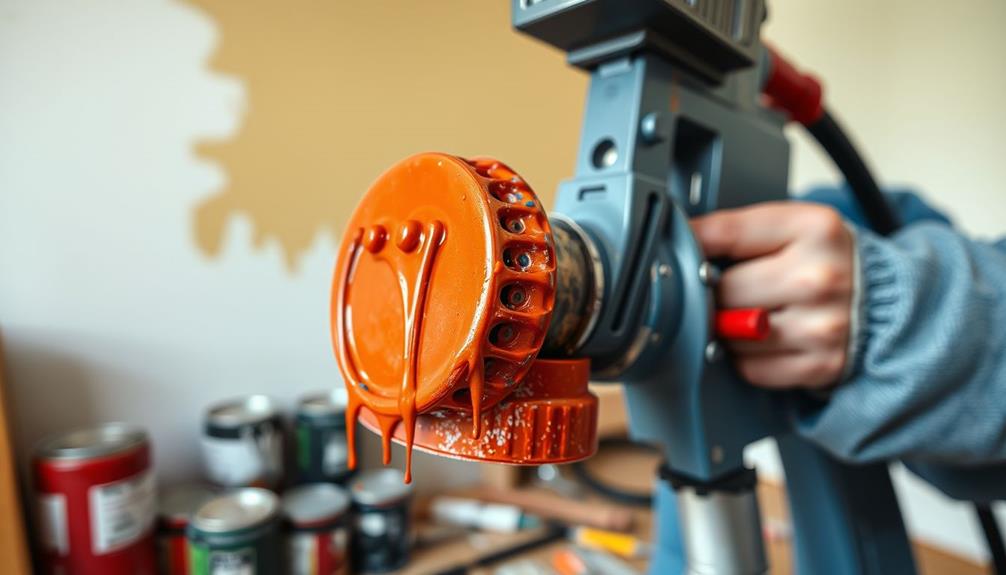
Understanding Spray Tips
Understanding spray tips is vital for achieving the best results in your painting projects. The right spray tip can make all the difference in fluid output and coating thickness. Additionally, just as essential oils are chosen for their specific benefits in aromatherapy techniques, selecting the appropriate spray tip for your painting material is important for ideal results.
Here are some key points to keep in mind:
- Spray tips have a three-digit code that indicates fan width and orifice size.
- The first number, when multiplied by two, reveals the fan width at 12 inches from the surface.
- The last two digits show the orifice size in thousandths of an inch.
- Worn tips can lead to overspray and wasted materials.
For example, a 515 spray tip provides a 10-inch fan width and a 15-thousandths orifice size. Using the wrong tip size can impact your project; light coatings need tips sized .009 – .013, while heavy latex requires .021 – .025.
Remember, using a worn tip can increase orifice size and decrease fan width, costing you considerably in wasted materials. To maintain performance, consider advanced options like Reverse-A-Clean (RAC) tips, which allow for easy clog clearing.
Selecting the right spray tip based on your material will help guarantee a smooth and efficient painting experience.
Paint Consistency and Quantity
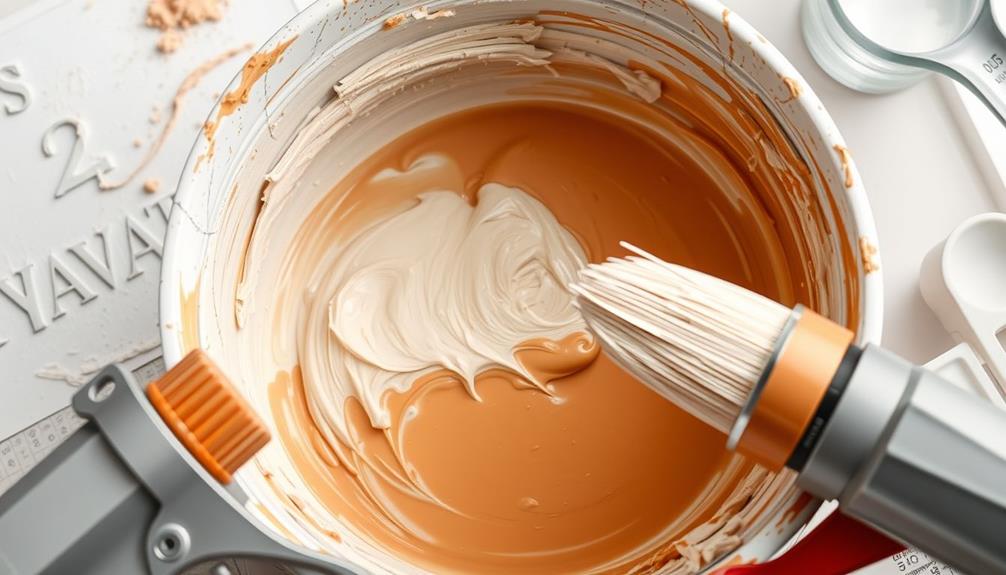
When it comes to achieving a flawless finish with your airless paint sprayer, the right paint consistency and quantity are vital. Spraying typically consumes more paint than brushing, so make certain you have a sufficient amount of paint on hand to avoid interruptions during your project.
Before you start, strain older paint to remove any clumps, as this helps prevent clogs in your sprayer and guarantees a smoother application. Additionally, maintaining a diversified investment portfolio can help reduce risk exposure, similar to how achieving the right paint consistency guarantees a smoother application, as highlighted in the benefits of converting 401k to Gold IRA.
Testing your paint consistency before diving in is essential for peak spray performance. If the paint's too thick for spraying, consider thinning it. A good rule of thumb is to thin thinner paints with about 1/4 cup of water and thicker paints with 1/2 cup.
If you're using a worn sprayer or applying at high pressure, the right consistency becomes even more important to avoid uneven coverage.
For those looking for convenience, Rust-Oleum chalk paint generally sprays well without needing any thinning, making it a great choice for many projects.
Cleaning and Maintenance

Cleaning and maintaining your airless paint sprayer is essential for guaranteeing its longevity and performance. To keep your sprayer in top shape, follow these key practices:
- Clean immediately after use to prevent paint residue from hardening.
- Inspect components regularly and replace any worn parts.
- Use Throat Seal Liquid (TSL) every four hours to extend packing life.
- Store in a dry location to avoid damage and clogs.
After each project, disassemble the sprayer components and rinse them with warm water.
Make certain all parts are free from paint to maintain peak performance. Neglecting to clean can lead to clogs, which may result in costly repairs or replacements.
Regularly inspect your sprayer for signs of wear.
If you notice any issues, address them promptly to maintain spray quality.
Additionally, applying TSL helps prevent wear and keeps your sprayer functioning smoothly.
Finally, store your equipment in a safe, dry location and conduct routine checks.
Resources and Support Options
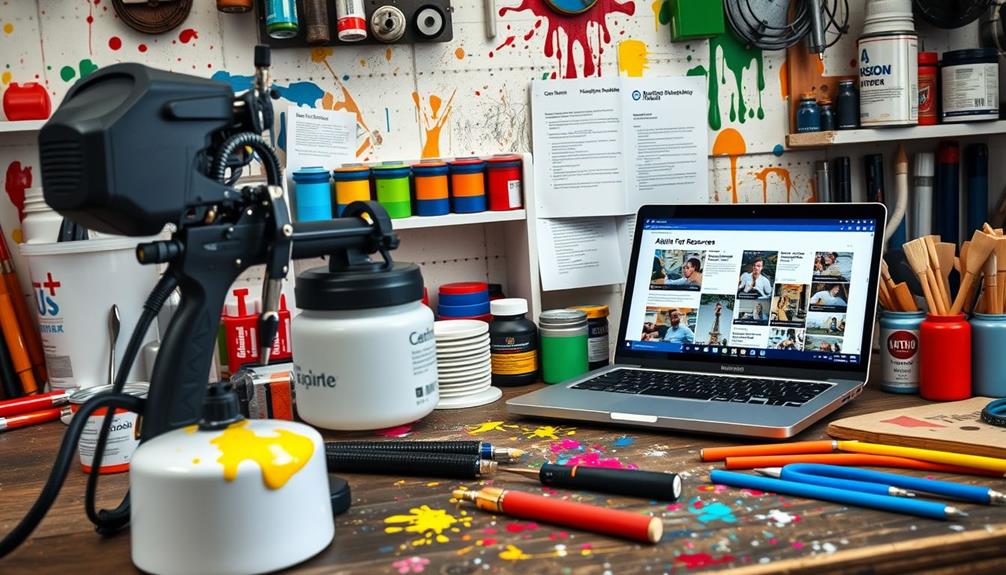
Maintaining your airless paint sprayer is only the first step in ensuring a successful painting project; knowing where to find support and resources can make a significant difference in your experience.
For immediate assistance, don't hesitate to call support at 888-541-9788, available 24/7 for any questions related to your sprayer. If you prefer written communication, email support is also offered for inquiries and troubleshooting tailored to your needs.
When choosing the right product for your project, visiting a local retailer can be invaluable. Knowledgeable staff can guide you in selecting the best sprayer based on your specific requirements.
Additionally, don't overlook the wealth of resources available online. User manuals and safety guidelines are easily accessible, helping you deepen your understanding of your equipment.
To further enhance your skills, explore various online tutorials and workshops. These resources can provide practical tips and techniques for using airless paint sprayers effectively.
Frequently Asked Questions
What Is the Number One Rule When Using Airless Spray Guns?
The number one rule when using airless spray guns is to maintain a consistent distance of 10 to 12 inches from the surface. This guarantees even coverage and helps prevent overspray while painting.
How Do You Get a Smooth Finish With an Airless Sprayer?
To get a smooth finish, maintain a distance of 10 to 12 inches from the surface, overlap strokes by 50%, and apply multiple thin coats instead of one thick coat for better results.
What Tips to Use With Airless Paint Sprayer?
Did you know that 70% of DIY projects fail due to improper techniques? To improve your airless sprayer skills, choose the right tip size, maintain a consistent distance, and practice on cardboard for better results.
Do You Dilute Paint When Using an Airless Sprayer?
Yes, you should dilute paint for an airless sprayer if it's too thick. Check the manufacturer's guidelines for specific ratios, and always strain older paint to avoid clogs and guarantee a smooth application.
Conclusion
In your journey with airless paint sprayers, remember that practice makes perfect. By following these tips and tricks, you'll not only elevate your painting skills but also transform your projects from drab to fab. Just like a painter's brush dances across the canvas, let your sprayer glide smoothly for a flawless finish. Embrace the learning curve, and soon you'll be spraying like a pro. Happy painting, and may your walls always be vibrant!