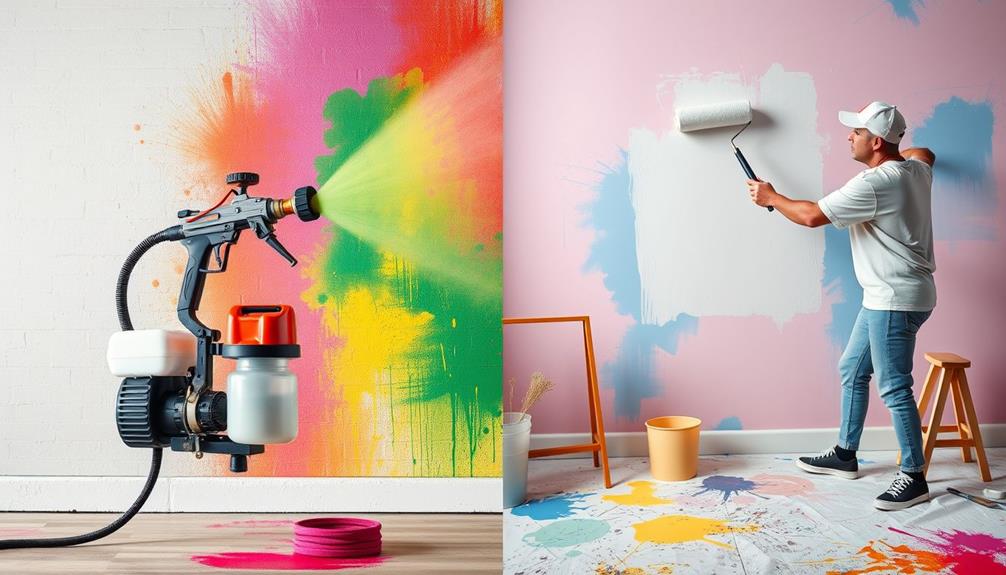
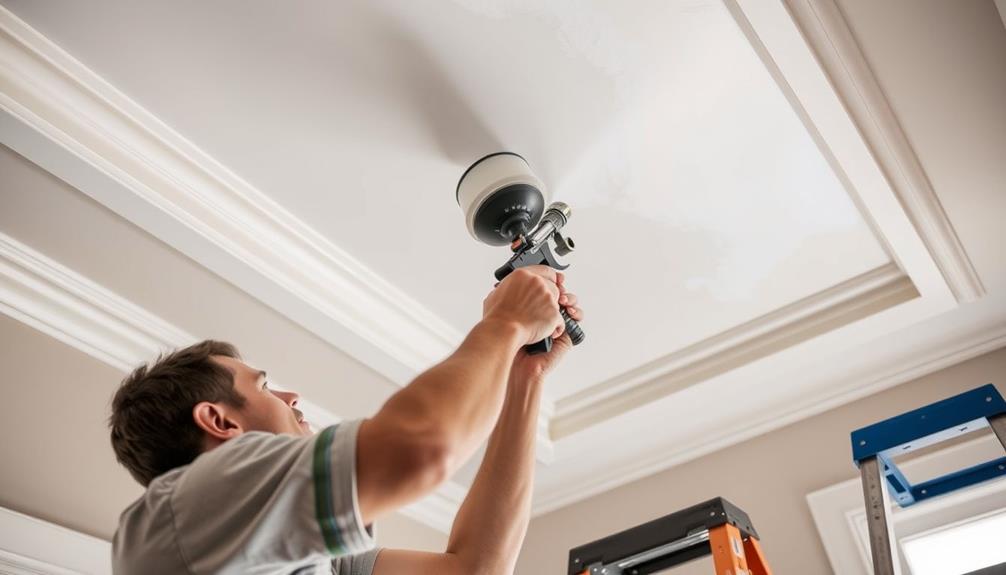
Using an airless paint sprayer is your best bet for painting tray ceilings efficiently and achieving a smooth finish. Start by prepping the area—move furniture, cover light fixtures, and mask trim to protect surfaces. Choose the right spray tip, like a 621, and maintain a 12 to 16-inch distance for ideal coverage. Use overlapping passes and a steady speed to guarantee even application. After spraying, consider back rolling for added texture and uniformity. With some attention to detail, you can avoid common mistakes and guarantee quality results. If you want to refine your technique further, there's more to explore.
Key Takeaways
- Use a Magnum by Graco paint sprayer with a 621 spray tip for optimal coverage on tray ceilings.
- Maintain a distance of 12 to 16 inches from the surface for even atomization during spraying.
- Apply overlapping passes of 50% and back roll to enhance finish quality and uniformity.
- Properly mask trim, light fixtures, and edges to prevent overspray and ensure clean lines.
- Monitor temperature and humidity levels to avoid uneven drying and finish issues.
Project Overview
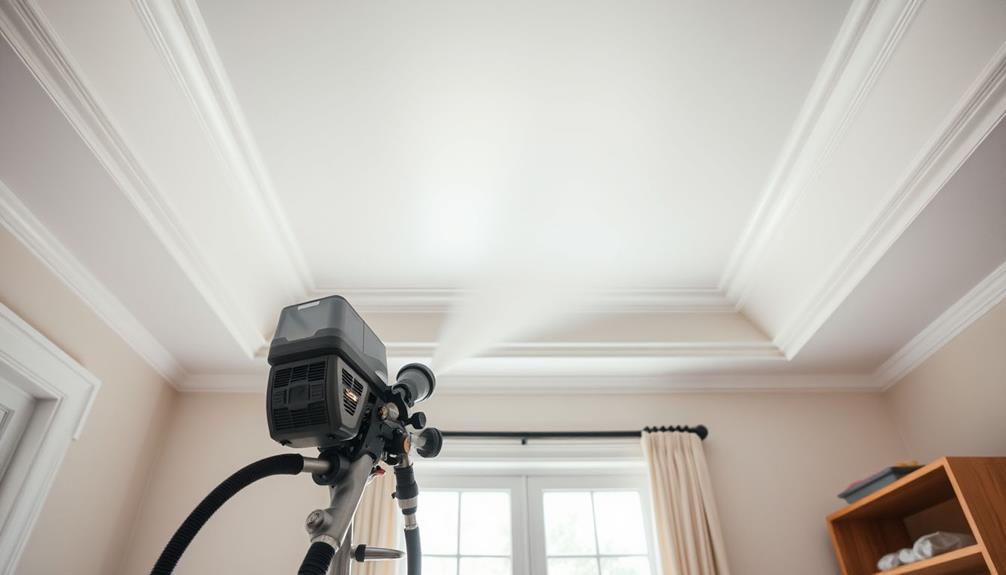
When tackling a painting project, using an airless paint sprayer for tray ceilings can streamline the process and deliver impressive results. This method allows you to achieve efficient and uniform coverage, minimizing the risk of flaking that often happens with roller applications.
For large surface areas like tray ceilings, the Magnum by Graco paint sprayer stands out for its ability to maintain a consistent texture throughout your work. Additionally, understanding airless paint sprayer basics can further enhance your technique and outcomes.
Before you start, proper preparation is key. Make certain to move furniture and mask off any trim to protect areas that won't be painted. This guarantees a clean application and saves you time on cleanup later.
As you spray, remember to use techniques like overlapping passes by 50% and maintaining a steady speed. These practices are essential for achieving an even finish without unsightly lap marks.
After spraying, consider back rolling to enhance the finish quality on your tray ceilings. This step helps create a smooth and visually appealing appearance, giving your project that professional touch.
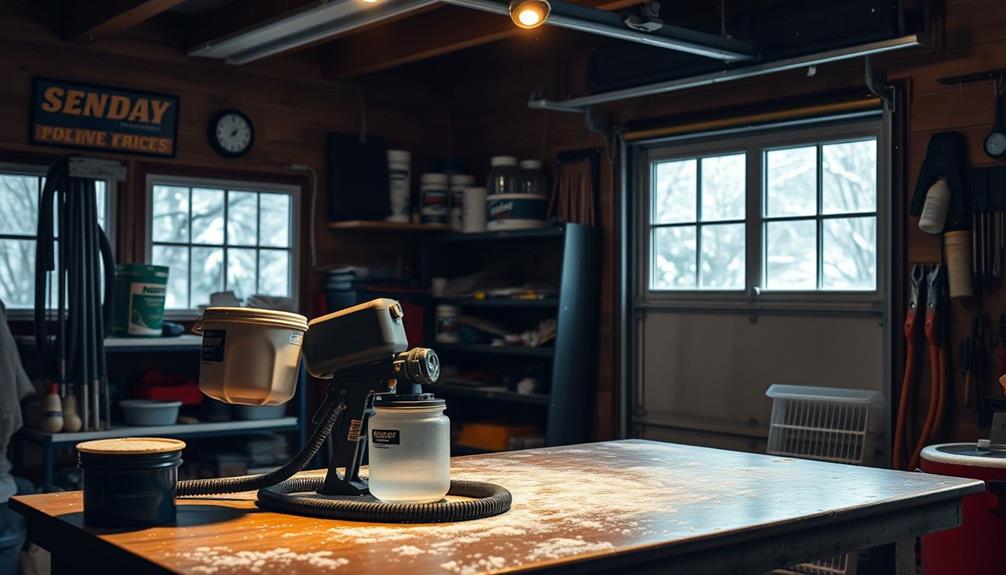
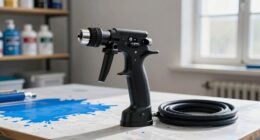
Essential Tools and Equipment
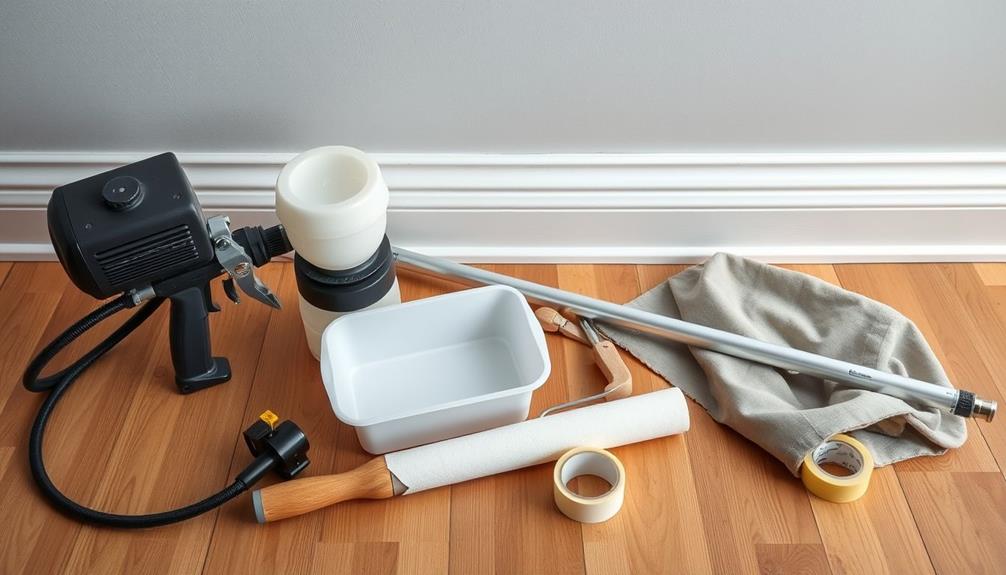
Essential tools and equipment are crucial for achieving the best results with an airless paint sprayer on tray ceilings. To start, consider using a Magnum by Graco paint sprayer. This model's efficiency provides complete and uniform coverage, making it a top choice for your project.
Additionally, maintaining good air quality while you work is important; using an air purifier can help reduce fumes and allergens in the environment.
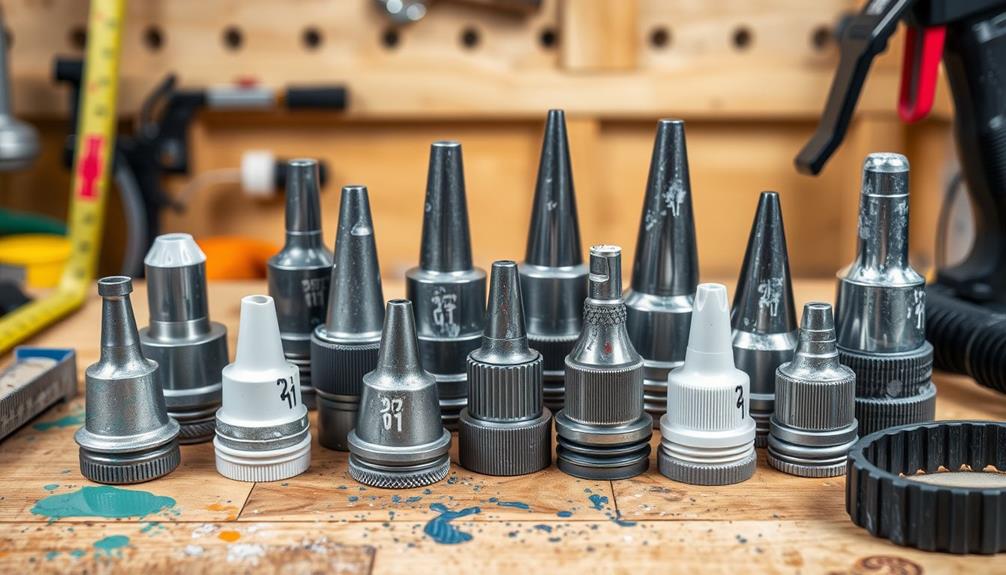
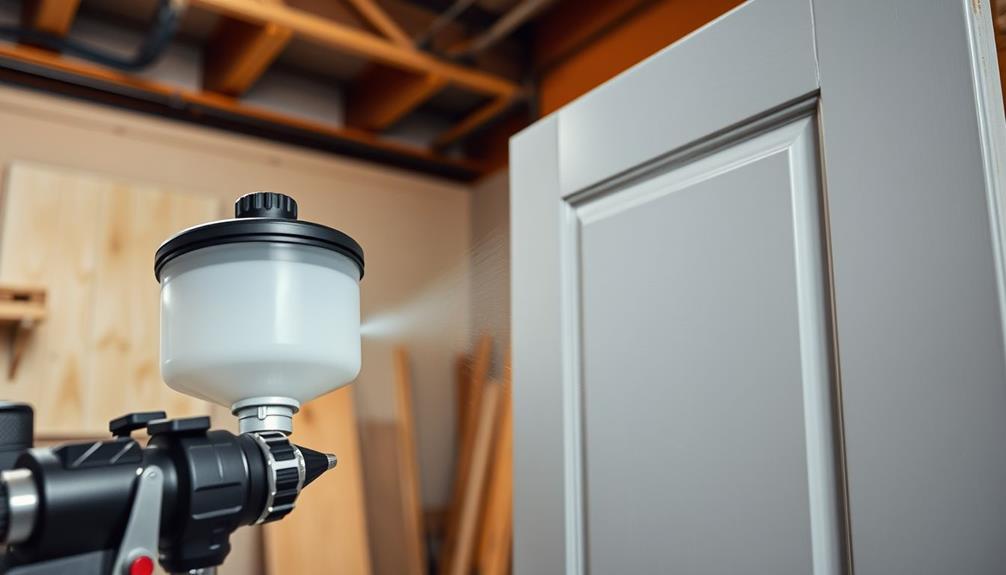
You'll need to select the right spray gun along with various spray tips, such as the 621 tip, based on the texture and size of your ceiling. The correct tip guarantees ideal spray patterns, enhancing your overall finish.
Safety shouldn't be overlooked, so gear up with protective equipment like safety glasses, dust masks, and spray socks. These items safeguard you during the spraying process, keeping you safe from overspray and fumes.
For post-project cleanup, stiff nylon brushes and cleaning rags are essential. They help maintain your tools and guarantee a clean workspace.
Additionally, keep empty buckets handy for priming and cleanup tasks; they'll keep your area organized and tidy as you work.
Preparation Steps
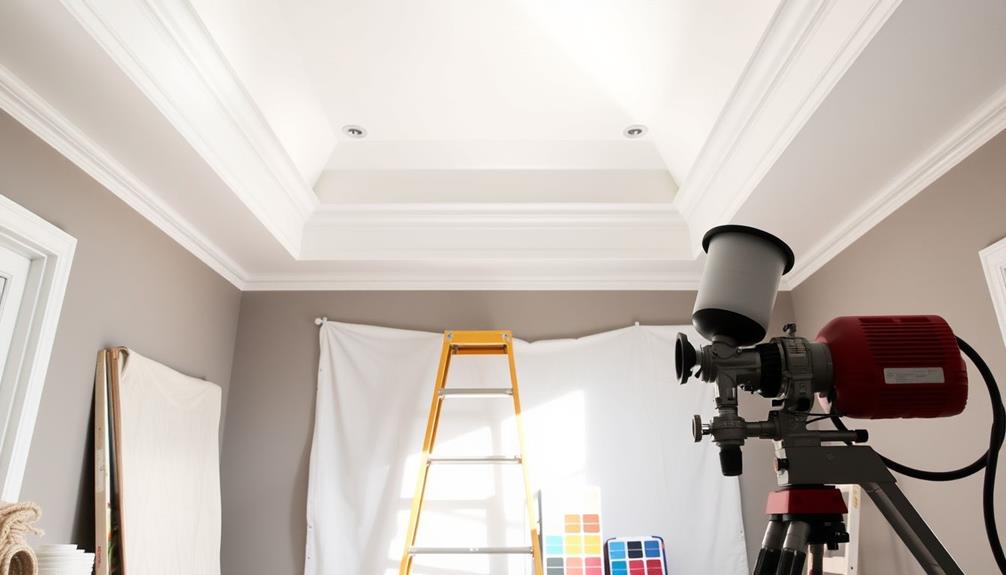
Before you start painting, it's essential to set up your room properly. Clear out furniture and cover any remaining items to protect them from splatter, while using masking tape to seal off edges for crisp lines.
Additionally, consider the benefits of using a Graco FFLP Fine Finish Low Pressure Reversible Tip for achieving a smooth finish on intricate areas.
With these preparation steps in place, you'll set yourself up for a smooth and successful painting experience.
Room Setup Essentials
Preparing your room for an airless paint sprayer is vital to achieving a professional finish. Start by moving all furniture out of the room or covering it with protective materials. This prevents any paint damage during the spraying process.
Additionally, consider using drop cloths to cover the floors, as this can help with cleanup and protect against paint drips. Next, remove or cover light fixtures and ceiling fans to avoid paint splatter, guaranteeing they remain unblemished.
Before you begin painting, take the time to prepare the ceiling surface. Remove any old popcorn texture or imperfections, and consider skimming it for a smooth finish. A well-prepared surface helps achieve a better spray pattern when you use the airless sprayer.
Remember, having the right essential items for a home cleaning kit can assist in the cleanup process after painting.
To protect areas that shouldn't be painted, use masking tape to carefully shield trim, edges, and other surfaces. This step is vital for maintaining clean lines and preventing overspray, which can mess up your otherwise polished look.
Lastly, maintain proper ventilation in the room. Open windows or use fans to promote air circulation and reduce inhalation of paint fumes.
Following these setup essentials will set you up for a successful painting project, allowing you to focus on achieving that flawless finish.
Masking Techniques Overview
Masking techniques are vital for achieving a clean and professional finish when using an airless paint sprayer. Start by moving all furniture out of the way and covering any remaining items with drop cloths or plastic sheeting to prevent paint splatter during the spraying process. This step protects your belongings from unwanted paint damage.
Furthermore, creating an organized and serene workspace can enhance your focus and efficiency, much like the tranquil atmosphere found in a Modern Farmhouse Bedroom.
Next, use high-quality masking tape to protect the edges of trim, windows, and other surfaces that shouldn't be painted. This guarantees you get a crisp, clean line when you remove the tape.
Don't forget to cover light fixtures and ceiling fans with plastic bags or painter's tape as well; this will shield them from overspray and potential damage during painting.
To achieve that perfect finish, create a clear boundary by masking the ceiling-wall junction with tape. This helps prevent paint from bleeding onto the walls, giving you those sharp lines you desire.
Before you start spraying, double-check that all areas are adequately covered and masked. Taking the time to implement these masking techniques is vital for a professional-looking finish that you'll be proud of.
Spraying Techniques
When you're ready to spray, selecting the right spray tip is essential for achieving the best results.
Understanding keyword clustering can help you optimize your painting process by guaranteeing you cover all areas effectively.
Stick to a consistent spraying technique, overlapping each pass adequately to avoid streaks.
Pay close attention to edges and manage your overlap to secure a smooth finish on your surfaces.
Optimal Spray Tip Selection
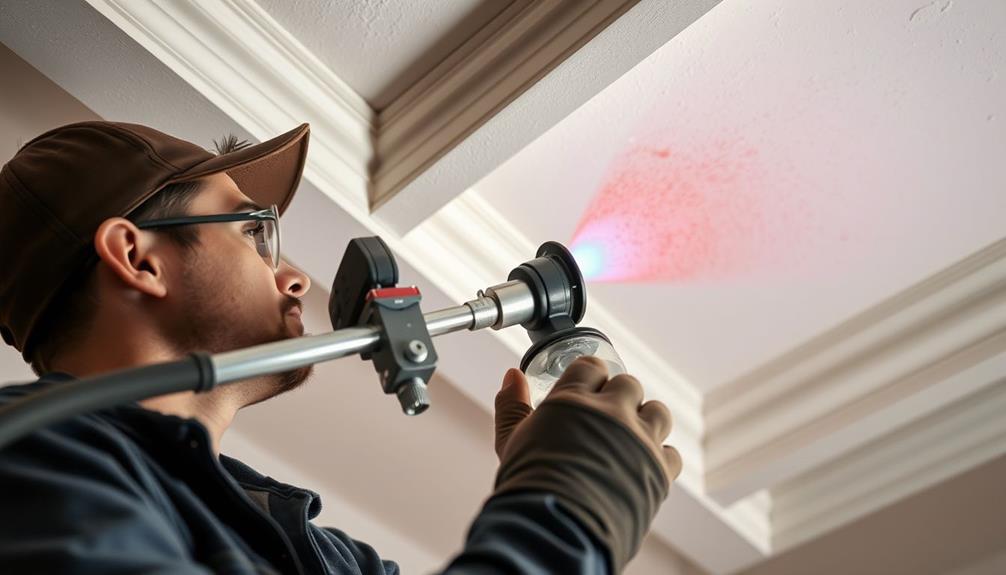
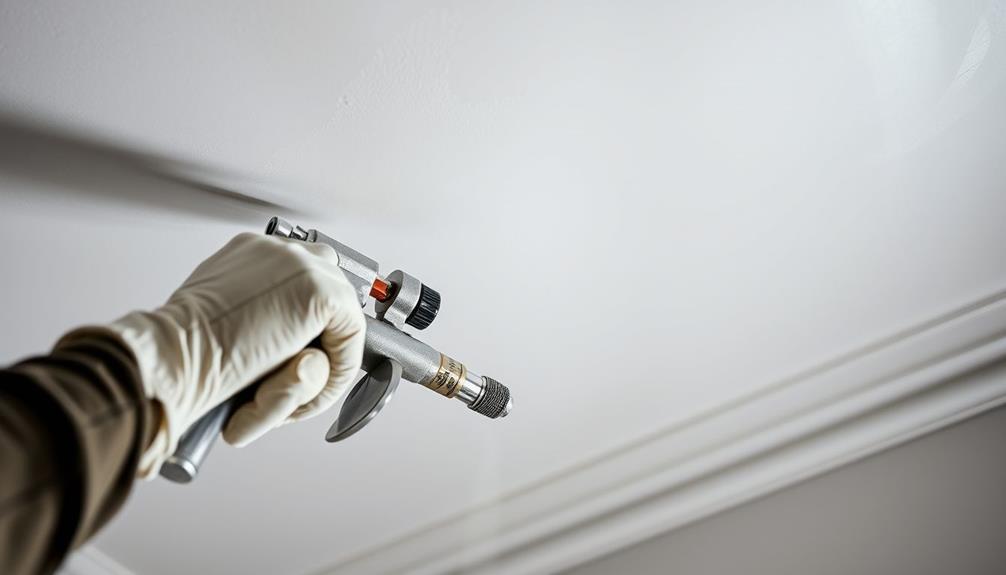
Selecting the right spray tip is essential for achieving a flawless finish, especially on surfaces like tray ceilings. For best results, you should use a 621 spray tip, as it provides a fine spray pattern perfect for both ceilings and detailed edges.
Here's a quick reference table to help you choose the right spray tip based on your paint viscosity:
| Paint Viscosity | Recommended Spray Tip | Notes |
|---|---|---|
| Thin Paint | 511 | Ideal for quick coverage |
| Medium Paint | 617 | Good balance of coverage |
| Thick Paint | 621 | Prevents clogging, smooth flow |
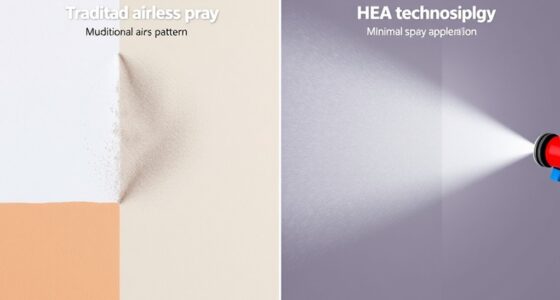
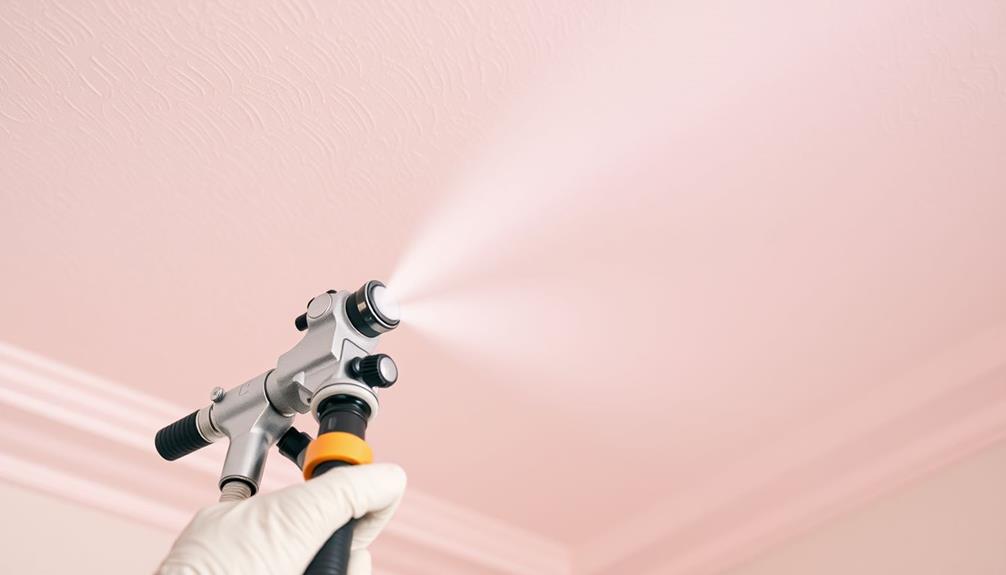
Make sure to maintain a consistent distance of 12 to 18 inches from the surface while spraying. This distance helps achieve even coverage and reduces overspray. Additionally, utilize a cross-hatch spraying technique, overlapping passes by about 50% for uniform coverage across the textured surfaces. Don't forget to regularly check and clean your spray tip to avoid blockages and maintain a consistent spray pattern throughout the painting process.
Consistent Spraying Technique
Achieving a professional finish with an airless paint sprayer hinges not just on the right spray tip but also on your spraying technique. To guarantee even coverage and avoid lap marks, maintain a consistent distance of 12 to 16 inches from the surface while you spray. This distance allows for peak atomization and helps you achieve a smooth finish.
Additionally, it's important to take into account the energy consumption of your tools, as many appliances draw power even when not in active use, leading to unnecessary energy waste energy consumption patterns.
It's essential to move at a steady and uniform spraying speed, ideally between 6 to 12 inches per second. This consistency prevents uneven paint application and guarantees wet edges, which are vital for a flawless look.
When you apply paint, keep your strokes in the same direction and use overlapping passes of approximately 50%. This technique helps achieve a uniform finish and avoids streaks.
Lastly, don't forget to regularly check and clean your spray tip. A clean tip maintains a consistent spray pattern and prevents clogging, which can lead to uneven application.
Managing Overlap and Edges
Managing overlap and edges effectively can make all the difference in your painting project. When you're spraying tray ceilings, keep a consistent distance of 12 to 18 inches from the surface. This helps achieve an even spray pattern and minimizes overlap marks. Additionally, using a high-quality garage door opener can enhance home security, allowing you to focus on your painting project without worrying about interruptions.
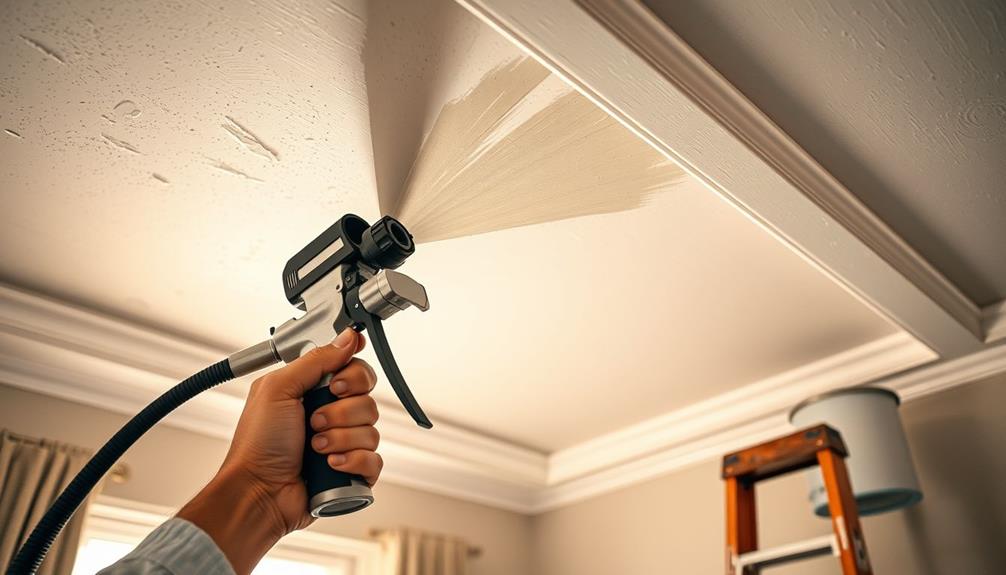
Use a cross hatch spraying technique: start at the edges and move in overlapping sections to blend your coats seamlessly. Before you spray, cut in around the perimeter with a brush to guarantee a clean shift between the wall and ceiling. This step is essential for managing your edges.
For the best results, adjust your spray tip size; a 621 spray tip is ideal for fine finishes, giving you better control and reducing overspray. As you work, don't forget to back roll after spraying. This technique helps to smooth out any irregularities and further blends the paint.
Regularly check and clean your spray tip to avoid clogs, which can disrupt your spray pattern and lead to unwanted lap marks. By following these tips, you'll end up with a polished and professional-looking tray ceiling.
Application Process
To start the application process, gather your materials and prepare a paint source using a 5-gallon bucket and liner. This setup guarantees easy access to paint while you work on the tray ceiling.
Begin by carefully cutting around the edges and light fixtures with a 3-inch paint brush. This step creates clean lines and helps prevent overspray. Additionally, consider using a quality burr grinder to guarantee consistent paint application, just as you'd for achieving uniform coffee grounds.
Once you've edged the ceiling, load your roller properly for even saturation. Make sure it's fully coated to avoid streaks during the rolling process.
Divide the ceiling into manageable sections, and apply the paint in a consistent direction. Using a back-rolling technique will help you achieve a uniform thickness and finish.
After you've finished applying paint to the ceilings, inspect the area for missed spots. Perform touch-ups as necessary, guaranteeing that you allow adequate drying time before reinstalling any fixtures.
This meticulous approach not only enhances the appearance of your tray ceiling but also guarantees a professional finish. With these steps, you're well on your way to achieving a beautifully painted ceiling that enhances your space.
Finishing Touches
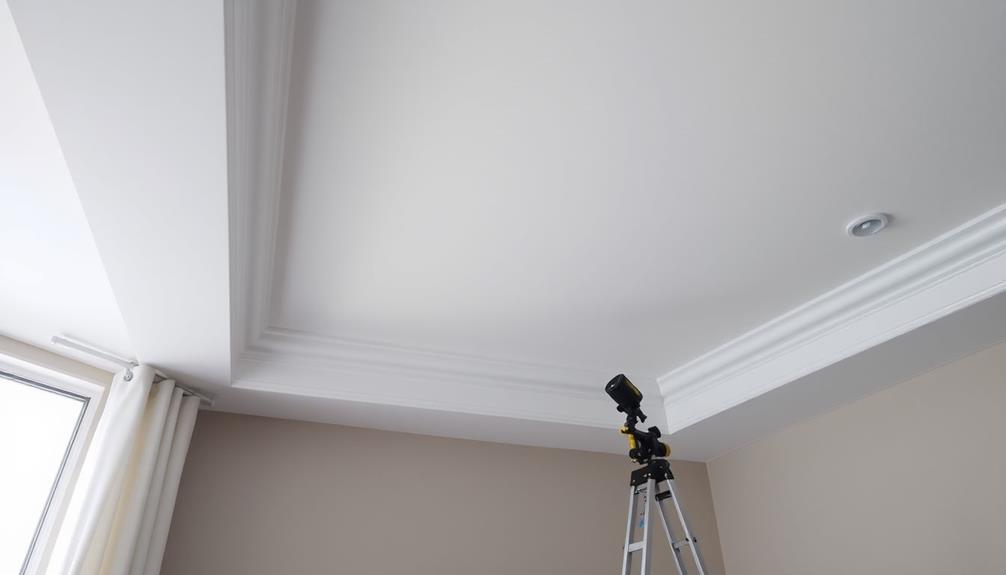
The finishing touches on your tray ceiling can make all the difference in achieving a polished look. After completing your paint application, take a moment to inspect the textured ceiling for any missed spots or uneven coverage.
Consider enhancing the overall atmosphere of the room with stylish wall clocks that complement your freshly painted ceiling. Use a small brush for precision touch-ups, guaranteeing you maintain a consistent finish throughout. It's important that all final strokes of paint are applied in one direction to prevent streaks and create a uniform appearance.
Before reattaching any light fixtures or decor, allow adequate drying time. This step helps avoid smudging and guarantees you achieve a clean finish.
To further enhance the look of your ceiling, consider using a higher-quality paint, as it provides better adhesion and contributes to a more uniform finish.
Common Issues and Solutions
Airless paint sprayers can create a flawless finish, but common issues often arise during the process. One notable problem you might encounter is lap marks, which occur when wet paint overlaps with dry paint. To avoid this, maintain a consistent spraying speed and technique.
Consider back rolling after spraying, as it enhances the finish quality and guarantees an even texture on your tray ceiling.
Another critical factor to monitor is temperature and humidity, as these conditions greatly affect drying times. If the environment isn't right, you could end up with an uneven finish.
Also, using a high-quality paint can improve uniformity and reduce patchiness in the final coat.
Don't forget to regularly clean and inspect your spray tips. This step is essential for maintaining consistent performance and preventing issues like streaks or uneven application.
Finally, when using a roller cover, choose one that's compatible with your paint type, as this can also impact the overall finish.
Factors Affecting Finish Quality
Achieving a flawless finish on tray ceilings hinges on several key factors that can greatly influence the outcome.
First, the quality of the paint you choose plays a significant role. Low-quality paints can result in a patchy appearance and uneven sheen, especially on textured surfaces.
Next, maintaining the correct angle of your spray gun is vital. This helps prevent feathering and guarantees a smooth application across the textured areas of the ceiling.
Additionally, make sure you allow sufficient drying time between coats. Rushing this step can lead to lifting or uneven texture, ruining your hard work.
Monitoring your spray pattern is also essential. Adjust your technique as needed to achieve even coverage and minimize lap marks.
Touch-Up Tips and Techniques
When it comes to touch-ups on tray ceilings, precision is key. Start by using a small brush to apply paint to the affected areas. Feather the edges for a seamless blend with the surrounding surface. Before you begin, test your touch-up paint on a hidden area to verify it matches the original finish and texture.
If you opt for an airless sprayer, keep the same distance and spraying technique as you did during the initial application. This consistency helps maintain the textured look and sheen of your ceiling. Allow adequate drying time between each application to prevent smudging and guarantee proper adhesion to the existing surface.
Lastly, take the time to clean your spray tips thoroughly after each use. Clogged tips can lead to uneven application, which is especially problematic during touch-ups.
Here's a quick reference table for your touch-up process:
| Step | Action |
|---|---|
| 1. Test Paint | Check color match on hidden area |
| 2. Apply with Brush | Use a small brush for precision |
| 3. Drying Time | Allow adequate time between coats |
| 4. Clean Spray Tips | Prevent clogging for even application |
Frequently Asked Questions
What Spray Tip Should I Use for Ceilings?
For ceilings, you should use a 621 spray tip. It minimizes overspray and delivers even coverage. Maintain a distance of 12 to 18 inches for the best results, ensuring a uniform finish throughout your project.
What Is the Best Tip for Airless Paint Sprayer?
The best tip for your airless paint sprayer usually depends on your project. Generally, a 621 spray tip works well for most applications, while a 515 is great for thicker paints and larger areas.
What Is a 517 Spray Tip Used For?
A 517 spray tip's used for efficient coverage on large surfaces. It creates a wide fan pattern, allowing you to apply thicker materials smoothly while minimizing lap marks, making your painting job faster and easier.
What Is a 311 Spray Tip Used For?
You might think a smaller spray tip limits effectiveness, but the 311 spray tip excels in fine finishing. It's perfect for smooth surfaces, ensuring controlled application and minimal overspray, making your projects look professional and polished.
Conclusion
To sum up, using an airless paint sprayer for your tray ceiling can save you time and effort, giving you a professional finish. Did you know that using a sprayer can reduce your painting time by up to 50% compared to traditional methods? With the right techniques and preparation, you'll achieve stunning results that elevate your space. So grab your sprayer, follow the tips provided, and enjoy the transformation of your ceiling into a standout feature of your home!