To begin, choose a clean, well-ventilated workspace free of dust and debris, ensuring ample lighting and easy access to your tools. Gather and inspect your spray equipment, protective gear, and coating materials, following manufacturer instructions for mixing. Adjust your spray gun for proper pressure and practice on scrap surfaces until you achieve a consistent spray pattern. Double-check safety measures, organize your workspace, and fine-tune your setup. Following these steps will set you up for a successful first spray experience.
Key Takeaways
- Prepare a clean, well-ventilated workspace free from dust and obstructions for optimal spraying conditions.
- Gather and inspect all spray equipment, protective gear, and coating materials, ensuring cleanliness and proper function.
- Mix and thin the coating according to manufacturer instructions, then cover to prevent dust contamination.
- Adjust spray gun or bottle settings, practice on scrap material, and verify an even spray pattern and coverage.
- Wear appropriate safety gear, confirm proper ventilation, and double-check all equipment before beginning the first spray.
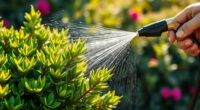
Getting ready for your first spray begins with proper setup to guarantee a smooth and successful application. Before you even pick up the spray bottle or gun, you need to ensure your workspace is prepared. Choose a well-ventilated area, free from dust, dirt, and debris, to avoid contaminants settling into your coating. Clear the space of any obstructions that could interfere with movement or access to your work surface. Make sure you have ample lighting so you can see every detail clearly, which helps prevent missed spots or uneven coverage.
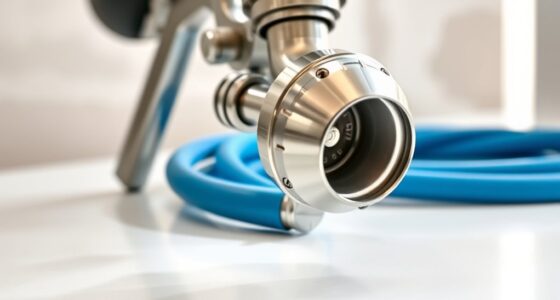
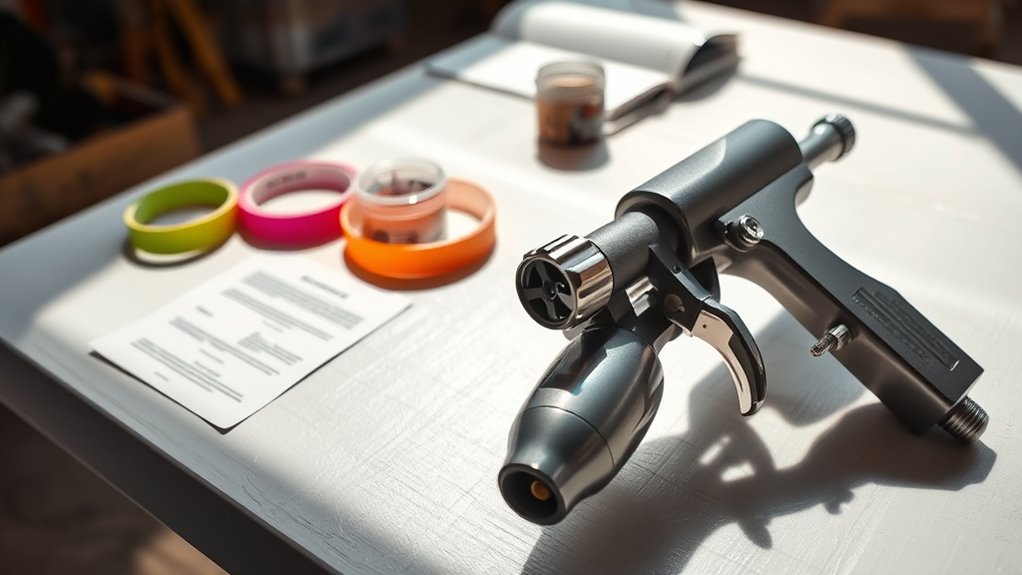
Next, gather all the tools and materials you’ll need. This includes your spray equipment, protective gear like gloves, masks, and goggles, as well as the coating material itself. Check your spray gun or bottle for any damages or clogs, and clean it thoroughly if necessary. If you’re using a compressor, inspect the hoses and connections to ensure there are no leaks or blockages. Having everything within arm’s reach saves time and minimizes interruptions during the actual spraying process.
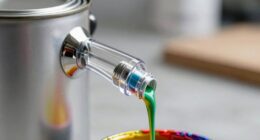
Properly preparing your coating is just as critical. Follow the manufacturer’s instructions for mixing and thinning, if necessary. Use clean, dry containers to blend your materials, and stir gently to avoid introducing air bubbles. Make sure the mixture has a consistent, smooth texture without lumps or separation. This step is essential because an improper mix can cause uneven spray patterns or poor adhesion. Keep your coating covered and protected from dust until you’re ready to spray.
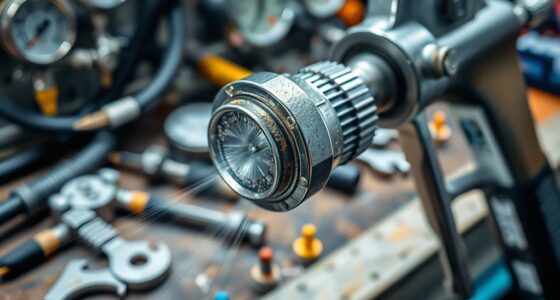
Now, focus on adjusting your spray equipment. Set your spray gun or bottle to the correct pressure and flow rate recommended for your specific coating. Practice on a scrap piece or cardboard to test the spray pattern and ensure it’s even and consistent. Adjust the nozzle or tip size if needed, to control the spray width and atomization. Developing a steady hand and maintaining a consistent distance from the surface—usually about 6 to 12 inches—helps achieve uniform coverage and minimizes drips or runs.
Additionally, understanding the importance of contrast ratio in your project can help you anticipate how well your surfaces will appear under different lighting conditions, ensuring optimal visual quality. Developing a steady hand and maintaining a consistent distance from the surface—usually about 6 to 12 inches—helps achieve uniform coverage and minimizes drips or runs.
Finally, do a quick safety check. Double-check your protective gear and ensure proper ventilation. If you’re working indoors, open windows or use exhaust fans to keep fumes at bay. Once everything looks good, you’re ready to proceed. With your workspace organized, tools prepared, and equipment calibrated, you can confidently start your first spray, knowing you’ve set yourself up for success. Proper setup not only improves your results but also makes the entire process safer and more enjoyable.
Frequently Asked Questions
What Safety Precautions Should I Take During Setup?
You should wear protective gear like gloves, goggles, and a mask to prevent inhaling fumes or getting sprayed. Make sure the area is well-ventilated, and keep bystanders away. Check all equipment for leaks or damage before use. Read the manufacturer’s instructions carefully, and avoid any sparks or open flames nearby. Taking these precautions helps prevent accidents and keeps you safe during setup and spraying.
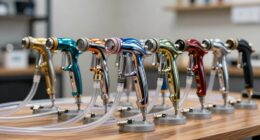
Can I Use Different Types of Spray Equipment?
Yes, you can use different types of spray equipment, but you need to make certain they’re suitable for your specific project. Check the manufacturer’s instructions for compatibility and safety guidelines. Different sprayers have unique features, so choose one that matches your needs, whether it’s for precision or large coverage. Always wear proper protective gear and test the equipment on a small area first to avoid mishaps.
How Long Does the Setup Process Typically Take?
The setup process usually takes about 15 to 30 minutes, depending on your experience and the equipment used. You’ll start by assembling your spray gun and connecting hoses, then calibrate the spray pattern and pressure. Take your time to check all connections for leaks, and verify the paint is properly mixed. With patience and careful preparation, you’ll be ready to spray efficiently and achieve a professional finish.
Are There Common Mistakes to Avoid During Setup?
Think of setup like building a sturdy bridge—you want to avoid shaky foundations. Common mistakes include rushing through instructions, skipping calibration steps, or ignoring safety guidelines. Double-check connections and settings before starting. Take your time, follow each step carefully, and don’t rush. This approach helps you avoid costly errors and guarantees your first spray is smooth, just like a well-constructed bridge that stands the test of time.
What Maintenance Is Needed After the First Spray?
After your first spray, you should clean your equipment thoroughly to remove any residue. Check for clogs or blockages in the nozzle and clear them if needed. Inspect the hoses and connections for leaks or damage. Store your sprayer in a dry, safe place and lubricate moving parts as recommended. Regular maintenance guarantees your sprayer performs well and lasts longer, saving you time and money in the long run.
Conclusion
Now you’re ready to hit the spray, like stepping into a dance with confidence. Remember, practice makes perfect, so don’t rush—trust the process, and let each spray flow smoothly. With patience and a steady hand, you’ll turn the paint into a masterpiece, your skills blossoming like a garden in full bloom. Keep your focus sharp, stay relaxed, and enjoy the journey from setup to flawless finish. Your creative rhythm is just beginning to unfold.