
Band the edges first to create clear boundaries for your project, which helps prevent missed spots and guarantees precise lines from the start. Using techniques like painter’s tape or defining edges early on allows you to work confidently on the central areas without worry. This strategic step reduces the need for touch-ups later and keeps your work neat and professional. Keep going, and you’ll discover how establishing boundaries can streamline your entire process even further.
Key Takeaways
- Establish clear boundaries early with tape or marking tools to prevent accidental overlaps or missed areas.
- Defining edges first ensures precise lines and reduces the need for corrections later.
- Early edge trimming creates a structured workflow, enabling focused work on central areas afterward.
- Protect delicate surfaces and prevent color bleeding by sealing edges before filling in or blending.
- Starting with edges streamlines the process, saving time and enhancing overall accuracy and professional appearance.
When tackling a complex project or problem, it’s often best to start by banding the edges first. This principle holds true whether you’re painting a wall, editing a photograph, or working on any task that involves detailed work. By focusing on the edges initially, you create a clear boundary that guides your entire process. This approach helps prevent missed spots, ensures clean lines, and saves time by reducing the need for touch-ups later. It’s a strategy that enhances precision and efficiency from the outset.
Starting with edges ensures clean lines, prevents errors, and streamlines your project from the beginning.
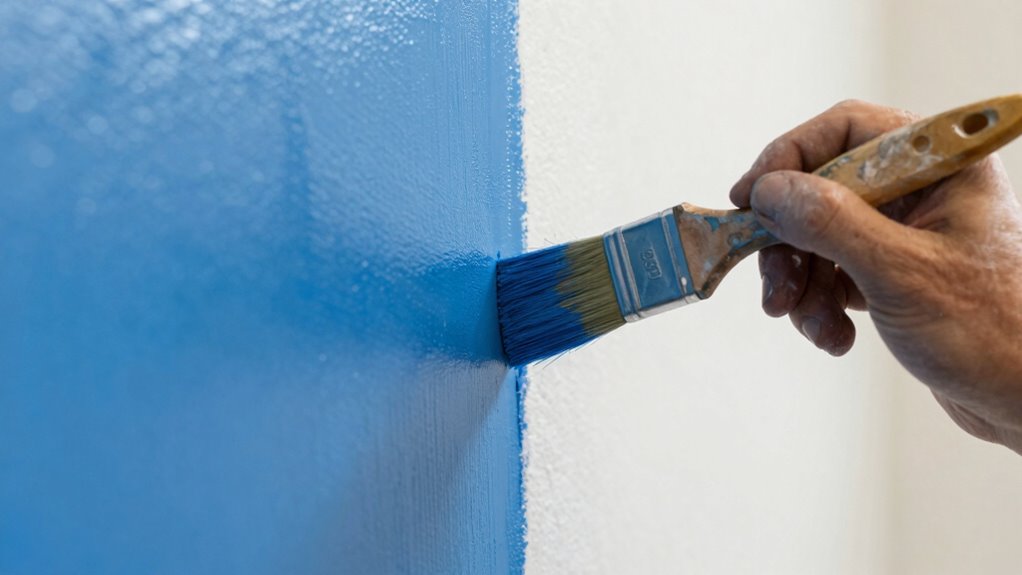
In practical terms, edge trimming is your first step. When painting, carefully run painter’s tape along the edges—around trim, corners, or different surfaces—to create a sharp, defined boundary. This not only helps you avoid accidental smudges or paint bleeding but also preserves the integrity of adjacent areas. When editing photos, refine the edges of selections before applying adjustments or effects. This guarantees that color protection remains intact, so colors don’t bleed into unwanted regions, maintaining a natural and professional look. Whether in digital or physical work, establishing these boundaries early on minimizes errors and ensures consistent results.
Starting with the edges also allows you to work more confidently on the larger, central areas afterward. Once the edges are properly defined, you can fill in the middle with less concern about overstepping or creating uneven lines. This method reduces the risk of missing spots—an all-too-common mistake that can be frustrating to fix later. Instead, you can focus on blending and finishing the core areas, knowing the boundaries are already secured. It’s a straightforward way to streamline your workflow and produce a polished final product.
Moreover, paying attention to edge trimming early on helps protect your work’s overall appearance. When you take the time to carefully define edges, you prevent accidental damage or color bleeding that can ruin the look. This is especially important in tasks where color protection matters—like painting delicate surfaces or editing images with subtle gradients. Protecting your work’s integrity from the beginning ensures that your final results are sharp, clean, and professional. It’s a small step that pays off by reducing rework and enhancing overall quality. Additionally, in complex projects, establishing clear boundaries can facilitate smoother integration of different elements, aligning with principles of innovative cloud solutions that emphasize structured, secure, and efficient workflows.

Scotch Blue Painters Tape Applicator, Applies Painter's Tape in One Continuous Strip, Paint Tape Applicator for Trim, Windows and Door Frames, 1.41 Inches x 20 Yards, 1 Starter Roll (TA3-SB-ESF)
- Performance: Faster, easier prep with precision
- Application: Applies tape in one continuous strip
- Ease of Use: Comfortable circular grip with felt pad
As an affiliate, we earn on qualifying purchases.
As an affiliate, we earn on qualifying purchases.
Frequently Asked Questions
How Do I Identify the Edges That Need Banding?
You identify the edges that need banding by performing surface assessment using edge detection techniques. Look closely at the area, noting where the surface changes sharply or appears uneven. Use a visual or digital tool to highlight these edges, making certain no spots are missed. Focus on areas with distinct shifts or irregularities, as these are your priority for banding. This approach helps make a thorough, efficient process without missing critical spots.
What Tools Are Best for Banding the Edges Quickly?
Think of your tools as your trusted sidekicks for quick edge protection. A quality edge bander with a roller or edge trimmer makes the job swift and precise. Look for handheld devices or corner guides designed for speed and accuracy. These quick tools help you apply and trim banding effortlessly, reducing missed spots. Keep your toolkit ready with these efficient gadgets, and you’ll breeze through edge banding like a pro.
Can Banding Be Done on All Types of Surfaces?
Yes, banding can be done on most surfaces, but you need to take into account material compatibility and proper surface preparation. Different materials react differently, so make sure the surface is clean, dry, and free of debris. Use the right banding tools suited for your surface type, whether it’s metal, wood, or plastic. Taking these steps helps ensure a secure bond and prevents missed spots or damage during the process.
How Much Time Should I Allocate for Edge Banding?
You should allocate about 30 minutes to an hour for edge banding, depending on your project size. Use efficient edge banding techniques and choose the right edge banding materials to speed up the process and guarantee a smooth finish. Carefully work along the edges, especially at corners, to avoid missed spots. Rushing can compromise quality, so take your time to achieve professional results.
What Are Common Mistakes to Avoid When Banding Edges?
Like steering a ship through fog, avoid common mistakes in edge banding by staying focused. Don’t rush or stretch the tape, as it leads to bubbles and uneven edges. Guarantee the surface is clean and dry to prevent adhesion issues. Overheating the adhesive or pressing too hard can cause warping. Keep your hands steady and work patiently, and you’ll achieve smooth, professional results every time.
Conclusion
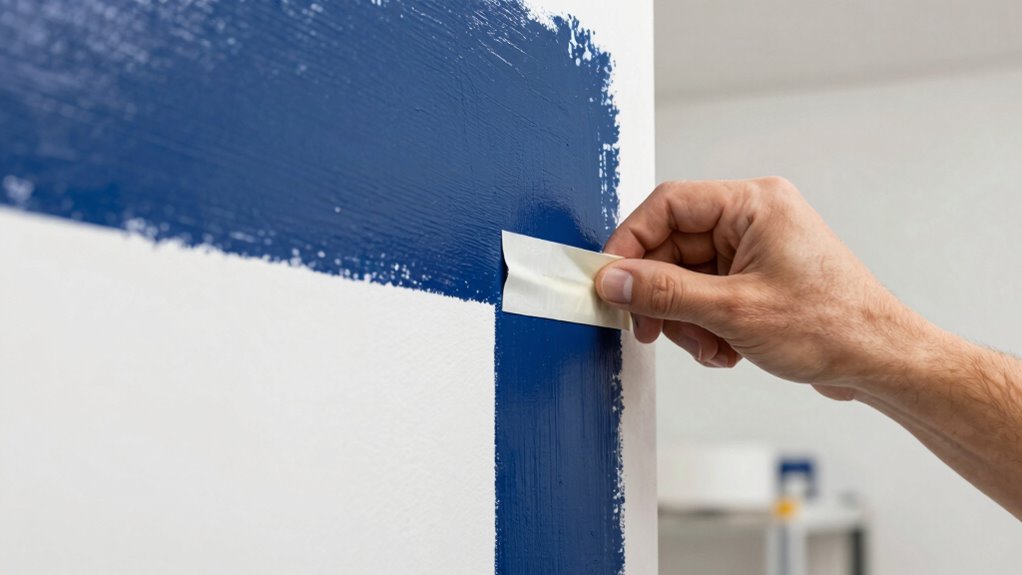
By banding the edges first, you guarantee no spots are missed and save time overall. Imagine you’re painting a room and carefully tape the edges before filling in the center. This quick step prevents messy overlaps and rework later. Just like a professional painter, you’ll finish faster and with cleaner results. So, next time, start at the edges—it’s the fastest way to get a flawless finish with less effort.