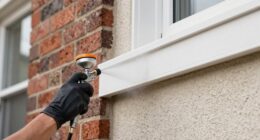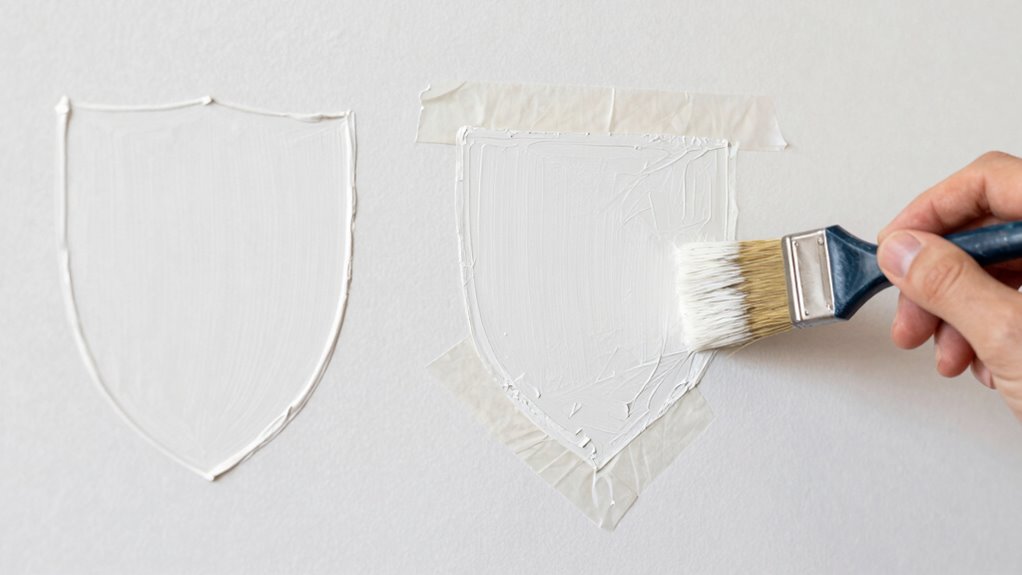

To achieve sharp, clean lines using the clean-line method, you can choose shields, tape, or cutting in. Shields offer a durable, reusable barrier ideal for large areas but require careful technique. Tape provides sharp edges with proper application and removal timing, but can cause smudges if mishandled. Cutting in allows precise hand-painting along edges and is great for detailed work. Each method has benefits and challenges—knowing which suits your project guarantees professional results; explore more to master each technique.

Get business pricing on tools and workshop supplies
- Business-only prices and quantity discounts
- Tax-exempt purchasing
- Multiple users, one account, clear invoices
Key Takeaways
- Shields provide a reusable, durable barrier ideal for large areas, reducing the need for tape and minimizing smudging.
- Tape offers sharp, precise edges but requires careful application and timely removal to prevent smudges or tears.
- Cutting in with a brush allows detailed control for edges, best suited for small sections and intricate lines.
- Proper surface preparation and drying times are essential regardless of method to ensure clean, professional results.
- Combining techniques—using shields for large areas and tape or cutting in for detailed edges—maximizes efficiency and precision.
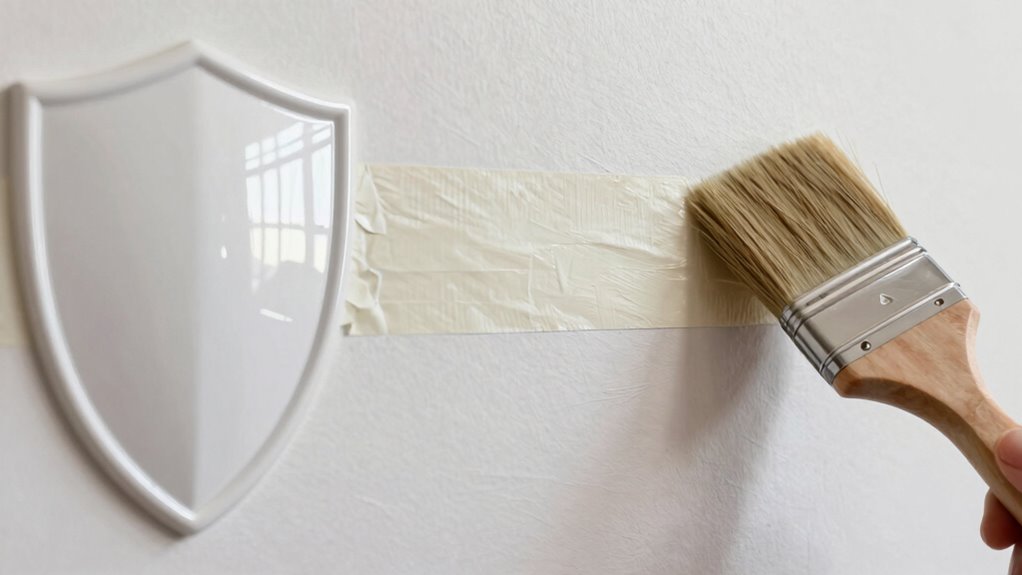
When it comes to painting clean lines and protecting surfaces, choosing the right method can make all the difference. The method you select can influence the ease of your work, the sharpness of your lines, and the overall finish. The three main options—shields, tape, and cutting in—each have their advantages and challenges. Your goal is to find the approach that fits your project, skill level, and the look you want to achieve. Using shields involves placing a physical barrier between your brush or roller and the surface you want to protect. Shields are reusable, durable, and often quicker to set up than tape. They’re especially useful when you need to paint large areas or multiple surfaces simultaneously. To achieve crisp lines with shields, you’ll want to master brush techniques that allow you to control your paint flow and avoid overloading the brush. This minimizes drips and smudges, ensuring a cleaner edge. Remember, patience is key: after applying the paint, you should allow it to dry completely before removing the shield to prevent smudging or pulling up paint. Rushing this step can ruin your sharp lines, so give paint time to dry thoroughly before handling or touching up. Proper surface preparation and understanding paint drying times can further enhance your results. Additionally, practicing brush control techniques can significantly improve the precision of your painted lines. It’s also helpful to keep the workspace well-ventilated to accelerate drying and reduce the risk of dust settling on wet paint. Ensuring proper surface preparation helps create a better adhesion, which can lead to cleaner lines and a more professional finish. Tape is perhaps the most popular method for creating sharp edges. It’s flexible, widely available, and offers a variety of options tailored to different surfaces and paint types. When applying painter’s tape, press it down firmly to ensure a good seal, especially along edges that need to stay crisp. Proper tape application reduces bleed-through, but it’s equally important to remove the tape at the right time—usually when the paint is still slightly wet or just dry to the touch. Peeling tape too early can smudge your line; waiting too long can cause the paint to set and tear when you remove it. The key to flawless tape lines lies in proper application and patience. Also, keep in mind that your brush techniques during paint application influence how smooth your lines will be once the tape is removed. Using steady, controlled strokes helps prevent paint from seeping under the tape, resulting in a cleaner finish. Cutting in involves carefully painting the edges freehand with a brush, often in tight spaces or detailed areas. This technique demands precision and a steady hand, especially when working near tape or shields. To get the best results, use high-quality brushes and work in small sections, maintaining a consistent brush angle. As with other methods, patience is vital—allow the paint to dry properly after each section to prevent smudging or uneven edges. Properly executed brush techniques, such as feathering and controlled strokes, are essential for achieving crisp and professional-looking lines. Once you finish, let the paint dry completely before handling the area for the sharpest, clean lines and to avoid disturbing the freshly applied paint.
As an affiliate, we earn on qualifying purchases.
Frequently Asked Questions
Which Method Is Quickest for Large Surface Areas?
For large surface areas, cutting in is the quickest method because it minimizes prep time and allows you to cover more space efficiently. You should focus on proper surface preparation to guarantee clean lines and avoid messes. Using durable tools is essential, as they withstand frequent use and maintain sharpness. This approach speeds up your project, keeps your tools in good shape, and results in a professional finish with less effort.
Can These Techniques Be Combined for Better Results?
You can definitely combine these techniques for better results, like mixing tools in a recipe to suit each step. Technique compatibility and application versatility make this possible. Use shields for large, flat areas, tape for detailed edges, and cutting in for tight corners. This approach helps you achieve cleaner lines and faster progress, leveraging the strengths of each method, and adapting to various surfaces and project demands seamlessly.
Are There Specific Paints Best Suited for Each Method?
Yes, specific paints suit each method better. For shields, use paints with good adhesion and low bleed-through, like latex or acrylics. Tape works best with smooth surfaces and paints that dry quickly, such as oil-based paints. Cutting in requires precise control, so high-quality, brush-friendly paints guarantee clean lines. Always check paint compatibility and surface preparation instructions to ensure adhesion and durability, regardless of your chosen method.
How Do Weather Conditions Affect These Methods?
Weather impact can turn your painting project into a battle. Humidity effects are especially tricky, causing paint to dry slowly or unevenly, which ruins clean lines. Rain or high moisture levels weaken adhesion, making tape peel or shields less effective. Cold temperatures slow drying, while wind can blow debris onto fresh paint. You must watch the forecast closely, adjusting your techniques to survive the unpredictable elements and achieve perfect results.
What Are the Safety Precautions for Each Technique?
You should wear protective gear like gloves and masks to prevent inhaling fumes and guarantee safety. Before starting, properly prepare the surface to improve paint adhesion and reduce accidents. Use appropriate techniques for each method, like taping carefully or cutting in precisely, to avoid drips or spills. Always work in well-ventilated areas and follow manufacturer instructions to protect yourself and achieve a clean, professional finish.
Conclusion
Think of each method as a different painter’s brush—shields, tape, or cutting in—each with its own flair. Shields stand tall like sturdy guardians, tape glides smoothly like a trusted guide, and cutting in offers the bold stroke of an artist’s hand. Choose your tool as you would select a trusted companion, knowing that your canvas will reflect your care and skill. In the end, your masterpiece depends on the method you trust most.
Fall Picks
fall essentials
As an affiliate, we earn on qualifying purchases.