
To flush your airless sprayer between colors, turn off the machine and relieve pressure. Remove the spray tip and guard, then flush the system with an appropriate solvent—water or a mild cleaner for water-based paints or mineral spirits for oil-based paints—until the runoff runs clear. Rinse the system again with clean water, clean all accessible parts, and reassemble carefully. For more detailed steps to facilitate a smooth color changeover, keep exploring further tips.
Key Takeaways
- Turn off the sprayer, relieve pressure, and remove the spray tip and guard for cleaning.
- Flush the system with the appropriate solvent (water-based or solvent-based) until the runoff runs clear.
- Clean the spray tip, guard, and accessible parts thoroughly with a brush or cloth soaked in solvent.
- Reassemble the spray gun, ensuring all residual paint and solvent are removed.
- Store the equipment properly and perform regular maintenance to prevent clogs and ensure optimal performance.

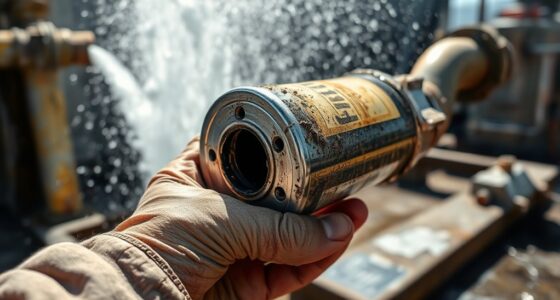
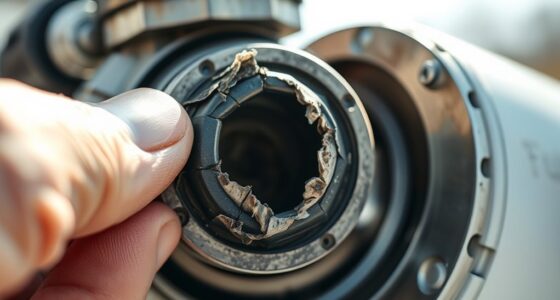
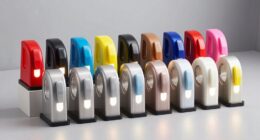
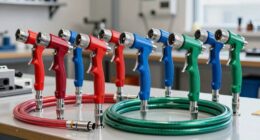
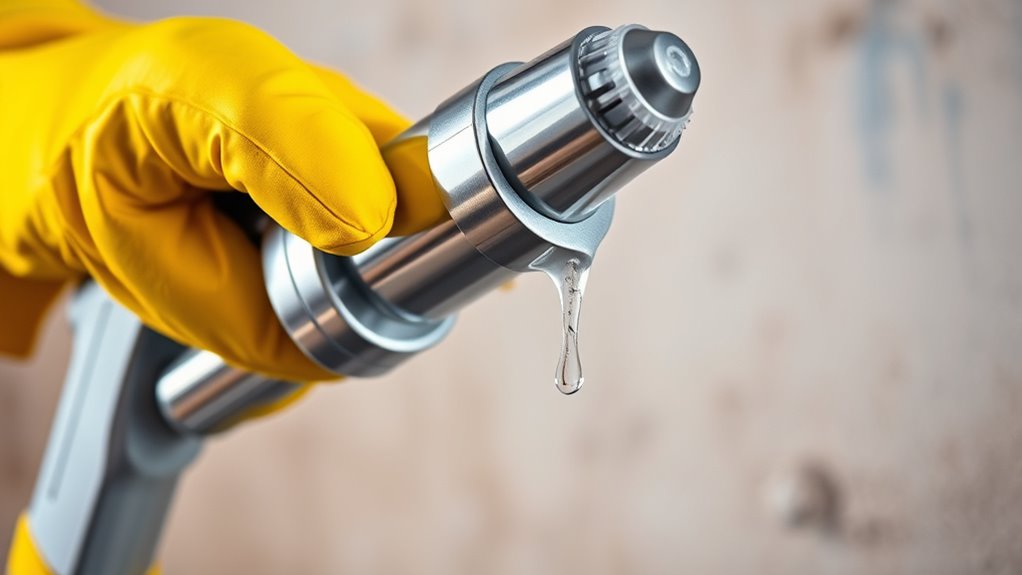
When switching colors on your airless sprayer, thorough cleaning is essential to prevent color mixing and guarantee a smooth finish. Properly cleaning spray tips is an important part of this process, ensuring that no residual paint contaminates your next color. Start by turning off the sprayer and relieving pressure according to your manufacturer’s instructions. Remove the spray tip and guard, then set them aside for cleaning. To effectively clean the spray tips, you should pay attention to cleaning spray tips thoroughly, as paint buildup can cause clogs or uneven spray patterns. Use a brush or a dedicated tip cleaner to remove any residual paint from the nozzle, making sure all channels are clear. Regular maintenance and understanding your equipment can extend its lifespan and performance.
Next, you’ll need to select solvent options suitable for the type of paint you’re switching from. For water-based paints, plain water or a mild soap solution may suffice. However, for oil-based or solvent-based paints, you’ll need to use appropriate solvents like mineral spirits or paint thinner. When selecting solvent options, always refer to the paint manufacturer’s recommendations to avoid damaging the equipment or compromising the next layer of paint. Pour the chosen solvent into a cleaning container, then attach the spray gun and turn the pump on to spray the solvent through the system. This flushes out residual paint, minimizing color contamination. Keep spraying until the solvent runs clear, indicating that the system is clean.
After flushing with the solvent, disconnect the spray gun and clean all accessible parts, including the fluid passage, spray tip, and filters, with a brush or cloth soaked in the same solvent. Reassemble the gun, then run clean water or fresh solvent through the system one last time to remove any remaining residue. Don’t forget to clean the spray tip and guard thoroughly, as dried paint can be stubborn and difficult to remove later. Proper cleaning spray tips not only improve the quality of your finish but also prolong the life of your equipment. Always follow the manufacturer’s instructions for cleaning and maintenance, and store your sprayer in a clean, dry place to prevent corrosion or damage. Regularly inspecting and maintaining your equipment can help prevent issues like clogged spray tips, ensuring consistent results.
Frequently Asked Questions
Can I Reuse Leftover Paint After Flushing the Sprayer?
Yes, you can reuse leftover paint after flushing your sprayer, but you need to check paint compatibility first. Make certain the leftover paint isn’t too thick or contaminated. Proper cleaning frequency helps maintain the paint’s quality. Store it in an airtight container, and stir well before reuse. Keep in mind, reusing paint is best for similar colors and types to avoid issues like clumping or poor finish.
How Long Does the Flushing Process Typically Take?
The flushing process usually takes about 10 to 15 minutes. You start by using a cleaning solvent to clear out residual paint, then run the sprayer with water or solvent until it runs clear. Afterward, use a brush to clean the nozzle and other parts thoroughly. This guarantees your sprayer is properly cleaned between colors, preventing clogs and ensuring quality results for your next project.
Is There Any Special Disposal Method for Leftover Paint?
When it comes to paint disposal, you should never pour leftover paint down the drain or onto the ground. Instead, check your local regulations for proper disposal methods, which often include taking unused paint to a recycling center or hazardous waste facility. This guarantees environmental safety and prevents pollution. Always store leftover paint properly if you plan to use it later, and consider donating excess paint if possible.
What Tools Are Needed for Effective Cleaning?
You’ll need a few simple tools for effective cleaning—mainly, cleaning brushes and a sturdy bucket. Don’t forget a paint scraper or a brush comb to loosen dried paint, and some rags for wiping. While you’re at it, guarantee proper disposal of leftover paint—because, after all, throwing it in the trash is just too simple, right? These tools make the process smoother, saving you time and mess.
Can I Switch Between Oil-Based and Water-Based Paints Easily?
You can switch between oil-based and water-based paints, but you need to check paint compatibility first. To prevent clogging and facilitate a smooth transition, clean your sprayer thoroughly after each use and maintain a regular cleaning frequency. Use the appropriate cleaning agents—solvent for oil-based and water for water-based paints—and flush the system well. Proper cleaning makes switching easier and keeps your sprayer in top condition.
Conclusion
So, there you have it—flushing your airless sprayer between colors is practically a breeze, right? Just a few quick steps, and you’re back to the art of splattering paint without turning every wall into a rainbow disaster. Who knew cleaning could be so satisfying? Next time you switch shades, remember: a little prep goes a long way. Happy spraying—and may your paint jobs be flawless, not fantastically muddy!