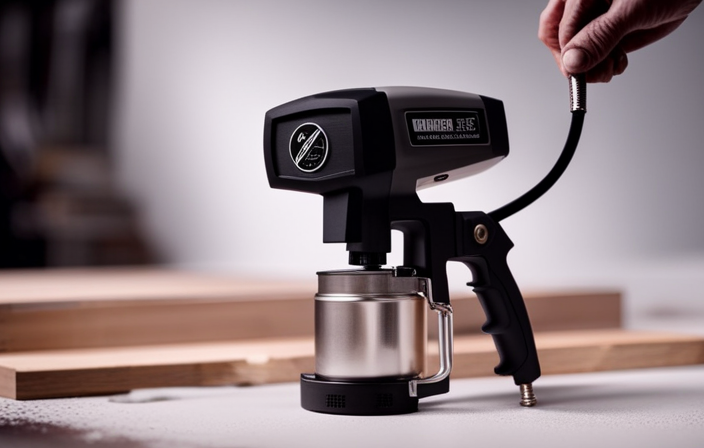

I may not be an expert in the world of paint sprayers, but I’ve come across something truly groundbreaking – the 5/8 HP Harbor Freight airless paint sprayer. Let me tell you, it packs a serious punch. Yet, there’s one crucial thing to keep in mind: in order to unleash its full power and turn your painting dreams into reality, knowing how to properly prime it is key. Trust me, this is a crucial step that can make a big difference in the end result of your painting project.
Lucky for you, I’ve done my research and gathered all the knowledge you’ll need to get that sprayer primed like a pro. In this article, I’ll guide you through the process step by step, from gathering your materials to adjusting the pressure settings.
So, buckle up and get ready to unlock the full potential of your Harbor Freight airless paint sprayer.
Key Takeaways
- Troubleshoot any issues during the priming process
- Monitor paint flow for clogs or inconsistencies
- Take immediate action if problems are noticed
- Regularly clean and maintain the paint sprayer to prevent clogs and ensure optimal performance
Gather Your Materials
Now, let’s gather all the materials you’ll need to prime your 5/8 hp Harbor Freight airless paint sprayer. Paint sprayer maintenance is crucial to ensure optimal performance and prevent any issues during your painting projects.
To begin, make sure you have a bucket of clean water, a clean cloth or rag, and a suitable paint thinner or cleaner. These materials will help you clean the sprayer and remove any residue or clogs that may affect its functionality. Troubleshooting common paint sprayer issues can be much easier if you have these materials readily available.
Once you have gathered these materials, you can proceed to the next section about preparing your paint, where we will discuss the necessary steps to achieve a smooth and even coat.
Prepare Your Paint
First, make sure you have the right paint for your project, as using the wrong type can lead to poor results. Did you know that using the correct paint can increase the durability of your finished surface by up to 50%? To ensure success, here are some tips for choosing the right paint for your project:
-
Consider the surface you’re painting and choose a paint that’s suitable for that specific material.
-
Look for paints labeled as ‘sprayable’ or ‘airless paint sprayer compatible’ to ensure proper flow through the sprayer.
-
Opt for paints that have a thinner consistency, as thicker paints may clog the sprayer nozzle.
-
Check the manufacturer’s recommendations for the type of paint that works best with your specific airless paint sprayer model.
When preparing paint for spraying, it’s important to avoid common mistakes that can affect the quality of your finish. Remember to strain the paint to remove any impurities, and mix it thoroughly to achieve a consistent texture.
Now that you’ve prepared your paint, let’s move on to setting up your paint sprayer.
Set Up Your Paint Sprayer
To achieve a flawless finish, it’s crucial to properly configure your paint sprayer. Before starting, make sure to perform routine maintenance on your paint sprayer to ensure optimal performance. This includes cleaning and inspecting the sprayer for any clogs or damages.
If you encounter any issues, such as uneven spray patterns or inconsistent flow, troubleshooting common problems like nozzle blockage or inadequate pressure is essential. By familiarizing yourself with the sprayer’s manual and troubleshooting guide, you’ll be equipped to handle any potential issues that may arise during the painting process.
Once you’ve ensured that your paint sprayer is in good condition, it’s time to connect the paint container, allowing for a smooth and uninterrupted flow of paint.
Connect the Paint Container
Make sure you’ve got your paint container ready to go, so you can effortlessly connect it to your sprayer and start achieving that flawless finish.
When connecting the paint container to your airless paint sprayer, it’s important to ensure proper paint container placement. There are different types of paint containers available for airless paint sprayers, such as gravity-fed containers or suction-fed containers. Gravity-fed containers are placed above the sprayer and rely on gravity to feed the paint into the sprayer, while suction-fed containers are placed below the sprayer and use suction to draw the paint up. Whichever type you choose, make sure it is securely attached to the sprayer to prevent any leaks or spills.
Now that the paint container is connected, let’s move on to the next step: filling the pump with paint.
Fill the Pump with Paint
Once the paint container is securely attached, you can fill the pump with your desired color, creating a vibrant and eye-catching finish on your project.
Before proceeding, it’s important to note that proper paint sprayer maintenance is crucial for optimal performance. To begin, make sure the sprayer is turned off and unplugged.
Next, remove the pump filter and immerse it in a container filled with the paint you’ll be using. This step helps prevent any clogs or blockages in the pump.
Once the filter is submerged, turn on the sprayer and allow the paint to flow through the system. If you encounter any troubleshooting paint spray issues, such as inconsistent flow or sputtering, check for clogs in the nozzle or blockages in the hose.
With the pump filled and the paint flowing smoothly, you’re now ready to turn on the sprayer and test the flow in the subsequent section.
Turn on the Sprayer and Test the Flow
Now it’s time to fire up the sprayer and see how the paint flows through the system. Before starting, it’s important to take some safety precautions during the priming process. Make sure you are wearing protective goggles and gloves to avoid any contact with the paint. Additionally, ensure that the sprayer is placed on a stable surface and the power cord is properly connected. Once everything is set, turn on the sprayer and check the flow of paint. If you encounter any issues, such as clogging or uneven spray, refer to the troubleshooting section in the user manual. It’s crucial to address these common issues before proceeding. Now, let’s move on to adjusting the pressure settings for optimal painting results.
Adjust the Pressure Settings
Adjusting the pressure settings on the sprayer will give you the power of a thousand paintbrushes, ensuring a flawless and efficient painting experience.
To begin, locate the pressure control knob on your Harbor Freight airless paint sprayer. Turn it clockwise to increase the pressure and counterclockwise to decrease it.
Start by setting the pressure to its lowest setting and gradually increase it until you achieve the desired flow and coverage. Keep in mind that a higher pressure may result in overspray, so it’s essential to find the right balance.
If you encounter any issues with the pressure, such as inconsistent flow or clogging, refer to the troubleshooting tips in the user manual.
With the pressure settings adjusted to perfection, you’re now ready to start priming the sprayer and bring your painting project to life.
Start Priming the Sprayer
Get ready to unleash the power of your sprayer by priming it with the perfect mixture of paint and pressure. Proper priming is essential to ensure optimal performance and prevent common issues that may arise during the painting process. To help you understand the importance of proper priming techniques, refer to the table below, which outlines troubleshooting tips for common issues that may occur during priming:
| Common Issue | Troubleshooting Solution |
|---|---|
| Clogging of the nozzle | Clean the nozzle with a cleaning solution |
| Inconsistent spray pattern | Adjust the pressure settings accordingly |
| Paint not flowing smoothly | Check for any obstructions in the paint hose |
By following these guidelines, you can troubleshoot and resolve any issues that may occur during the priming process. Now, let’s move on to the next section, where we will discuss how to monitor the priming process and ensure everything is running smoothly.
Monitor the Priming Process
Keep an eye on the priming process to ensure everything’s running smoothly and you’re ready to unleash the power of your sprayer.
Observing the progress is crucial as it allows you to troubleshoot any issues that may arise. As the sprayer primes, carefully monitor the flow of paint through the system, checking for any clogs or inconsistencies.
If you notice any problems, such as uneven spray patterns or sputtering, stop the process immediately and address the issue. This could involve checking the nozzle for blockages, adjusting the pressure settings, or ensuring proper paint viscosity.
By closely observing the priming process, you can ensure that your sprayer is functioning optimally before moving on to the next step of clean up and starting your painting project smoothly.
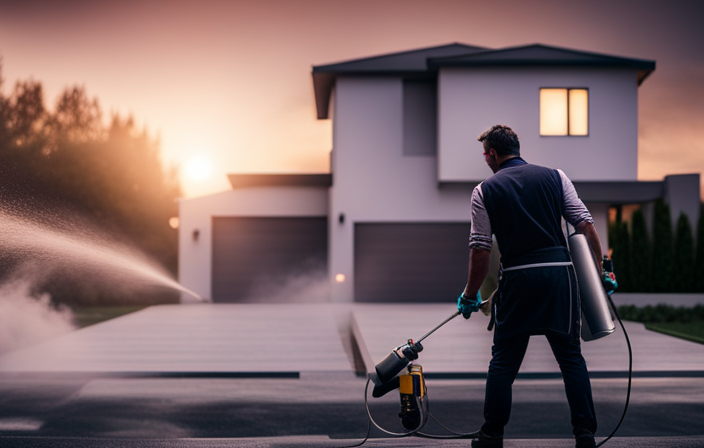
Clean Up and Start Painting
After monitoring the priming process of my 5/8 HP Harbor Freight airless paint sprayer, it’s time to move on to the next step: clean up and start painting. This is a crucial part of maintaining an airless paint sprayer to ensure optimal performance and longevity.
To begin, it’s important to clean the paint sprayer thoroughly after each use. This involves flushing out any remaining paint or residue from the system using a compatible cleaning solution.
Additionally, it’s advisable to inspect and clean the filters regularly to prevent clogs and maintain a consistent spray pattern.
When starting to paint, it’s essential to troubleshoot any common issues that may arise with airless paint sprayers. These include ensuring proper pressure settings, checking for clogs or blockages in the spray tip, and maintaining the correct distance from the surface being painted.
By following these tips and troubleshooting any problems, I can achieve professional-quality results with my Harbor Freight airless paint sprayer.
Frequently Asked Questions
How long does it typically take to prime a 5/8 HP Harbor Freight airless paint sprayer?
It typically takes a few minutes to prime a 5/8 hp Harbor Freight airless paint sprayer. To ensure smooth priming, make sure the sprayer is properly assembled, the suction tube is submerged in paint, and the pump is free of any clogs.
Can I use any type of paint with a Harbor Freight airless paint sprayer?
Using the wrong type of paint with an airless sprayer can cause clogs and uneven application. Troubleshooting common issues includes checking paint viscosity and using the appropriate nozzle size for different types of paint.
What safety precautions should I take while priming the sprayer?
When priming a paint sprayer, it is crucial to prioritize safety. Wear protective goggles, gloves, and a respirator. Ensure proper ventilation and keep a fire extinguisher nearby. Follow manufacturer instructions for priming process.
How do I know if the sprayer is properly primed and ready for use?
To troubleshoot priming issues, ensure the sprayer is properly assembled, with no leaks or clogs. Avoid common mistakes like insufficient paint in the hopper or improper pressure settings. Verify priming by checking for a steady flow of paint from the sprayer tip.
Are there any specific maintenance steps I should follow after using the paint sprayer?
After using the paint sprayer, it is crucial to follow specific maintenance steps. This includes thoroughly cleaning the sprayer, removing any paint residue, and ensuring all parts are properly lubricated for optimal performance and longevity.
Conclusion
In conclusion, priming your 5/8 HP Harbor Freight airless paint sprayer is an essential step before starting your painting project. By following the steps outlined in this article, you can ensure that your sprayer is properly set up and ready to deliver smooth and even paint application.
Remember to gather your materials, prepare your paint, and adjust the pressure settings to achieve optimal results. By taking the time to prime your sprayer, you’ll save time and effort in the long run.
So, get ready to transform your space with a professional finish!

Whether it’s a step-by-step tutorial on achieving flawless finishes or an in-depth analysis of the latest airless paint sprayer models, Joe’s ability to articulate complex ideas in a simple and engaging manner resonates with our diverse audience. His practical tips and techniques empower readers to tackle their projects with confidence.