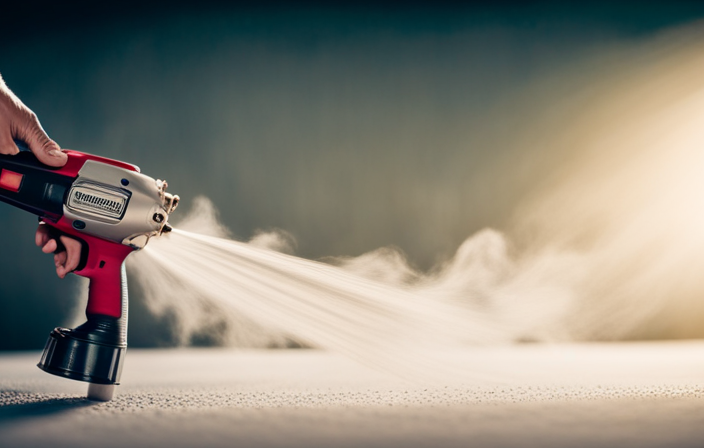
While holding the airless paint sprayer, I feel a rush of excitement. Countless opportunities await, and with this powerful tool in hand, turning any surface into a work of art is achievable.
In this article, I will guide you through the ins and outs of using an airless paint sprayer, from understanding its basic operation to achieving professional results.
We’ll start by delving into the fundamentals of the airless paint sprayer, learning how it works and what sets it apart from other painting methods. Then, I’ll walk you through the essential steps of preparing the surface for painting, ensuring a smooth and durable finish.
Next, we’ll dive into the world of paints and equipment, exploring the different types available and how to choose the right ones for your project. I’ll also show you how to set up and adjust the airless paint sprayer to achieve optimal spraying performance.
With proper technique and a steady hand, you’ll learn how to achieve even coverage and avoid common mistakes. I’ll also provide invaluable tips for cleaning and maintaining your airless paint sprayer, as well as troubleshooting common issues that may arise.
Safety is paramount, and I’ll share important guidelines to follow while using the airless paint sprayer.
Finally, for those seeking to take their painting skills to the next level, I’ll reveal advanced techniques and tips for achieving professional results.
So, grab your airless paint sprayer and join me on this journey of unleashing your creativity and transforming spaces with ease and precision.
Key Takeaways
- Clogs are a common problem with airless paint sprayers, accounting for 80% of sprayer issues.
- Uneven spray patterns can be caused by a worn-out spray tip, which may need to be replaced and properly aligned.
- Troubleshooting steps include checking and cleaning the filter for clogs, unsticking the inlet valve, and ensuring the suction tube is immersed in paint properly.
- Proper maintenance of the paint sprayer is crucial for safety, including inspecting for leaks or damaged parts before use and thoroughly cleaning the sprayer after each use to prevent clogging.

TICONN Anti-Fog Safety Glasses for Men and Women, ANSI Z87.1 Scratch Proof Eye Goggles with Adjustable Arms and UV Protection (Clear, 1PK)
- Durable Polycarbonate Construction: Impact-resistant and lightweight design
- Anti-Fog and UV Protection: Scratch-resistant, clear vision, blocks 99.9% UV
- Adjustable and Comfortable Fit: Rubber frame, nose pads, adjustable temples
As an affiliate, we earn on qualifying purchases.
Understanding the Basics of an Airless Paint Sprayer
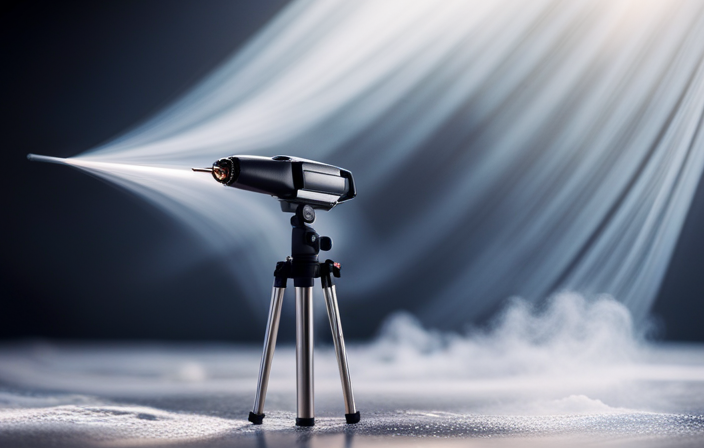
An airless paint sprayer uses high pressure to spray paint from a nozzle, resulting in a smooth and even coat of paint. It’s a powerful tool for both professionals and DIY enthusiasts because it can cover large areas quickly and efficiently. To get the best results with an airless paint sprayer, it’s important to understand the basics.
Firstly, surface preparation plays a crucial role in achieving a flawless finish. It involves cleaning the surface, removing any dirt or debris, and repairing any imperfections.
Additionally, mastering paint application techniques is essential. This includes maintaining a consistent distance from the surface, moving the sprayer in smooth and overlapping strokes, and adjusting the spray pattern based on the desired coverage.
By understanding these fundamentals, you can ensure a successful paint job.
Now, let’s move on to preparing the surface for painting.
Preparing the Surface for Painting
First, ensure your canvas is a blank slate, like a fresh sheet of paper waiting for your artistic touch.
Surface preparation techniques play a crucial role in achieving a flawless paint job with an airless paint sprayer. Start by thoroughly cleaning the surface to remove any dirt, dust, or grease. Use a mild detergent or a specialized cleaner for stubborn stains.
Next, inspect the surface for any cracks, holes, or imperfections. Fill them with a suitable filler and sand it smooth once dry.
Before painting, it’s essential to prime the surface. Priming not only helps the paint adhere better but also ensures a consistent color and finish. It also helps in covering up any previous paint colors or stains.
Now, you’re ready to move on to the next section about choosing the right paint and equipment for your project.
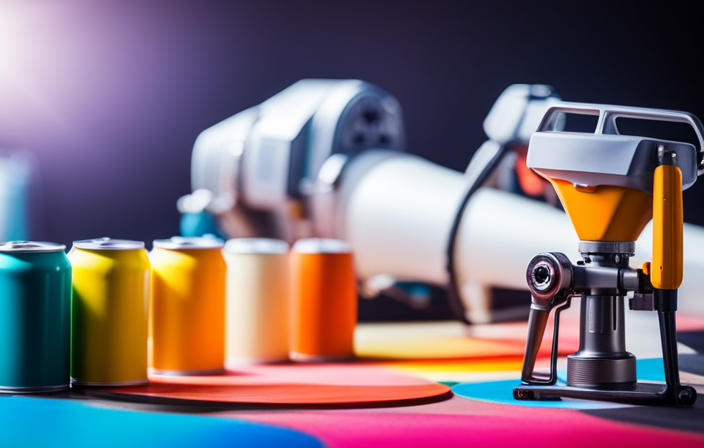
Choosing the Right Paint and Equipment
To make your painting project a breeze, all you need to do is select the perfect paint and equipment that suits your artistic vision and style.
When choosing paint colors, consider the mood you want to create in the space. Lighter colors can make a room feel more spacious, while darker colors can add drama and coziness.
It’s also important to take proper safety precautions when working with paint. Make sure to wear protective clothing, such as goggles and gloves, and work in a well-ventilated area.
Additionally, select high-quality equipment that’s durable and easy to use. This’ll ensure a smooth application and professional-looking finish.
Now that you’ve chosen the right paint and equipment, let’s move on to setting up and adjusting the airless paint sprayer.
Setting Up and Adjusting the Airless Paint Sprayer
Now let’s dive into the exciting process of getting your airless paint sprayer all set up and perfectly adjusted for your painting project! Here are three important steps to follow:
-
Adjusting pressure: Start by adjusting the pressure on your airless paint sprayer. This will depend on the type of paint you’re using and the surface you’re painting. Higher pressure is typically needed for thicker paints or rough surfaces, while lower pressure works best for thinner paints or smooth surfaces. Experiment with different pressures until you achieve the desired spray pattern and coverage.
-
Cleaning nozzles: Before you start spraying, it’s crucial to clean the nozzles thoroughly. Clogged nozzles can lead to uneven spray patterns or even complete blockages. Use a nozzle cleaning tool or a small brush to remove any dried paint or debris. This will ensure a smooth and consistent flow of paint.
Now that you have your airless paint sprayer set up and adjusted, let’s move on to the next section where we’ll discuss the proper techniques for spraying.
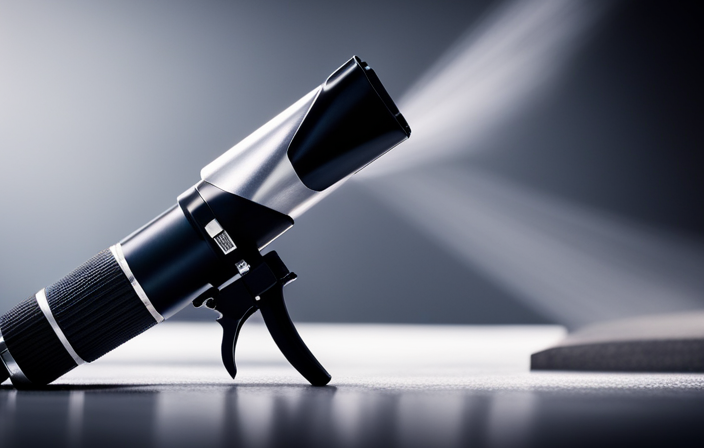
Proper Techniques for Spraying
Mastering the art of spraying with precision and finesse requires understanding and implementing proper techniques. When it comes to spraying, the technique you use can greatly affect the quality of your paint application.
To achieve the best results, start by holding the airless paint sprayer about 12-18 inches away from the surface you’re painting. Keep the sprayer moving in a smooth and steady motion, overlapping each pass by about 50% to ensure even coverage. It’s important to maintain a consistent distance and speed throughout the entire painting process.
Additionally, pay attention to the angle at which you hold the sprayer to avoid uneven application or drips. By mastering these spraying techniques, you can achieve a smooth and even finish that’ll make your paint job look professional.
Achieving a Smooth and Even Finish
Achieving a smooth and even finish with your painting technique is like adding the final touch of elegance to your masterpiece. To achieve a flawless finish, it’s essential to apply the paint evenly and avoid overspray.
Start by adjusting the spray pattern and pressure according to the surface you’re painting. Move the sprayer in a steady, overlapping motion, keeping a consistent distance from the surface. This will ensure a uniform application and prevent any streaks or unevenness.
It’s also important to maintain a constant speed to avoid any buildup of paint in certain areas. By following these techniques, you can achieve a professional-looking finish that’s smooth and even.
Now, let’s move on to the next section about cleaning and maintaining your airless paint sprayer.
Cleaning and Maintaining Your Airless Paint Sprayer
To keep your equipment running smoothly and ensure long-lasting performance, it’s important to regularly clean and maintain your trusty painting tool. Cleaning an airless paint sprayer involves a few key techniques to remove paint residue and prevent clogs. Start by flushing the system with a cleaning solution, then disassemble the spray gun and clean each component thoroughly. Use a soft brush or cloth to remove any stubborn paint residue. Additionally, regularly inspect and replace worn or damaged parts to maintain optimal performance. As for maintenance tips, lubricate the sprayer’s piston regularly and store it in a clean, dry area when not in use. Following these cleaning techniques and maintenance tips will help extend the lifespan of your airless paint sprayer and ensure consistent and efficient painting results. Now, let’s discuss troubleshooting common issues with your sprayer.
Troubleshooting Common Issues
Having trouble with your trusty painting tool? Let’s troubleshoot some common issues together and get you back on track.
Did you know that clogs are the most common problem faced by painters, accounting for 80% of sprayer issues? To troubleshoot clogs, start by checking the filter and ensuring it’s clean. If it’s clogged, remove it and clean it thoroughly.
Another common issue is uneven spray patterns, which can be caused by a worn-out spray tip. Replace the tip if necessary and make sure it’s properly aligned.
If the sprayer isn’t priming or spraying, check the inlet valve and ensure it isn’t stuck. Additionally, make sure the suction tube is immersed in the paint properly.
These troubleshooting techniques should help resolve most common issues.
Now, let’s move on to the next section about safety tips for using an airless paint sprayer.
Safety Tips for Using an Airless Paint Sprayer
Now let’s dive into some safety tips to ensure a smooth and accident-free experience when using this powerful tool.
Proper paint sprayer maintenance is crucial for safety. Always inspect the sprayer before use, checking for any leaks or damaged parts. It’s also important to clean the sprayer thoroughly after each use to prevent clogging and ensure optimal performance.
To prevent overspray accidents, make sure to wear protective clothing, including goggles, gloves, and a respirator. Clear the work area of any flammable materials and cover nearby objects to avoid accidental paint splatters.
Additionally, always point the sprayer away from yourself and others, and maintain a safe distance from the surface being painted. By following these safety tips, you can confidently and safely operate an airless paint sprayer.
Now, let’s move on to advanced techniques and tips for professional results.
Advanced Techniques and Tips for Professional Results
Mastering advanced techniques and tips can help you achieve the professional results you desire when using this powerful tool. Here are some professional painting techniques to help you achieve those flawless results:
-
Preparation is Key: Properly prepare the surface by cleaning it thoroughly and removing any loose paint or debris. This will ensure a smooth and even finish.
-
Overlap Strokes: When spraying, overlap each stroke by about 50% to avoid streaks or uneven coverage. This technique will create a seamless and professional-looking finish.
-
Maintain a Consistent Distance: Keep the sprayer at a consistent distance from the surface to ensure an even application of paint. This will prevent areas with too much or too little paint.
By following these professional techniques, you can achieve a flawless and professional-looking paint job every time. Don’t forget to practice and experiment to find the techniques that work best for you and the specific project at hand.
Frequently Asked Questions
Can I use an airless paint sprayer for outdoor projects?
Yes, an airless paint sprayer is perfect for outdoor projects. It provides a uniform and smooth finish, saving time and effort. To achieve a professional result, ensure proper surface preparation, use the right spray tip, and maintain a consistent spraying distance.
How do I know if my paint is compatible with an airless paint sprayer?
To determine paint compatibility with an airless paint sprayer, check the manufacturer’s instructions or labels on the paint can. Look for information on whether the paint is suitable for use with airless paint sprayer features.
Can I use an airless paint sprayer to paint furniture?
Using an airless paint sprayer for small furniture projects is a game-changer. It provides smooth, even coverage and saves time. The benefits include faster drying times, reduced overspray, and the ability to easily reach intricate details.
Is it necessary to thin the paint before using an airless paint sprayer?
Yes, it is necessary to thin the paint before using an airless paint sprayer. Thinning the paint reduces its viscosity, allowing it to flow smoothly through the sprayer, resulting in better coverage and a smoother finish.
How long does it take for the paint to dry when using an airless paint sprayer?
Paint drying time depends on factors like humidity and temperature. Best practices include allowing 24 hours for the first coat to dry before applying a second coat. Proper ventilation can help speed up the drying process.
Conclusion
In conclusion, using an airless paint sprayer can greatly simplify the painting process and provide professional results. By understanding the basics, preparing the surface properly, and choosing the right equipment and paint, you can achieve a smooth and even finish.
Setting up and adjusting the sprayer correctly, using proper spraying techniques, and regularly cleaning and maintaining the sprayer are essential for optimal performance. Remember the adage, "Practice makes perfect," as it takes time and practice to master the art of using an airless paint sprayer.