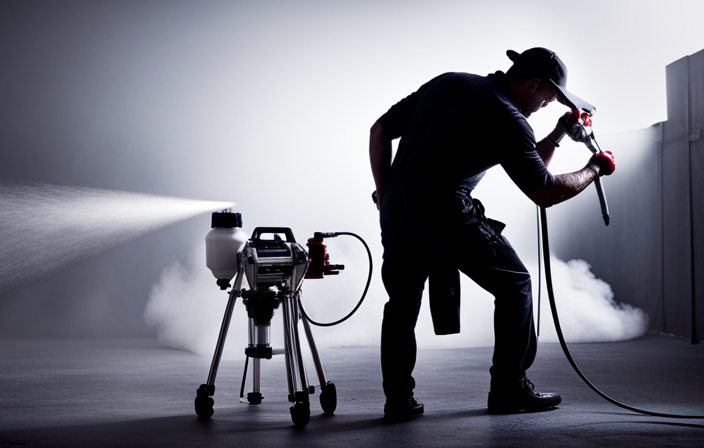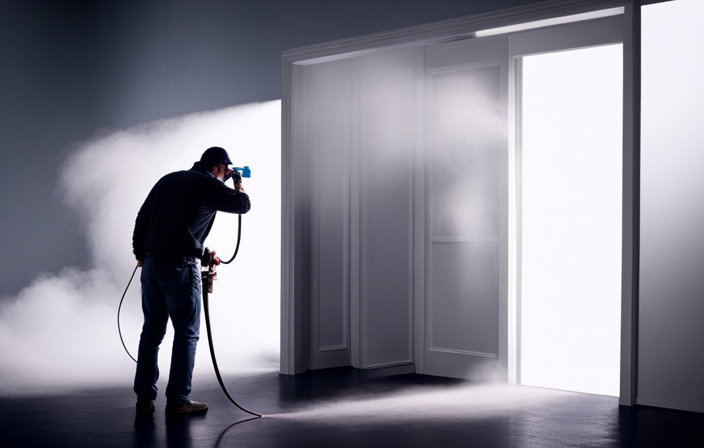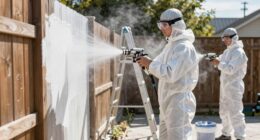
The saying, ‘A clean machine is a happy machine,’ effectively conveys the importance of taking care of your airless paint sprayer. Regular maintenance not only extends its life but also maximizes its efficiency.
Hi there, I’m here to guide you through the process of cleaning and storing your airless paint sprayer with precision and detail.
In this article, I will provide you with step-by-step instructions on how to properly clean your spray gun, filters, hose, and pump. I will also share valuable tips and tricks to troubleshoot any issues you may encounter along the way.
By following these guidelines and performing regular maintenance, you can ensure that your airless paint sprayer remains in optimal condition and delivers flawless results every time.
So, let’s dive in and learn how to keep your airless paint sprayer happy and ready for your next project.
Key Takeaways
- Clean the hose and pump with a suitable solvent (mineral spirits or lacquer thinner)
- Regularly inspect hose for wear or damage
- Disassemble and clean gun thoroughly
- Perform regular maintenance for longevity
Gather the Necessary Supplies
Now, let’s gather all the supplies you’ll need to clean and store your airless paint sprayer and make the process a breeze!
When it comes to cleaning solution alternatives, there are a few options you can consider. One popular choice is using a mixture of warm water and mild dish soap. This solution is effective at breaking down any paint residue and is gentle on the sprayer components.
Another option is using a specialized paint sprayer cleaner, which is designed to remove tough paint buildup.
In addition to the cleaning solution, you will also need a bucket, a brush with stiff bristles, a clean cloth or rag, and a small container for storing small parts. These supplies will ensure that you have everything you need to properly clean and maintain your airless paint sprayer.
Now, let’s move on to preparing the sprayer for cleaning.
Prepare the Sprayer for Cleaning
To prepare the sprayer for cleaning, I first remove the paint container by unscrewing it from the sprayer. This allows me to easily access the inner parts for a thorough cleaning.
Next, I release any pressure built up in the sprayer by pressing the trigger until no more paint or air is coming out. This ensures the safety of the cleaning process.
Finally, I disassemble the various parts of the sprayer, such as the nozzle, filter, and hose, to clean them individually. This ensures that all the components are properly cleaned and ready for the next use.
Remove the paint container
First things first, let’s get that paint container off the airless paint sprayer, shall we? When it comes to the cleaning process and maintenance tips for an airless paint sprayer, removing the paint container is an essential step.
To do this, start by ensuring that the sprayer is turned off and disconnected from the power source. Then, locate the latch or locking mechanism that holds the container in place. Depending on the model, you may need to twist, slide, or press a button to release it. Once unlocked, carefully lift the container away from the sprayer. This allows for easier access when cleaning the sprayer components thoroughly.
With the paint container removed, we can now move on to the next step, which is releasing any remaining pressure.
Release any pressure
Before you proceed, make sure to let out any built-up pressure, like releasing a dragon’s fiery breath, to ensure a safe and smooth cleaning process.
To release the pressure from the airless paint sprayer, locate the pressure relief valve on the sprayer pump. Turn the valve counterclockwise to release the pressure gradually, allowing any remaining paint or solvent to escape. This step is crucial for your safety and prevents any potential accidents during the cleaning process.
Once the pressure has been released, you can proceed to the next section and disassemble the sprayer parts. Remember to always follow safety precautions when handling the sprayer and its components.
Now, let’s move on to disassembling the sprayer parts for a thorough cleaning.
Disassemble the sprayer parts
Once you’ve relieved the pressure, it’s time to break down the components of the sprayer for a truly thorough clean. Start by removing the nozzle and the tip guard, followed by the gun filter and the gun itself.
Be careful not to misplace any small parts during disassembly. To ensure a proper clean, use a cleaning solution alternative such as warm soapy water or a mixture of vinegar and water. Avoid using harsh chemicals that can potentially damage the sprayer.
Clean each part thoroughly, removing any paint residue or debris. Pay special attention to the nozzle and tip guard, as these are prone to clogs. It’s important to avoid common sprayer maintenance mistakes such as neglecting to clean the parts properly.
Once you’ve finished cleaning the sprayer components, you can move on to cleaning the spray gun.
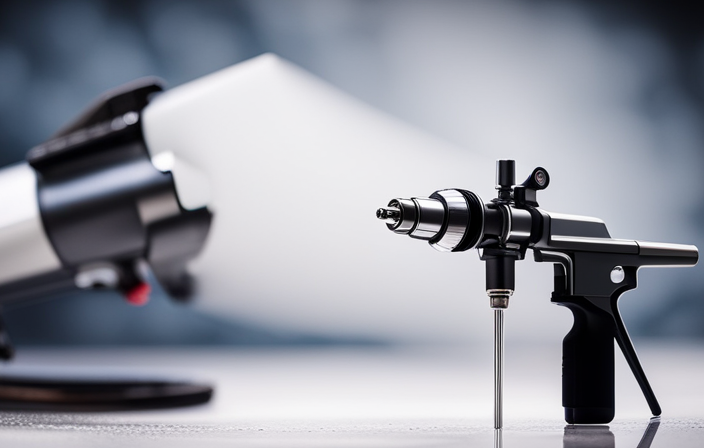
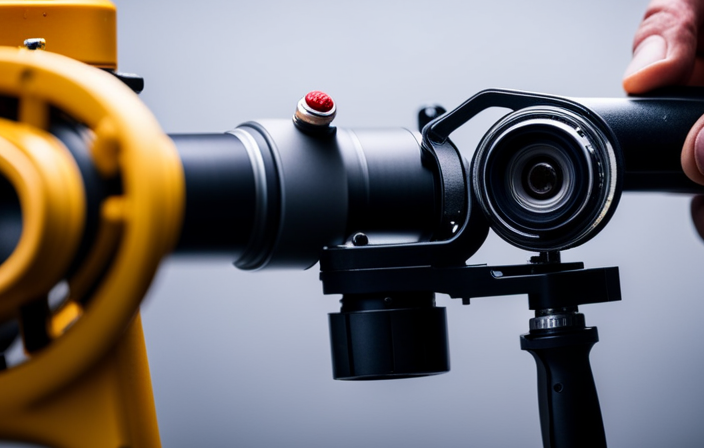
Clean the Spray Gun
To clean the spray gun, you’ll need to dismantle it and rinse the parts under running water, removing any remaining paint residue. It’s important to properly clean the spray gun to ensure optimal performance and longevity.
There are several cleaning solution options available, such as using a mild detergent or a specialized paint sprayer cleaner. Once the gun is disassembled, I recommend soaking the parts in the cleaning solution for a few minutes to loosen any stubborn paint. Then, using a soft brush, gently scrub the components to remove any remaining residue. Rinse thoroughly with water to ensure all traces of paint and cleaning solution are removed.
Now, you can move on to cleaning the filters, which play a crucial role in maintaining the efficiency of your paint sprayer.
Clean the Filters
The next step is to ensure that the filters are free from any debris or clogs. Cleaning the filters is an essential part of maintaining an airless paint sprayer.
To start, remove the filters from the spray gun and inspect them for any dirt or buildup. Gently tap the filters to dislodge any loose particles, then rinse them with warm water. If there are stubborn clogs, use a soft brush or toothbrush to scrub away the debris. Make sure to clean both the inlet and outlet filters thoroughly.
Once the filters are clean, allow them to dry completely before reattaching them to the spray gun. With these cleaning techniques and maintenance tips, your airless paint sprayer will continue to work efficiently.
Now, let’s move on to cleaning the hose and pump.
Clean the Hose and Pump
To clean the hose and pump of an airless paint sprayer, the first step is to flush the hose with a cleaning solution. This helps to remove any leftover paint or debris that may be clogging the hose.
Next, I use a brush to carefully remove any clogs that may be present, ensuring that the hose is thoroughly cleaned.
Finally, I clean the pump with a suitable solvent, making sure to follow the manufacturer’s instructions for the specific type of pump I have. This helps to remove any built-up paint or residue that may affect the performance of the sprayer.
Flush the hose with a cleaning solution
First, you’ll want to grab a bucket of cleaning solution and get ready to flush the hose of your airless paint sprayer. This step is crucial to ensure that any leftover paint or debris is completely removed from the hose, preventing clogs and maintaining optimal performance. Here are some best practices for this process:
- Start by disconnecting the hose from the pump and gun.
- Submerge one end of the hose into the bucket filled with a cleaning solution of your choice. (Some alternatives include warm soapy water, vinegar solution, or a commercial cleaning agent specifically designed for paint sprayers.)
- Turn on the sprayer and let the cleaning solution run through the hose for a few minutes.
Repeat the process with clean water to thoroughly rinse the hose.
Finally, reconnect the hose and move on to the next step: using a brush to remove any clogs.
By following these steps, you can ensure that your airless paint sprayer’s hose is properly cleaned and ready for use. Now, let’s move on to using a brush to remove any clogs.
Use a brush to remove any clogs
Next, grab a brush and gently scrub away any obstructions that may be causing clogs in the hose. Using a cleaning brush specifically designed for this purpose will ensure that you effectively remove any buildup or debris that could hinder the paint sprayer’s performance.
Pay close attention to any tight corners or bends in the hose, as these areas are more prone to clogs. Be thorough in your cleaning, making sure to remove any particles that may have accumulated over time.
By regularly using a brush to clean the hose, you can prevent clogs and maintain optimal functionality of your airless paint sprayer.
Once you’ve finished cleaning the hose, you can move on to the next step of cleaning the pump with a suitable solvent.
Clean the pump with a suitable solvent
After scrubbing away any clogs in the hose, it’s time to give the pump some attention by using a suitable solvent to ensure its smooth operation. Just like adding oil to a car engine to keep it running smoothly, cleaning the pump is an essential step in maintaining your airless paint sprayer.
To begin, make sure you have a recommended solvent on hand, such as mineral spirits or lacquer thinner. These solvents are effective in dissolving paint residues and preventing future clogs.
Start by removing the pump from the sprayer and submerging it in the solvent for about 10 minutes. Gently scrub any remaining paint with a brush or cloth, paying close attention to the intake valve and piston.
Rinse the pump thoroughly with water to remove any residual solvent. With the pump now clean and free of clogs, we can move on to reassembling the sprayer and getting it ready for future use.
Reassemble the Sprayer
To reassemble the sprayer, you’ll need to carefully piece together its components, transforming it from a collection of parts into a powerful tool ready to bring your painting projects to life. The reassembling process is crucial to ensure the sprayer functions smoothly and efficiently. To assist you in this process, here is a helpful table outlining the key components and their proper placement:
| Component | Placement |
|---|---|
| Nozzle | Attach to the spray gun |
| Pump housing | Securely fasten to the base |
| Hose connection | Connect to the pump outlet |
| Pressure control knob | Adjust according to needs |
| Trigger | Attach to the spray gun |
Once you have successfully reassembled the sprayer, it’s important to store it properly to maintain its longevity. This involves taking precautions to prevent any damage or clogging.
Store the Sprayer Properly
To properly store the sprayer, the first step is to empty and clean the paint container thoroughly. I like to make sure there’s no leftover paint or residue that could potentially clog the sprayer in the future.
After that, I wrap the hose and gun in a clean cloth to protect them from dust and debris.
Finally, I store the sprayer in a clean and dry area, away from any potential hazards or extreme temperatures. By following these steps, I can ensure that my sprayer stays in good condition and is ready to use for my next painting project.
Empty and clean the paint container
First, start by emptying and cleaning the paint container of your airless paint sprayer so it’s ready for your next painting project.
Here are four easy steps to follow for cleaning the paint container:
-
Remove the container from the sprayer and pour any remaining paint back into the original can or a separate container. This’ll prevent any leftover paint from drying and clogging the sprayer.
-
Rinse the container with warm water to remove any excess paint. Use a brush or sponge to scrub the inside of the container, focusing on areas with stubborn paint residue.
-
Fill the container with a cleaning solution specifically designed for airless paint sprayers. Let it sit for a few minutes to break down any remaining paint.
-
Rinse the container thoroughly with clean water until all the cleaning solution and paint residue are completely removed.
Once the paint container is clean, you can move on to the next step of wrapping the hose and gun in a clean cloth to protect them from dust and damage.
Wrap the hose and gun in a clean cloth
After emptying and cleaning the paint container, it’s important to protect the hose and gun of your airless paint sprayer by wrapping them in a clean cloth. This step helps prevent dust and damage, ensuring the longevity of your equipment. Cleaning techniques and maintenance procedures are crucial in keeping your airless paint sprayer in optimal condition. By following these steps, you can maintain its performance and extend its lifespan. Here is a table outlining the cleaning techniques and maintenance procedures for your airless paint sprayer:
| Cleaning Techniques | Maintenance Procedures |
|---|---|
| Flush the system with clean water after each use | Regularly inspect the hose for any signs of wear or damage |
| Disassemble and clean the gun thoroughly | Lubricate the moving parts and seals with appropriate oil |
| Use a soft brush or cloth to remove any paint residue | Store the sprayer in a clean and dry area |
By properly cleaning and maintaining your airless paint sprayer, you can ensure its effectiveness and longevity. Now, let’s move on to storing the sprayer in a clean and dry area for optimal protection.
Store the sprayer in a clean and dry area
Make sure you find a safe and dry spot to keep your sprayer in top condition. Proper storage is essential for maintaining the longevity and performance of your airless paint sprayer. When choosing a storage location, consider factors such as temperature, humidity, and exposure to sunlight.
It’s important to store the sprayer in a clean and dry area to prevent any moisture or dust from damaging its components. Additionally, make sure to remove any leftover paint from the sprayer and clean it thoroughly before storing. This will help prevent clogs and ensure smooth operation when you use it again.
By following these proper storage and maintenance tips, you can ensure that your airless paint sprayer remains in excellent condition. Remember, regular maintenance is also crucial for optimal performance, so let’s move on to the next section on how to perform regular maintenance.
Perform Regular Maintenance
To keep your airless paint sprayer in tip-top shape, don’t be a neglectful owner and skimp on regular maintenance. Regular preventive maintenance is crucial for the longevity and performance of your sprayer.
Here are a couple of important tasks you should include in your maintenance routine:
-
Clean the sprayer thoroughly after each use. Use the best cleaning solutions recommended by the manufacturer to remove any paint residue and prevent clogs in the system.
-
Inspect the spray gun, hose, and filters regularly for any signs of wear or damage. Replace any worn-out parts to ensure smooth operation and prevent leaks.
By performing these regular maintenance tasks, you can keep your airless paint sprayer in optimal condition and avoid costly repairs.
Now, let’s move on to some troubleshooting tips to help you address any issues that may arise.
Troubleshooting Tips
Now that we’ve covered the importance of regular maintenance for your airless paint sprayer, let’s move on to troubleshooting tips. Even with proper maintenance, issues can still arise, but luckily there are some simple techniques you can try before calling for professional help.
One common issue is a clogged nozzle, which can be resolved by carefully removing it and cleaning it with warm water or a nozzle cleaner. If the sprayer isn’t priming or has uneven spray patterns, adjusting the pressure settings or inspecting the spray tip for wear and tear may solve the problem.
Additionally, leaks can often be fixed by tightening any loose connections or replacing worn-out seals. By following these troubleshooting techniques, you can quickly address common issues and keep your airless paint sprayer in top shape.
Now, let’s move on to additional tips and tricks for optimal performance.
Additional Tips and Tricks
Get ready to take your paint projects to the next level with these additional tips and tricks for achieving flawless results!
When it comes to cleaning your airless paint sprayer, there are a few techniques that can help make the process easier. First, make sure to thoroughly flush out the sprayer with water or a cleaning solution after each use. This’ll prevent any leftover paint from drying and clogging the system. Additionally, use a brush or toothpick to remove any stubborn paint residue from the nozzle and other parts. This can ensure optimal performance.
When it comes to storing your airless paint sprayer, there are a few hacks that can help prolong its lifespan. First, make sure to empty the paint container and clean it thoroughly before storing. This’ll prevent any dried paint from causing damage. Next, disassemble the sprayer and store the parts in a clean and dry place. It’s also a good idea to cover the sprayer with a cloth or plastic bag to protect it from dust and debris.
By following these cleaning techniques and storage hacks, you can keep your airless paint sprayer in top-notch condition for years to come.
Frequently Asked Questions
Can I use regular paint thinner to clean my airless paint sprayer?
No, it is not recommended to use regular paint thinner to clean your airless paint sprayer. There are alternative cleaning methods that are more effective and safer. It is important to follow best practices for storing your airless paint sprayer to ensure its longevity.
How often should I clean the filters in my airless paint sprayer?
To extend the lifespan of your airless paint sprayer and maintain optimal performance, it is recommended to clean the filters regularly. This helps to prevent clogs and ensure proper paint flow, resulting in a smoother painting experience.
Is it necessary to disassemble the spray gun for cleaning?
Disassembling the spray gun for cleaning has several benefits. It allows for a thorough cleaning of all the parts, ensuring that no paint residue remains. However, there are alternative cleaning methods available that can be used if disassembling is not desired.
Can I store my airless paint sprayer with paint still inside?
No, it’s not advisable to store an airless paint sprayer with paint still inside. It can lead to clogs and damage the machine. Proper cleaning and storing processes are essential to ensure its longevity and optimal performance.
What should I do if my airless paint sprayer won’t start or has low pressure?
If my airless paint sprayer won’t start or has low pressure, troubleshooting tips for maintaining it include checking the power source, cleaning the filters, inspecting the nozzle, and ensuring proper priming.
Conclusion
In conclusion, cleaning and storing your airless paint sprayer is essential for its longevity and optimal performance. By following the steps outlined in this article, you can ensure that your sprayer remains in top-notch condition for future use.
Remember to gather all the necessary supplies, clean the spray gun, filters, and hose thoroughly, and store the sprayer properly. Performing regular maintenance and troubleshooting any issues will also help you avoid any future hiccups.
So go ahead, give your sprayer some TLC, and keep on painting like a pro!