
Have you ever taken a close look at your interior doors and thought they could use a fresh coat of paint? I know I have. Although the task of painting interior doors can appear intimidating, it transforms into a gratifying do-it-yourself (DIY) project once you’re equipped with the right tools and techniques. In this article, I’ll show you how to paint interior doors using an airless sprayer.
Imagine this: you walk into a room with beautifully painted doors that instantly catch your eye. The smooth, even strokes of paint give the doors a professional finish, and the color perfectly complements the room’s decor. With an airless sprayer, achieving this level of perfection is within reach.
In this step-by-step guide, I’ll take you through the entire process, from preparing the door and surrounding area to choosing the right paint and equipment. I’ll also share tips on priming the door, setting up and adjusting the airless sprayer, and paying attention to detail and edges. By following these instructions, you’ll be able to transform your interior doors and enjoy the results for years to come.
Let’s get started!
Key Takeaways
- Proper preparation is key: Cover floor and furniture with drop cloths, remove hardware and accessories, clean and lightly sand the surface of the door.
- Choose the right paint brand and color for your interior doors.
- Select an appropriate type of airless sprayer and set it up and adjust it according to the manufacturer’s instructions.
- Use the correct spraying technique: Hold the sprayer about 12 inches away from the surface, move in smooth, fluid strokes, and avoid jerky movements and stopping in one spot.

HomeRight C800971 Super Finish Max, Includes 3 Brass Spray Tips, 3 Spray Patterns, Easy to Clean HVLP Paint Sprayer, Great for Furniture, Cabinets, Trim & More, Sprays Stains, Sealers & Latex Paints
- Versatile DIY Paint Sprayer: Ideal for furniture, cabinets, and more
- Multiple Spray Patterns: Horizontal, vertical, and round options
- Adjustable Material Flow: Control knob for output customization
As an affiliate, we earn on qualifying purchases.
Prepare the Door and Surrounding Area
Before you start spraying, make sure to cover the floor and any nearby furniture with drop cloths to protect them from paint splatter. This is an essential step in painting interior doors with an airless sprayer.
To ensure a smooth and professional finish, it’s important to properly prepare the door and the surrounding area. Start by removing any hardware or accessories from the door, such as handles or hinges.
Next, thoroughly clean the surface of the door to remove any dirt or grease. Once the door is clean, lightly sand the surface to create a rough texture that’ll help the paint adhere better. Use a sanding block or sandpaper to gently sand the entire surface, paying attention to any rough areas or imperfections.
After sanding, wipe down the door with a damp cloth to remove any dust. Now that the door and surrounding area are prepared, it’s time to choose the right paint and equipment.
Choose the Right Paint and Equipment
Firstly, you’ll want to ensure you have the perfect paint and equipment to effortlessly transform your interior doors. When it comes to choosing the right paint, there are several brands to consider, such as Sherwin-Williams, Benjamin Moore, and Behr. These brands offer a wide range of colors and finishes that will suit your preferences and interior design style.
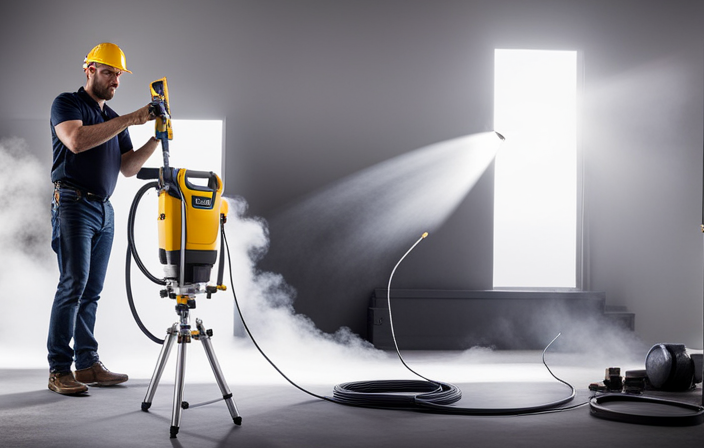
Additionally, it’s essential to select the appropriate type of airless sprayer for the job. There are different options available, including handheld sprayers and professional-grade sprayers. Consider factors like your experience level, the size of the project, and the type of paint you’ll be using.
With the right paint and equipment in hand, you’ll be ready to prime the door for better adhesion in the next section.
Prime the Door for Better Adhesion
Now that you’ve got the perfect paint and equipment in hand, it’s time to give your interior doors a professional touch by priming them for better adhesion.
Primer is a crucial step in the painting process as it helps improve paint adhesion and ensures a smooth and long-lasting finish. Before applying the primer, make sure the door is clean and free from any dirt or grease. Use sandpaper to lightly roughen the surface, which’ll help the primer adhere better.
Apply the primer evenly using a brush or roller, making sure to cover all areas including the edges. Allow the primer to dry completely before moving on to the next step.
With the doors primed and ready, it’s time to set up and adjust the airless sprayer for a flawless paint job.
Set Up and Adjust the Airless Sprayer
Get ready to achieve a flawless finish on your freshly primed doors by setting up and adjusting your powerful paint-spraying tool. Using airless sprayer techniques is key to getting professional-looking results. To start, ensure that your sprayer is clean and in good working condition. Refer to the manufacturer’s instructions for specific setup steps, but generally, you will need to attach the paint hose, prime the pump, and adjust the pressure settings. Troubleshooting airless sprayer issues may involve checking for clogs, leaks, or uneven spray patterns. Remember to wear protective gear and cover surrounding surfaces before starting. Once your sprayer is set up, practice on a test surface to ensure the spray pattern is even and the pressure is adjusted correctly. With these preparations, you’ll be ready to move on to the next step of painting your doors with smooth and even strokes.
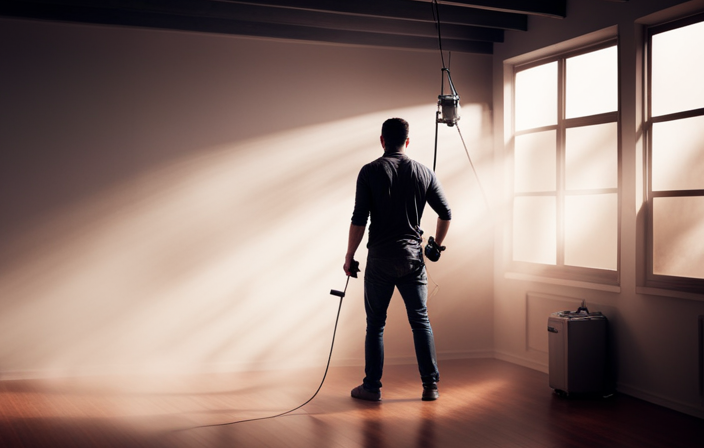
Start with Smooth and Even Strokes
Are you ready to achieve a flawless finish on your freshly primed surfaces with smooth and even strokes? When using an airless sprayer to paint interior doors, it’s crucial to master the smooth strokes technique.
Start by holding the sprayer about 12 inches away from the surface and move your arm in a steady, fluid motion. Avoid jerky movements or stopping in one spot, as this can result in uneven coverage and drips. Keep the sprayer parallel to the door and maintain a consistent distance throughout.
It’s important to be patient and take your time to ensure a smooth and even coat. By avoiding common painting mistakes such as rushing or using too much paint in one area, you can achieve professional-looking results.
Now, let’s move on to the next step and learn how to apply multiple thin coats for a professional finish.
Apply Multiple Thin Coats for a Professional Finish
To achieve a flawless and professional finish, it’s crucial to apply multiple thin coats with smooth and even strokes. This technique ensures that the paint is evenly distributed and minimizes the risk of drips or streaks. Here are some professional techniques for achieving a flawless finish:
- Start by applying a thin coat of paint, making sure to cover the entire surface.
- Allow the coat to dry completely before applying the next one.
Repeat the process, applying thin coats until the desired coverage is achieved.
- Pay attention to the direction of the strokes, ensuring they’re smooth and even.
- Use a light touch when applying the paint to avoid buildup or pooling.
By applying multiple thin coats, you’ll be able to achieve a professional finish that’s smooth and even.
Transitioning to the subsequent section about ‘pay attention to detail and edges’, it’s important to focus on these areas to ensure a seamless result.
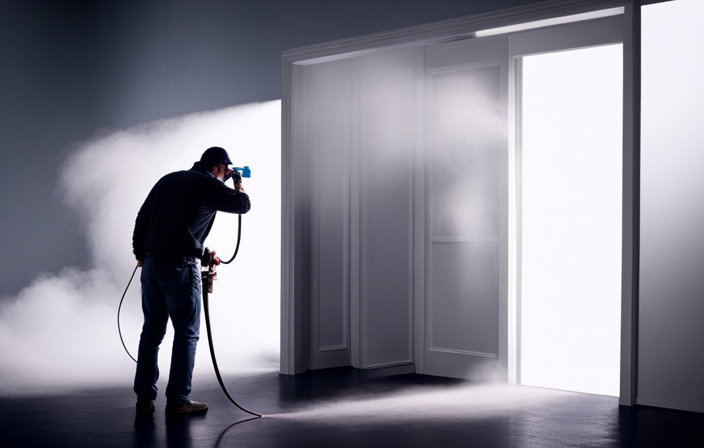
Pay Attention to Detail and Edges
Give your project that extra touch of perfection by paying close attention to the small details and edges. When using an airless sprayer to paint interior doors, it’s crucial to ensure that the edges are properly coated and that no spots are missed. Take your time and carefully go over the edges, making sure to feather the paint towards the center of the door for a seamless finish.
Additionally, pay attention to any imperfections or blemishes on the surface of the door, as the sprayer can highlight them. Use a small brush or roller to touch up these areas before moving on to the next coat. By giving special attention to the details and edges, you’ll achieve a professional-looking result that will make your interior doors stand out.
Now, let’s move on to the next section about allowing sufficient drying time between coats.
Allow Sufficient Drying Time between Coats
After carefully paying attention to detail and ensuring clean edges, it’s crucial to allow sufficient drying time between coats when painting interior doors with an airless sprayer. Proper drying time management is key to achieving a professional and flawless finish. Rushing the process can result in paint drips and uneven coverage, compromising the overall appearance of the door.
To prevent this, it’s recommended to follow the manufacturer’s instructions regarding drying time between coats. Additionally, it’s important to create a well-ventilated area to aid in the drying process. By allowing each coat to fully dry before applying the next, you can ensure a smooth and even finish.
Now, let’s move on to the next section, where we’ll discuss how to clean and maintain your airless sprayer.
Clean and Maintain Your Airless Sprayer
Make sure you regularly clean and maintain your airless sprayer, just like you would care for a high-performance sports car, to ensure its optimal performance and longevity. Cleaning techniques for your airless sprayer are essential to prevent clogs and maintain consistent paint flow. Here are some tips to keep your sprayer in top shape:
| Cleaning Technique | Description |
|---|---|
| Flush with Water | After each painting session, flush the sprayer with water to remove any remaining paint. This helps prevent dried paint from clogging the system. |
| Disassemble and Clean | Periodically, disassemble the sprayer and clean each part thoroughly. Pay special attention to the nozzle, filters, and hoses. Use a brush and water or solvent to remove any dried paint or debris. |
| Lubricate Moving Parts | Lubricate the moving parts of your sprayer regularly to ensure smooth operation. Refer to your sprayer’s manual for the recommended lubricant and application method. |
Troubleshooting common issues with airless sprayers can save you time and frustration. If you encounter problems like uneven spray patterns or loss of pressure, refer to the troubleshooting section of your sprayer’s manual or contact the manufacturer for assistance. Once you’ve cleaned and maintained your airless sprayer, you can enjoy your newly painted interior doors!
Enjoy Your Newly Painted Interior Doors!
Now that you’ve got your freshly painted interior doors all done, it’s time to appreciate the stunning transformation! Here are some tips to help you choose the right paint color for your doors and make sure they’re properly cleaned and prepped before painting:
-
Consider the overall style and color scheme of your room when choosing a paint color for your doors.
-
Test out different paint samples on a small area of the door to see how they look in different lighting conditions.
-
Clean the doors thoroughly by removing any dirt, grease, or grime using a mild detergent and water.
-
Sand the doors lightly to create a smooth surface for the paint to stick to.
By following these tips, you can ensure that your newly painted interior doors not only look beautiful but also last a long time. Enjoy the refreshed and updated look they bring to your space!
Frequently Asked Questions
Can I use a brush or roller instead of an airless sprayer to paint interior doors?
When it comes to painting interior doors, using a brush or roller instead of an airless sprayer has its pros and cons. Let’s weigh the options and consider factors like efficiency, finish quality, and ease of use.
What type of paint is best for interior doors when using an airless sprayer?
When using an airless sprayer to paint interior doors, the best type of paint to use is a high-quality latex paint. It provides excellent coverage, dries quickly, and leaves a smooth and professional finish.
How do I clean the airless sprayer after painting interior doors?
To clean the airless sprayer after painting interior doors, proper maintenance is crucial. One important tip is to thoroughly flush the sprayer with a cleaning solution to remove any leftover paint and prevent clogs.
Can I paint the door hinges and hardware with the airless sprayer?
Yes, you can paint the door hinges and hardware with an airless sprayer. To protect the hardware, cover it with painter’s tape or remove it before painting. Make sure to paint the door frames as well for a complete and professional-looking finish.
How long should I wait before reinstalling the painted interior doors?
I waited patiently for the paint to dry on my freshly painted interior doors, like a child waiting for Christmas morning. The drying time for painted interior doors can vary, but it’s generally recommended to wait at least 24 hours before reinstalling them.
Conclusion
After following these steps, you’ll be able to admire your aesthetically pleasing and professionally painted interior doors. The process may seem daunting, but with the proper preparation, equipment, and technique, you’ll achieve a flawless finish.
Remember to take your time and pay attention to detail, ensuring smooth and even strokes. Allow ample drying time between coats to guarantee a durable and long-lasting result.
By maintaining your airless sprayer, you’ll be ready for future painting projects. Enjoy the transformation and revel in the remarkable results!