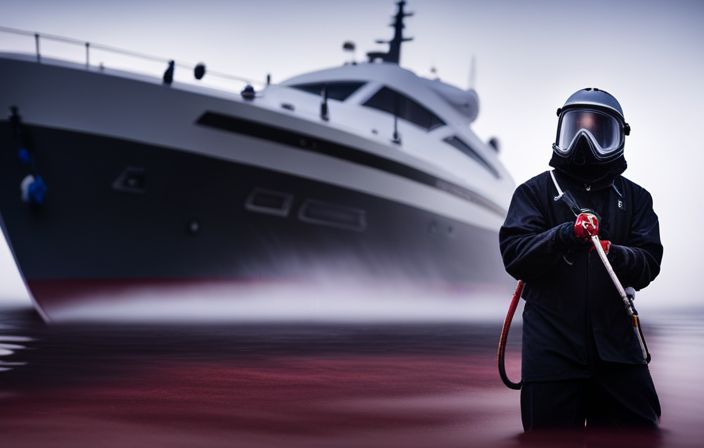
You’ve recently obtained a boat that needs a fresh coat of paint. Well, you’re in for a treat, my friend. In this tutorial, I will show you how to paint your boat using an airless sprayer. Trust me, this technique will change the way you approach boat painting.
Now, before we dive into the nitty-gritty of painting, there are a few things you’ll need to do to prepare. Don’t worry, it’s all part of the process. Once you’ve gathered the necessary materials and set up your work area, it’s time to get down to business.
We’ll start by priming the surface, ensuring a smooth and even base for the paint. Then, it’s simply a matter of loading up the sprayer, and with a steady hand, applying that beautiful coat of paint.
But hey, don’t rush it! Give the paint some time to dry, and if needed, apply additional coats for that perfect finish. And of course, don’t forget to clean and maintain your airless sprayer for future use.
So, grab your overalls and let’s get painting!
Key Takeaways
- Prepare the boat by cleaning and repairing surface imperfections, choosing durable and compatible paint, and ensuring proper ventilation and a dust-free environment.
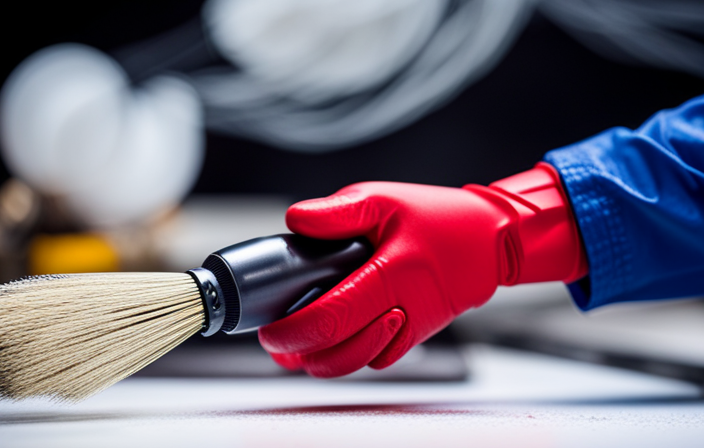
- Gather necessary materials and equipment such as a high-pressure airless sprayer for marine use, high-quality marine-grade paint, safety goggles, gloves, and a respirator.
- Set up a well-ventilated work area, clear of obstacles and debris, and cover nearby surfaces with drop cloths or plastic sheets.
- Prime the surface by cleaning and sanding the boat, filling dents and scratches, and applying marine-grade primer in thin, even coats.
Prepare the Boat for Painting
Now it’s time to get the boat all set up and ready for a fresh coat of paint! Before diving into the actual painting process, it’s crucial to prepare the surfaces properly.
Start by thoroughly cleaning the boat to remove any dirt, grease, or old paint. This can be done using a pressure washer or a scrub brush with a degreaser.
Next, inspect the surfaces for any imperfections such as cracks, dents, or rough spots. These should be sanded down or filled with an appropriate filler to ensure a smooth finish.
Once the surfaces are clean and smooth, it’s essential to choose the right paint for your boat. Consider factors like durability, weather resistance, and compatibility with the existing coating.
Now that the boat is prepped, let’s move on to gathering the necessary materials and equipment for the painting process.
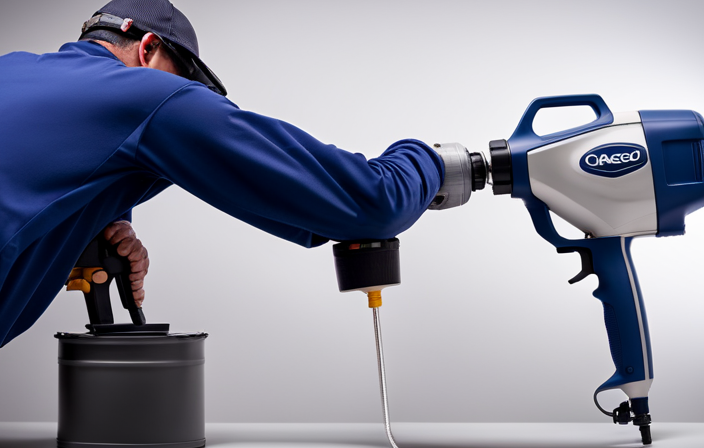
Gather the Necessary Materials and Equipment
First, make sure you have all the required materials and equipment on hand. Here is a list of the necessary items and tools for painting your boat with an airless sprayer:
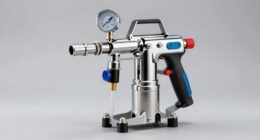
- Airless sprayer: Choose a sprayer that is suitable for marine use and has a high-pressure capacity.
- Paint: Use high-quality marine-grade paint that is specifically designed for boats.
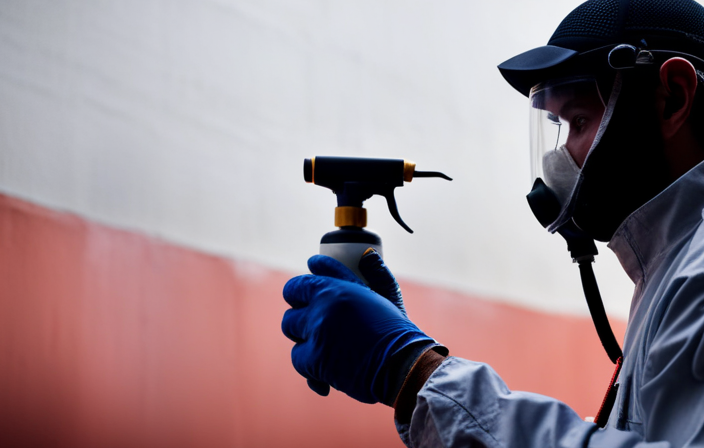
- Personal protective equipment (PPE): Wear safety goggles, gloves, and a respirator to protect yourself from fumes and overspray.
Preparation tips:
- Before starting, clean the boat thoroughly and repair any cracks or imperfections.
- Ensure the area is well-ventilated and free from dust or debris.
Troubleshooting tips:
- If the sprayer clogs, check the nozzle for blockages and clean it.
- Adjust the spray pattern and pressure to achieve an even coat.
To set up your work area and begin painting, transition into the subsequent section.
Set Up Your Work Area
Before you start transforming your vessel into a work of art, it’s important to create the perfect space for your painting adventure. Proper work area setup and workspace organization are crucial for achieving a flawless paint job with an airless sprayer.
First, select a well-ventilated area, preferably outdoors or in a well-ventilated garage. This will help to ensure that you have proper air circulation and minimize the inhalation of fumes.
Next, clear the space of any obstacles or debris that could interfere with your painting process. This includes removing any furniture, tools, or other items that may be in the way.
Cover the floor and nearby surfaces with drop cloths or plastic sheets to protect them from paint overspray. This will help to prevent any accidental paint spills or splatters from damaging your work area.
Now, it’s time to set up your paint sprayer. Make sure that it is functioning properly and that all the necessary components are in place. This includes checking the nozzle, hose, and paint container to ensure that they are clean and in good condition.
Finally, make sure that you have all the necessary tools and materials within easy reach. This includes having enough paint, brushes, rollers, and any other supplies that you may need for your project.
Once your work area is set up and ready to go, you can move on to the next crucial step in achieving a professional finish – priming the surface.
Prime the Surface
Get your vessel ready for its transformation by giving it a solid foundation with a primer, like a sturdy canvas before a masterpiece is painted. Surface preparation is crucial before applying the primer. Begin by thoroughly cleaning the boat’s surface to remove any dirt, grime, or loose paint. Use a pressure washer or a scrub brush with soap and water to ensure a clean surface. Next, sand the boat to create a rough texture that allows the primer to adhere better. Fill any dents or scratches with a suitable filler and sand it smooth. Now, it’s time to apply the primer. Choose a marine-grade primer that is compatible with your boat’s material. Apply a thin, even coat using an airless sprayer, working in small sections. Allow the primer to dry completely before moving on to the next step. The primer provides a protective barrier, enhances color adhesion, and improves the overall durability of the paint job. With the surface primed, you are now ready to start painting your boat and bring it to life with a fresh coat of paint.
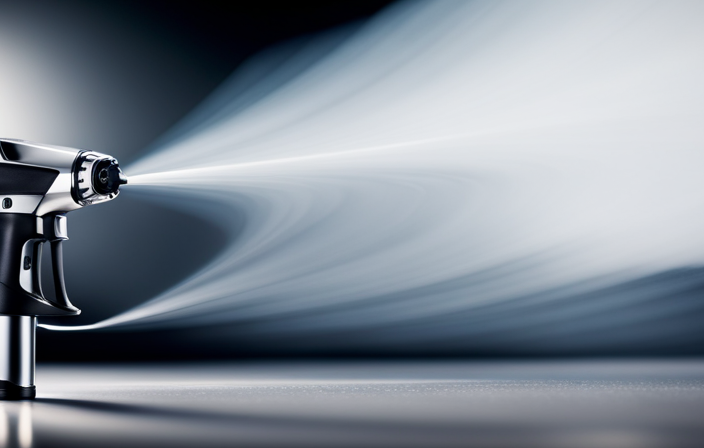
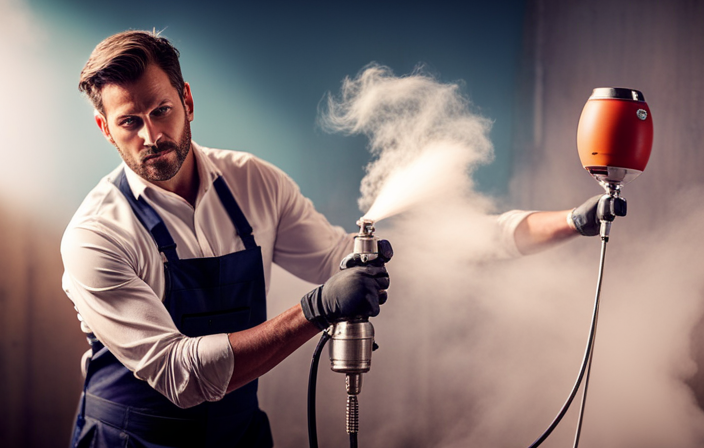
Start Painting
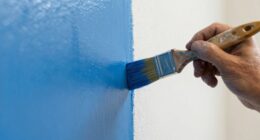
Now is the perfect time for you to embark on the exciting journey of transforming your vessel into a work of art by adding vibrant color and character. To ensure proper paint application, follow these steps:
- Prepare the airless sprayer by cleaning and testing it before use.
- Use a high-quality marine paint that is suitable for your boat’s material.
- Start painting from the top and work your way down, using long, even strokes.
- Maintain a consistent distance of 6 to 12 inches between the sprayer and the surface.
- Overlap each pass by 50% to avoid streaks and ensure even coverage.
- Troubleshoot common painting issues such as clogged tips or uneven spray patterns by cleaning or adjusting the sprayer as needed.
By following these guidelines, you can achieve a professional-looking paint job on your boat. Maintaining a consistent technique will be crucial in achieving a smooth and flawless finish.
Maintain a Consistent Technique
Mastering a consistent technique is crucial when using an airless sprayer to paint a boat. It will help you avoid streaks and achieve a smooth, even finish. Here are some steps to maintain a consistent technique:
- Hold the sprayer approximately 12 inches away from the surface. Make sure the nozzle is perpendicular to the boat.
- Move the sprayer in long, sweeping motions. Overlap each pass by 50% to ensure you don’t miss any spots.
- Keep a steady pace and maintain a consistent distance from the surface throughout the entire painting process. This will prevent uneven application and streaks.
By following these steps, you can achieve a professional-looking paint job on your boat. Once you’ve mastered your technique, allow the paint to dry before moving on to the next step of the boat painting process.
Allow the Paint to Dry
When allowing the paint to dry, it is crucial to carefully follow the manufacturer’s instructions for drying time. This ensures that the paint fully cures and achieves its maximum durability and appearance.
Additionally, proper ventilation must be maintained during the drying process to allow for adequate air circulation and prevent the buildup of fumes. Failure to adhere to these guidelines may result in improper drying and compromised paint finish.
Follow the Manufacturer’s Instructions for Drying Time
Following the manufacturer’s instructions for drying time is like waiting for a flower to bloom, allowing the paint to fully set and create a beautiful finish on your boat. This step is of utmost importance as it determines the durability and longevity of the paint job. Failing to adhere to the specified drying time can lead to various issues such as premature paint failure, wrinkling, or poor adhesion.
Different paints require different drying times, depending on factors such as temperature and humidity. To ensure the paint cures properly, it is crucial to follow the manufacturer’s guidelines meticulously.
Once the specified drying time has elapsed, you can move on to the next step of ensuring proper ventilation during drying, which aids in expediting the process and achieving optimal results without compromising the longevity of the finish.
Ensure Proper Ventilation during Drying
To ensure proper ventilation during drying, it is important to take the following steps:
- Open windows and use fans to ventilate the area.
- This will help dissipate harmful fumes emitted by the paint and create a safe working environment.
- Adequate ventilation is crucial for maintaining a smooth and flawless finish on your freshly painted vessel.
- It not only protects your health but also ensures the paint dries evenly and adheres properly to the boat’s surface.
- By allowing fresh air to circulate, you minimize the risk of paint bubbling, cracking, or peeling.
- Proper ventilation also speeds up the drying process, allowing you to apply additional coats without delay.
- This ensures a more efficient and effective painting process overall.
Apply Additional Coats if Needed
When applying additional coats to a boat with an airless sprayer, it’s important to assess the coverage and finish of the previous coat.
I’ll carefully inspect the surface to ensure there are no missed spots or uneven areas. If necessary, I’ll apply additional coats to achieve the desired look.
I’ll make sure to maintain a consistent and smooth finish.
Assess the Coverage and Finish
To achieve a smooth and even finish when painting the boat with an airless sprayer, you’ll want to assess the coverage by inspecting each coat as you go along.
This step is crucial in evaluating the results and ensuring that the paint is applied evenly and thoroughly. Start by examining the painted surface from different angles and distances to identify any areas that may require additional attention. Look for any thin spots, streaks, or unevenness in the coverage.
If necessary, make note of these areas and address them before moving on to the next coat. Additionally, choosing the right paint for your boat is essential in achieving a professional-looking finish. Consider factors such as durability, resistance to water and UV rays, and compatibility with the boat’s material.
By carefully evaluating the coverage and choosing the right paint, you can ensure a high-quality finish that will last.
Now, let’s discuss how to apply additional coats for a desired look.
Apply Additional Coats for a Desired Look
Achieving a flawless and professional finish on your boat requires careful application of multiple coats, allowing you to create the desired look and enhance the overall aesthetic appeal. When applying different paint finishes with an airless sprayer, it is crucial to follow proper techniques to achieve optimal results.
Start by applying a base coat evenly across the entire surface, ensuring complete coverage. Allow this coat to dry before applying additional coats. If you notice any imperfections or unevenness, lightly sand the surface and then apply another coat.
Troubleshooting common painting issues, such as drips or runs, can be done by adjusting the pressure and speed of the sprayer. It’s important to note that different paint finishes may require different drying times.
Transitioning into the subsequent section about cleaning and maintaining your airless sprayer, it is vital to keep the equipment clean to avoid any paint buildup or clogs.
Clean and Maintain Your Airless Sprayer
To clean and maintain your airless sprayer, follow these steps:
- Disconnect the sprayer from the power source and relieve any pressure.
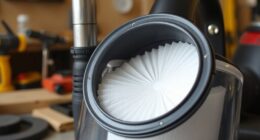
- Remove the spray tip, filter, and guard, and clean them with warm soapy water.
- Use a brush or toothpick to remove any clogs or debris.
- Flush the sprayer with clean water to remove any remaining paint residue.
To troubleshoot common issues:
- Check the hoses for leaks.
- Inspect the seals for wear.
- Ensure that the pump is properly lubricated.
Regularly inspect and replace any worn or damaged parts to ensure optimal performance and longevity.
Now, let’s move on to enjoying your newly painted boat.
Enjoy Your Newly Painted Boat
Now that my boat has been transformed with a fresh coat of paint, I can’t help but take a moment to soak in the stunning new look of my vessel.
The airless sprayer did an excellent job in achieving a smooth and even finish, giving my boat a professional appearance. However, if you’re not confident in your painting skills or want a flawless result, it’s always a good idea to consider getting professional help. They have the expertise and tools to ensure a top-notch paint job that will make your boat stand out on the water.
Additionally, choosing the right paint color is crucial in enhancing the overall aesthetic appeal of your boat. Take into account factors such as the boat’s style, intended use, and personal preference when selecting a color that complements your vessel’s unique character.
Frequently Asked Questions
How long should I wait for the primer to dry before starting to paint?
I wait at least 24 hours for the primer to fully dry before starting to paint. This ensures a smooth finish and allows the primer to properly bond with the surface, ensuring long-lasting results.
Can I use an airless sprayer to paint a fiberglass boat?
Yes, an airless sprayer can be used to paint a fiberglass boat. Proper airless sprayer maintenance is essential for optimal performance. The benefits of using an airless sprayer for boat painting include efficient and even paint application, saving time and achieving a professional finish.
What type of paint should I use for painting a boat with an airless sprayer?
To achieve a smooth finish when painting a boat with an airless sprayer, it is important to choose the right primer. Consider using an epoxy-based primer specifically designed for marine applications. Follow these tips for optimal results.
Is it necessary to sand the boat before applying the primer?
Oh, absolutely! Because who needs a smooth surface for painting, right? Just slap on that primer and watch it peel right off. But seriously, proper surface prep is crucial for lasting results. Sanding ensures adhesion and a flawless finish. There are alternative methods, like chemical etching, but nothing beats good ol’ sanding.
How often should I clean the airless sprayer during the painting process?
During the painting process, it is important to clean the airless sprayer regularly to ensure optimal performance. Cleaning frequency will depend on factors such as paint type and usage, but a good maintenance tip is to clean the sprayer thoroughly after each use.
Conclusion
In conclusion, painting a boat with an airless sprayer is an absolute game-changer! With this incredible tool, you can achieve a flawless finish in no time.
The convenience and efficiency of the airless sprayer will leave you in awe. It’s like having a magical wand that transforms your boat into a work of art.
So say goodbye to tedious and time-consuming painting methods, and embrace the power of the airless sprayer.
Get ready to sail in style with your newly painted boat!