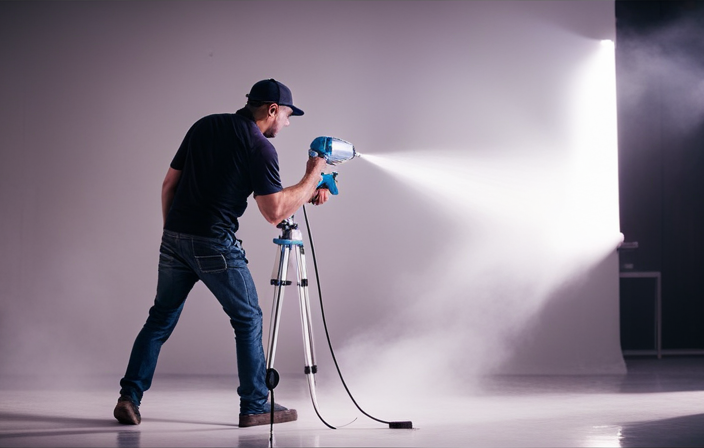
Hello there! Imagine this scenario: you’re outside your home, gazing at the weathered stucco. It’s clear that it’s seen better days. However, don’t worry, because I have the perfect solution for you. In this article, I will demonstrate how you can paint your stucco house using an airless sprayer. Believe me, it will transform the look completely.
Now, before we dive in, let’s talk about the importance of preparation. You’ll need to get your stucco surface ready, choose the right paint and equipment, and of course, prepare that airless sprayer. Once you’ve done all that, it’s time to start painting. But don’t rush through it! Pay attention to the details, because they make all the difference.
After you’re done, take a step back and evaluate the results. And don’t worry, I’ll also guide you through the process of cleaning up the sprayer and maintaining your freshly painted stucco house. So, get ready to transform your home and enjoy the beauty of a job well done!
Key Takeaways
- Prepare the stucco surface by cleaning it with a pressure washer and repairing any cracks or damages with stucco patching compound.
- Choose high-quality exterior paint designed for stucco surfaces and invest in an airless sprayer for efficient and uniform application.
- Gather other necessary supplies such as drop cloths, masking tape, primer, and a high-quality paintbrush with densely packed bristles.
- When painting, hold the sprayer 12-18 inches away from the surface, apply the paint in a smooth and even motion, and backroll for a uniform finish.

VEVOR 750W Stand Airless Paint Sprayer, 3000PSI High Efficiency Electric Airless Sprayer, Fine and Even Painting Effect, Handheld Paint Sprayers for Home Interior and Exterior Furniture and Fences
- Powerful Motor: 750W motor with 3000 PSI pressure
- Fast Coverage: Up to 5x faster than rolling
- Smooth Painting: Flow rate of 1.2 LPM for continuous work
As an affiliate, we earn on qualifying purchases.
As an affiliate, we earn on qualifying purchases.
Prepare Your Stucco Surface
Get ready to transform your stucco house into a work of art with an airless sprayer! Before you start painting, it is essential to properly prepare your stucco surface. This step is crucial as it ensures that the paint adheres well and lasts longer.
Begin by cleaning the surface thoroughly using a pressure washer to remove any dirt, debris, or loose paint. Repair any cracks or damages using a stucco patching compound and allow it to dry completely.
Next, apply a primer specifically designed for stucco surfaces to ensure proper adhesion of the paint. Avoid common stucco painting mistakes such as skipping the cleaning or priming steps, as this can lead to peeling and chipping.
With a well-prepared stucco surface, you are now ready to choose the right paint and equipment for a flawless finish.
Choose the Right Paint and Equipment
When it comes to painting a stucco house with an airless sprayer, it’s crucial to choose the right paint and equipment.
First and foremost, selecting a high-quality exterior paint is essential for achieving a durable and long-lasting finish.
Additionally, investing in an airless sprayer will ensure a smooth and even application, saving both time and effort.
Lastly, gathering other necessary supplies such as drop cloths, paintbrushes, and masking tape will help you complete the job efficiently and effectively.
Select High-Quality Exterior Paint
Opt for premium exterior paint to ensure a flawless finish on your stucco house, elevating its overall aesthetic appeal.
When it comes to selecting high-quality exterior paint, it is important to consider the right paint brand that offers durability and long-lasting results. Look for reputable brands that specialize in exterior paints, as they often have formulations that are specifically designed to withstand the elements and adhere well to stucco surfaces.
Some of the best exterior paint brands include Sherwin-Williams, Benjamin Moore, and Behr. These brands offer a wide range of colors and finishes, allowing you to choose the perfect one for your stucco house. Investing in high-quality paint will not only enhance the appearance of your home, but also protect it from weathering and damage.
With the right paint selected, it’s time to move on to the next step: investing in an airless sprayer.
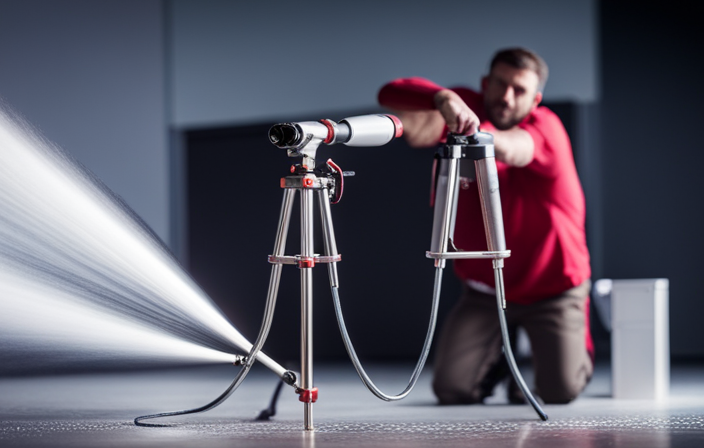
Invest in an Airless Sprayer
Investing in an airless sprayer will revolutionize your painting experience, allowing you to achieve professional results with ease and efficiency. When it comes to painting stucco houses, an airless sprayer offers numerous benefits.
First, it provides a uniform and consistent coat of paint, ensuring a smooth and even finish on the textured surface of stucco.
Second, it allows for faster application, as the sprayer can cover large areas quickly.
To choose the right airless sprayer for stucco house painting, consider the size of the job, the sprayer’s pressure capabilities, and the nozzle size. Additionally, look for a sprayer with a powerful motor and a durable construction to handle the demands of stucco painting.
With an airless sprayer in hand, you can now move on to gathering other necessary supplies for the painting project.
Gather Other Necessary Supplies
To complete your painting project, you’ll need to gather a range of essential supplies that will help you achieve a professional and flawless finish. In addition to an airless sprayer, you’ll need other necessary supplies such as a primer and a high-quality paintbrush. When selecting a primer, it’s important to choose one that is specifically designed for stucco surfaces. Look for a primer that offers excellent adhesion and durability, as this will ensure that your paint job lasts for years to come. As for the paintbrush, investing in a high-quality brush will make a noticeable difference in the final result. A brush with densely packed bristles will help you achieve a smooth and even application. By gathering these supplies, you’ll be well-prepared to tackle the next step of preparing the airless sprayer.
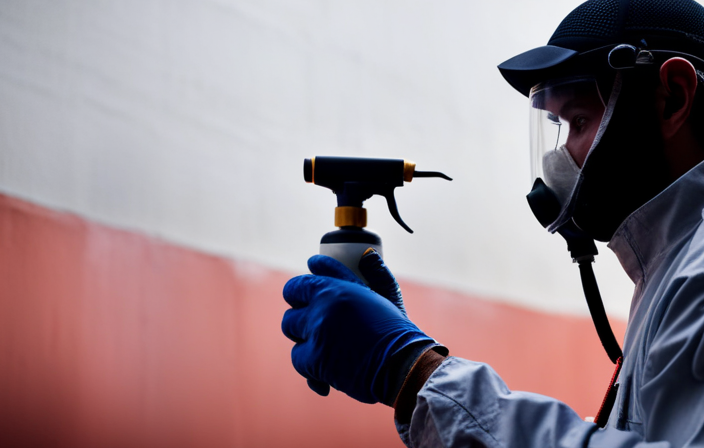
Prepare the Airless Sprayer
Before diving into the stucco painting process, let’s get the airless sprayer all revved up and ready to unleash its paint-spraying power. Here are a few tips for troubleshooting airless sprayer issues and common mistakes to avoid when using an airless sprayer:
-
Check the sprayer’s manual: Familiarize yourself with the sprayer’s specific instructions and maintenance requirements.
-
Clean the sprayer thoroughly: Make sure there is no old paint or debris clogging the sprayer. This will ensure a smooth and even paint application.
-
Test the sprayer: Before starting the actual painting, test the sprayer on a scrap piece of material to make sure it is working properly and producing the desired spray pattern.
-
Adjust the pressure: Depending on the thickness of the stucco and the desired finish, adjust the pressure settings on the sprayer accordingly.
Now that the airless sprayer is ready to go, let’s move on to the next step and start painting the stucco house.
Start Painting
Before we dive into the actual painting process, let me share some tips for achieving a smooth paint finish on your stucco house using an airless sprayer.
First and foremost, make sure you have properly prepared the surface by cleaning it thoroughly and repairing any cracks or damage.
Once you’re ready to start painting, hold the sprayer about 12-18 inches away from the stucco surface and apply the paint in a smooth, even motion. Avoid spraying too quickly or too heavily, as this can lead to drips and uneven coverage. Additionally, be mindful of overlapping each stroke slightly to ensure consistent color and texture.
Finally, one common mistake to avoid is neglecting to backroll the paint after spraying, which helps to further distribute the paint and achieve a uniform finish.
Now, let’s move on to the next section where we’ll discuss the importance of paying attention to detail.
Pay Attention to Detail
Now, let me share a secret for achieving a flawless finish on your stucco masterpiece – paying meticulous attention to every intricate detail will elevate your painting to a whole new level. Here are four key steps to help you pay attention to the importance of details:
-
Prep the surface: Before you start painting, make sure to clean the stucco thoroughly, removing any dirt, debris, or loose paint. This will ensure a smooth and even application.
-
Mask off areas: Take the time to properly mask off any areas that you don’t want to be painted, such as windows, doors, or trim. This will prevent any accidental overspray and create clean edges.
-
Fill cracks and imperfections: Stucco can have small cracks or imperfections that may show through the paint. Use a high-quality stucco patch to fill these areas, ensuring a smooth and flawless finish.
-
Use a steady hand: When spraying the stucco with your airless sprayer, maintain a steady and consistent motion. Pay close attention to overlapping each pass to ensure even coverage.
By paying attention to these details, you’ll be well on your way to a professional-looking paint job. Once you’ve completed the painting process, allow the paint to dry before moving on to the next step.
Allow the Paint to Dry
Once you’ve put in all the hard work, you can’t help but eagerly await the moment when the vibrant colors of your masterpiece come to life after allowing the paint to fully dry.
To speed up the drying process, there are a few tips you can follow. Firstly, make sure the temperature and humidity are optimal for drying. Warmer temperatures and lower humidity levels will help the paint dry faster.
Additionally, you can use fans or open windows to increase airflow in the area, which will also aid in the drying process.
To prevent paint from cracking during drying, it’s essential to apply thin coats and allow each coat to dry completely before applying another one. This will ensure that the paint cures evenly and reduces the chances of cracking.
By following these tips, you can ensure a smooth and efficient drying process.
Now, let’s move on to evaluate the results of your hard work.
Evaluate the Results
After allowing the paint to dry on my stucco house that I painted with an airless sprayer, I carefully inspected the paint job for any imperfections. I looked for any areas where the paint may have dripped or pooled, as well as any spots where the coverage may be uneven. If I noticed any imperfections, I made sure to touch up those areas to ensure a flawless finish.
Once I finished inspecting and touching up any imperfections, I took a step back to evaluate the overall results of the paint job. I assessed the color and texture of the paint to ensure it matched my desired outcome. Additionally, I considered the evenness and smoothness of the paint application.
If I was satisfied with the results, I double-checked that all the necessary areas were painted and that no spots were missed. I also made sure that the paint adhered well to the stucco surface and showed no signs of peeling or cracking.
If there were any areas that needed further attention or improvement, I took note of them and planned to address them in the future. This evaluation process allowed me to ensure that the paint job was of high quality and met my expectations.
Overall, evaluating the results of the paint job was an essential step in achieving a professional and flawless finish on my stucco house.
Inspect the Paint Job for any Imperfections
To ensure a flawless finish, carefully examine the paint job on your stucco house for any imperfections. Here are some key steps to help you inspect the paint quality and fix any imperfections:
-
Start by checking the overall coverage of the paint. Look for any areas where the paint may be thin or uneven.
-
Next, inspect for any drips or runs. These can be easily fixed by gently sanding the affected areas and applying a touch-up coat of paint.
-
Pay close attention to the corners and edges of the stucco. These areas are prone to paint buildup or missed spots. Use a small brush to carefully address any issues.
-
Finally, check for any discoloration or color inconsistencies. If you notice any, consider applying another coat of paint to achieve a uniform appearance.
After inspecting the paint job for imperfections, you can then proceed to touch up any areas if necessary.
Touch Up Any Areas if Necessary
If you notice any imperfections, you can simply apply a touch-up coat to fix them.
Absolutely! Touching up any areas that need it is an important step in achieving a flawless paint job on your stucco house.
To begin, assess the imperfections and determine the best touch-up technique.
For small chips or scratches, you can use a brush or roller to apply a thin coat of paint to the affected area.
If the imperfections are larger or more noticeable, consider blending colors to match the surrounding stucco. This can be done by mixing small amounts of different paint colors until you achieve the desired shade.
Once you have touched up all the necessary areas, you can transition into cleaning up the airless sprayer.
Clean Up the Airless Sprayer
First, make sure you have a bucket of water nearby to rinse off the airless sprayer. Cleaning the airless sprayer is essential to prevent clogs and ensure proper functioning.
After finishing painting your stucco house, it’s important to thoroughly clean the sprayer. Start by removing the paint container and any remaining paint.
Next, fill the bucket with water and flush it through the sprayer. Use a brush or sponge to scrub away any paint residue from the sprayer’s components. Pay special attention to the nozzle and filter, as they are prone to clogging.
Once all the parts are cleaned, rinse them thoroughly with water and allow them to dry before storing. Properly cleaning the airless sprayer will maintain its longevity and ensure a smooth painting process for future projects.
Now, let’s move on to maintaining your painted stucco house.
Maintain Your Painted Stucco House
Maintaining a painted stucco house requires regular inspections to identify any signs of damage or wear. As the owner, I make it a point to thoroughly inspect the surface of my stucco house on a regular basis, looking for cracks, chips, or peeling paint.
It is crucial to address any issues promptly to prevent further damage and maintain the integrity of the paint. Additionally, I ensure that the surface is kept clean by regularly cleaning it as needed, removing dirt, dust, and other debris that may accumulate over time.
This not only keeps the house looking fresh and well-maintained but also helps to prolong the life of the paint.
Regularly Inspect for Damage or Wear
Inspect your stucco house regularly for any signs of damage or wear. Cracks in the stucco can develop over time, allowing water to seep in and cause further damage. It’s important to repair these cracks promptly to prevent water damage and maintain the integrity of your stucco.
Look for any areas where the stucco may be chipped or flaking, as this can also indicate potential issues. Pay close attention to areas around windows, doors, and other openings, as these are common areas for wear and tear.
By regularly inspecting your stucco house and addressing any damage or wear, you can ensure its longevity and keep it looking its best.
Once you’ve completed your inspection, it’s time to move on to the next step: cleaning the surface as needed.
Clean the Surface as Needed
Inspecting your stucco house regularly for damage or wear is crucial to maintaining its integrity. But once you’ve identified any issues, it’s time to move on to the next step: cleaning the surface.
Before you can start painting, it’s essential to prepare the stucco surface properly. This involves removing any dirt, debris, or loose paint that might interfere with the adhesion of the new paint. To make this process easier and more efficient, here are some key steps to follow:
- Begin by pressure washing the stucco surface to remove dirt and grime.
- Scrub any stubborn stains or mold using a mild detergent and a soft brush.
- Rinse the surface thoroughly to remove all cleaning residue.
- Allow the stucco to dry completely before proceeding with the next steps.
Once the surface is clean and dry, it’s time to apply a primer specifically designed for stucco surfaces. This step is crucial as it helps the paint adhere better and ensures a more durable finish. So, grab your primer and get ready to take your stucco house painting project to the next level.
Now, let’s move on to the exciting part – enjoy your beautifully painted stucco house!
Enjoy Your Beautifully Painted Stucco House!
Once your stucco house has been beautifully painted with an airless sprayer, you’ll be able to fully appreciate its stunning transformation. Not only does painting your stucco house enhance its overall appearance, but it also provides numerous benefits for maintaining the exterior. The fresh coat of paint acts as a protective barrier against harsh weather conditions, preventing moisture from seeping into the stucco and causing damage. Additionally, painting stucco helps to seal any cracks or imperfections, ensuring the longevity of your home’s exterior. The airless sprayer technique allows for a smooth and even application, resulting in a flawless finish that will make your house the envy of the neighborhood. So go ahead, grab your airless sprayer, and enjoy the process of transforming your stucco house into a work of art.
| BENEFITS OF PAINTING STUCCO | MAINTAINING STUCCO EXTERIOR |
|---|---|
| Enhances appearance | Protects against moisture |
| Seals cracks and imperfections | Prevents damage from weather |
| Provides a flawless finish | Ensures longevity of exterior |
Frequently Asked Questions
Can I use a paint roller instead of an airless sprayer to paint my stucco house?
Yes, you can use a paint roller as an alternative to an airless sprayer for painting your stucco house. However, it may be less efficient and time-consuming. Pros include cost savings, but cons include potential for uneven coverage and difficulty reaching textured areas.
How long should I wait for the paint to dry before evaluating the results?
I should wait at least 24 hours for the paint to dry before evaluating the results. This allows enough time for the paint to fully cure and ensures an accurate assessment of the paint finish.
What type of paint should I use for stucco surfaces?
For stucco surfaces, it is important to use a paint specifically designed for exterior use. Some popular brands that offer excellent paints for stucco include Sherwin-Williams, Behr, and Benjamin Moore.
Can I paint over existing paint on my stucco house?
Sure, you can totally slap some more paint on that old, crusty stucco. But for the love of all things holy, please prep the surface properly and follow proper painting techniques and best practices. Trust me, it’ll be worth it.
How often should I repaint my stucco house to maintain its appearance?
To maintain the appearance of my stucco house, I should repaint it every 5-10 years. Regular cleaning and inspection for cracks or damage are also essential. Applying a fresh coat of paint will protect the stucco and keep it looking its best.
Conclusion
Congratulations on completing the task of painting your stucco house with an airless sprayer! I hope you enjoyed every moment of this exciting and rewarding experience.
Now, take a step back and marvel at the beautifully painted walls of your home. The vibrant colors and smooth finish are a testament to your hard work.
As you gaze upon your masterpiece, remember the countless hours spent in preparation, the careful selection of paint and equipment, and the meticulous attention to detail.
You have transformed your house into a work of art, a sight to behold for all who pass by. So sit back, relax, and enjoy the fruits of your labor.
Your stunning stucco house is now the envy of the neighborhood!