They say you can aim high, but what about the ceiling? When it comes to **ceiling painting**, using an airless sprayer can make all the difference. Discover how this tool can elevate your painting game like never before. Get ready to take your ceiling projects to new heights with an airless sprayer!
Hi there, I’m here to guide you through the process of painting ceilings with an airless sprayer.
In this article, we will cover everything you need to know, from gathering the necessary materials and equipment to practicing proper spraying technique. With the help of an airless sprayer, you’ll be able to achieve a smooth and professional finish in no time.
Painting ceilings can be a daunting task, but with the right tools and techniques, it doesn’t have to be. By following the steps outlined in this article, you’ll learn how to prepare the ceiling, mix the paint, and begin painting with confidence.
So, let’s grab our airless sprayer and get ready to transform those plain ceilings into works of art!
Key Takeaways
- Benefits of using an airless sprayer for painting ceilings
- Necessary materials and equipment for painting ceilings with an airless sprayer
- Proper preparation and technique for achieving a smooth finish
- Alternative methods and options for painting ceilings, such as using a roller or hiring a professional painter
Gather the Necessary Materials and Equipment
Before you can begin painting the ceiling with an airless sprayer, it’s essential to gather all the materials and equipment you will need.
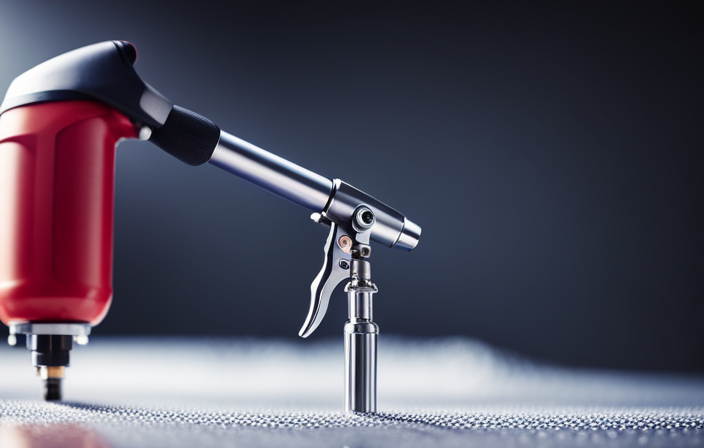
First, ensure you have an airless sprayer, which is a powerful tool that can be used for other painting projects as well. Additionally, you will need a paint roller, paint tray, drop cloths to protect the floors, painter’s tape to cover the edges, and a ladder or scaffolding to reach high areas.
It’s also important to have a good quality paint suitable for ceilings and a paint strainer to remove any debris. Besides gathering the materials, familiarize yourself with troubleshooting common issues with airless sprayers, such as clogged spray tips or uneven spray patterns.
Once you have everything ready, you can proceed to prepare the ceiling for painting, ensuring a smooth and flawless finish.
Prepare the Ceiling for Painting
To create a picture-perfect canvas, make sure you’ve prepped your overhead space before diving into the transformative process.
-
Start by clearing the room of furniture and other items that might get in the way.
-
Protect the floor and any remaining furniture with drop cloths or plastic sheets.
-
Use painter’s tape to cover light fixtures, vents, and any other areas you don’t want to get paint on.
-
Next, inspect the ceiling for any imperfections or damage. Repair any cracks or holes with spackle and sand them smooth.
Now that the surface is prepped and ready, it’s time to dilute and mix the paint for the airless sprayer.
Dilute and Mix the Paint
Once the surface has been properly prepped, it’s time to blend and thin the paint mixture for the airless sprayer. Achieving the right consistency is crucial for a smooth and even application. To do this, follow the manufacturer’s instructions on the paint can for diluting the paint with water or a paint conditioner. Use a 2 column and 4 row table to keep track of the paint-to-water ratio based on the manufacturer’s recommendations. Additionally, choose the right paint for the job, considering factors such as the ceiling material and desired finish. Oil-based or latex paints are commonly used for ceilings, but make sure to select one specifically formulated for airless sprayers. This painting technique and proper paint selection will ensure the best results. Transitioning into the next section, let’s now talk about how to practice proper spraying technique for a flawless finish.
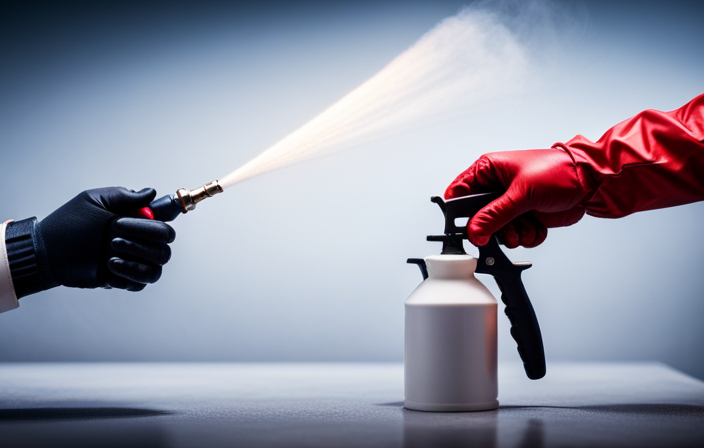
Practice Proper Spraying Technique
Mastering the art of proper spraying technique can be the key to achieving a flawless finish on your painted surface. To ensure success, follow these guidelines:
- Maintain a consistent distance from the ceiling, typically around 12 inches, to achieve even coverage.
- Move the sprayer in a smooth, controlled motion, overlapping each pass by 50% to avoid streaks or lines.
- Practice spray control by starting and stopping the flow before reaching the surface, ensuring an even application.
- Adjust the sprayer’s pressure settings to achieve the desired spray pattern and avoid excessive paint buildup.
By mastering spray control and troubleshooting common spraying issues, such as clogging or uneven coverage, you can ensure a professional-looking result.
Now, it’s time to begin painting the ceiling, where your newly acquired techniques will truly shine.
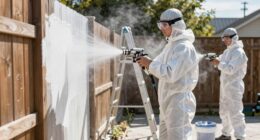
Begin Painting the Ceiling
When painting the ceiling, I always start in a corner to ensure a smooth and even application. I’m working in small sections to maintain control and avoid any mistakes. I also apply multiple thin coats to achieve a professional finish and prevent any drips or uneven coverage.
Start in a corner
To achieve seamless results, it’s important to begin in a corner when painting ceilings with an airless sprayer. Starting in a corner allows for a smooth transition from the walls to the ceiling, ensuring a professional finish. Before starting, troubleshoot common issues such as clogging or uneven spraying to ensure a smooth painting process.
Additionally, choosing the right paint color is crucial for achieving the desired look and feel of the room. Once in the corner, work in small sections, moving from left to right or right to left, depending on your preference. This allows for better control and even coverage.
By starting in a corner and working in small sections, you’ll create a flawless ceiling paint job.
Work in small sections
By starting in a corner and tackling small sections at a time, you’ll effortlessly achieve a flawless finish on your ceiling. Instead of using an airless sprayer, it’s recommended to use a roller for painting ceilings. This method allows for better control and coverage, ensuring smooth and even results.
It’s a more practical approach, especially for beginners. Hiring a professional painter is also an option if you prefer a hassle-free experience. They have the expertise and equipment to complete the job efficiently and to a high standard.
Once you’ve finished painting your ceiling using the roller, you can transition into the next step by applying multiple thin coats for a more durable and professional finish.
Apply multiple thin coats
When painting ceilings with an airless sprayer, it’s important to work in small sections to ensure even coverage and avoid overspray. By applying multiple thin coats, you can achieve a smooth and professional finish. This technique allows the paint to dry faster and minimizes the risk of drips or streaks.
To maintain your airless sprayer and ensure optimal performance, regular maintenance is key. This includes cleaning the sprayer thoroughly after each use, checking for clogs or damage, and replacing any worn or damaged parts.
The benefits of applying multiple thin coats are twofold. Firstly, it helps to prevent heavy build-up and drips, resulting in a more even and consistent finish. Secondly, it allows each coat to dry faster, reducing the overall painting time.
Now, let’s move on to the next section about clean up and maintenance to ensure your airless sprayer stays in top condition for future projects.
Clean Up and Maintenance
Maintaining your airless sprayer is crucial for keeping it in optimal condition and ensuring you’re ready for your next ceiling painting project.
To clean your airless sprayer, start by disconnecting the sprayer from the power source and relieving the pressure. Remove the spray tip and filter, and clean them thoroughly with warm soapy water. Use a small brush or toothbrush to remove any paint buildup from the sprayer components.
Check the hoses and fittings for any clogs or leaks, and replace or repair them as necessary. After cleaning, run clean water through the sprayer to flush out any remaining paint residue.
For troubleshooting tips, refer to the manufacturer’s manual or contact their customer support for assistance.
By regularly cleaning and maintaining your airless sprayer, you’ll ensure its longevity and optimal performance for future ceiling painting projects.
Frequently Asked Questions
How long does it typically take for the ceiling paint to dry?
In my experience, ceiling paint typically takes around 2-4 hours to dry completely. To speed up the drying process, make sure the room is well-ventilated, use a dehumidifier, and apply thin coats of paint.
Can I use any type of paint with an airless sprayer?
Yes, you can use various types of paint with an airless sprayer. It offers advantages like efficient and even coverage, faster application, and reduced overspray. It’s a great choice for painting ceilings.
Is it necessary to cover furniture and floors while painting the ceiling?
Yes, it is necessary to cover furniture and floors while painting the ceiling. For example, I once forgot to cover my couch and ended up with paint splatters that were difficult to remove. Additionally, using a primer before painting the ceiling ensures better adhesion and a smoother finish. The benefits of using an airless sprayer for painting ceilings include faster application, even coverage, and reduced strain on your arm.
Are there any specific safety precautions I should take when using an airless sprayer?
When using an airless sprayer, it is important to follow specific safety precautions. Some tips and tricks include wearing protective gear, ensuring proper ventilation, and keeping a safe distance from the spray.
Can I use an airless sprayer to paint textured ceilings?
Using an airless sprayer for textured ceilings has its pros and cons. It can save time and provide a smooth finish, but overspray and difficulty in controlling the flow may be issues.
Conclusion
In conclusion, painting ceilings with an airless sprayer can be a game-changer for homeowners and professionals alike. With the right materials and equipment, proper preparation, and a little practice, you can achieve a flawless finish that will transform any room.
Imagine effortlessly gliding the sprayer along the ceiling, creating smooth and even strokes that effortlessly cover every inch. The clean-up is a breeze, and with regular maintenance, your sprayer will be a reliable tool for future projects.
So why not give it a try and enjoy the convenience and professional results of using an airless sprayer for your ceiling painting needs.