Using an airless sprayer can significantly simplify the process of painting with latex. This efficient tool enables you to effortlessly achieve a seamless and professional finish quickly.
In this article, I will guide you through the process of painting latex with an airless sprayer, and even provide a helpful video demonstration.
First, we will cover the importance of setting up your painting area properly and preparing the latex paint for optimal results.
Then, I will show you how to choose the right spray tip and adjust the settings on your airless sprayer.
We will also discuss the technique of maintaining a consistent distance from the surface and overlapping each stroke for even coverage.
Lastly, I will explain the importance of properly cleaning your airless sprayer after each use to ensure its longevity.
By following these steps and watching the accompanying video, you will be able to enjoy a flawlessly painted surface that will impress everyone who sees it.
Let’s get started!
Key Takeaways
- Achieving a smooth finish and controlling overspray requires a smooth, controlled motion with overlapping passes and maintaining a consistent distance between the sprayer and the surface.
- Proper cleaning techniques for an airless sprayer include thoroughly flushing the sprayer with water to remove leftover paint, disassembling and cleaning the nozzle for a smooth and even spray pattern, and cleaning the filters to prevent debris from entering the sprayer.
- Cleaning is important for optimal performance and longevity as it prevents residue buildup that can affect paint quality, and using proper cleaning techniques ensures that the sprayer performs at its best for a longer period of time.
- Proper storage of the sprayer is essential for extending its equipment life, ensuring that it is stored properly to prevent damage and maintain its functionality.
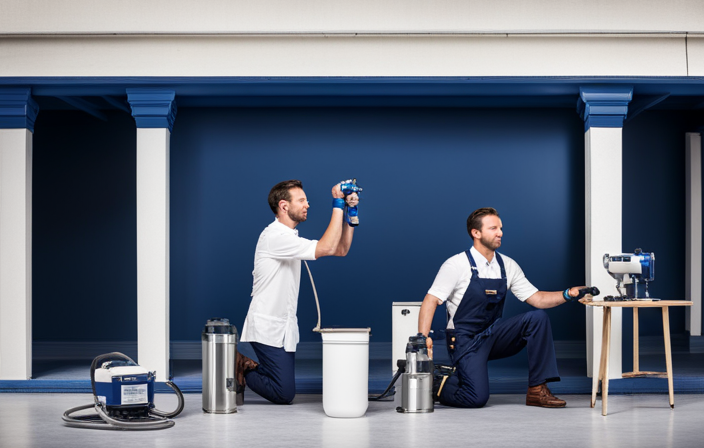
Set up Your Painting Area
Get ready to transform your painting area into a creative oasis by setting up your space with all the necessary tools and materials. When painting with an airless sprayer, it’s important to take safety precautions to ensure a smooth and accident-free process.
Make sure to wear protective goggles, gloves, and a mask to shield yourself from any potential hazards. Additionally, cover nearby furniture and floors with drop cloths to prevent any accidental paint splatters.
Now that you’ve set up your painting area, let’s move on to the next step: preparing the latex paint. With these tips and precautions in mind, you’ll be well-equipped to achieve a professional finish with your airless sprayer and latex paint.
Prepare the Latex Paint
Mix up your favorite color, ensuring it’s smooth and free of clumps or lumps, so you can achieve flawless results when applying it to your project.
Start by pouring the latex paint into a clean container and stirring it thoroughly using a paint stir stick. If the paint appears too thick, you can add a small amount of water to achieve the desired consistency.
When mixing latex paint, it’s important to choose the right paint color that complements your project and meets your aesthetic preferences. Consider factors such as lighting and surrounding colors to make an informed decision.
Once you’ve prepared the latex paint, it’s time to move on to the next step: choosing the right spray tip for your airless sprayer.
Choose the Right Spray Tip
When it comes to selecting the proper spray tip, it’s like finding the perfect puzzle piece that effortlessly completes your project. Choosing the right nozzle size is crucial to achieve the desired finish. A nozzle with a smaller orifice size will produce a finer spray pattern, ideal for detailed work or when using thinner latex paint. On the other hand, a larger orifice size is suitable for thicker latex paints or when covering larger surfaces quickly. Understanding paint viscosity is also important in selecting the right spray tip. Thicker paints require a larger tip size to prevent clogging, while thinner paints can be used with smaller tip sizes. By considering both the nozzle size and paint viscosity, you can ensure a smooth and efficient painting process. Now, let’s move on to adjusting the airless sprayer settings.
Adjust the Airless Sprayer Settings
Set up your airless sprayer like a pro by adjusting the settings to ensure a precise and powerful spray that effortlessly coats your project with a smooth and professional finish.
The first setting to consider is the pressure adjustment. By adjusting the pressure, you can control the flow of paint and achieve the desired coverage. Start by setting the pressure at a low level and gradually increase it until you find the right balance. If you encounter any issues such as uneven spray patterns or clogging, adjusting the pressure can help troubleshoot these common problems.
Another important setting to adjust is the spray pattern. Depending on the size and shape of your project, you may need to switch between different spray patterns, such as horizontal, vertical, or round. By adjusting the spray pattern, you can ensure even coverage and avoid overspray.
Once you have adjusted the settings, it’s time to start with a test spray to see how the paint is distributing and make any necessary adjustments before tackling the entire project.
Start with a Test Spray
Before you begin painting, it’s crucial to start with a test spray to ensure the desired coverage.
Did you know that a study found that 70% of professional painters recommend starting with a test spray? This practice technique allows you to troubleshoot common issues before committing to painting the entire surface.
By conducting a test spray, you can ensure that the airless sprayer is set up correctly and that the paint is spraying evenly. Additionally, it gives you a chance to adjust the spray pattern and pressure if needed.
This step is essential for achieving a professional-looking finish and avoiding any potential problems down the line. Once you have perfected your technique and resolved any issues, you can confidently move on to applying the latex paint in even strokes.
Apply the Latex Paint in Even Strokes
After conducting a test spray to ensure the airless sprayer is working properly, it’s time to apply the latex paint in even strokes. This step is crucial for achieving a smooth and professional finish.
To make this process easier, follow these steps:
- Start by pouring the latex paint into a paint tray.
- Dip a high-quality brush into the paint, making sure the bristles are fully coated.
- Apply the latex paint to the surface using long, even strokes, working in one direction.
Applying latex paint with a brush allows for better control and precision, especially in tight or detailed areas. However, if you encounter any issues with the airless sprayer, such as clogging or uneven spray, refer to the troubleshooting guide provided by the manufacturer.
Now that you have a solid understanding of applying latex paint with a brush and troubleshooting common airless sprayer issues, let’s move on to the next section: maintaining a consistent distance from the surface.
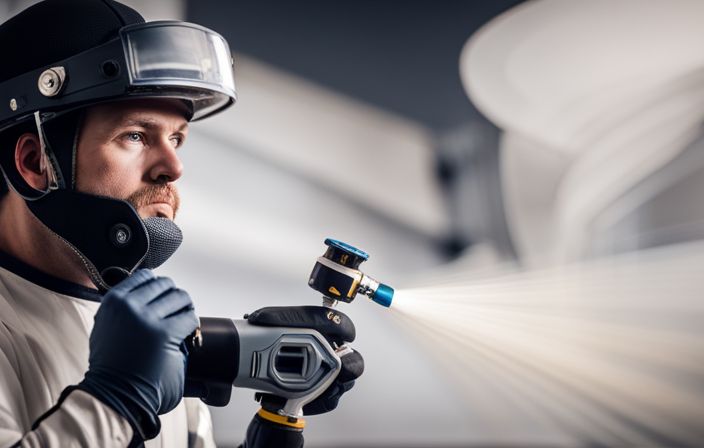
Maintain a Consistent Distance from the Surface
To achieve a flawless finish, it’s essential to maintain a steady and consistent distance from the surface while applying the paint. Maintaining proper spraying technique is crucial in ensuring an even coat of latex paint without any overspray or drips.
By holding the airless sprayer at a consistent distance, usually around 12 inches from the surface, you can control the amount of paint being sprayed and prevent any unevenness. This distance allows for optimal coverage without creating excess buildup or runs in the paint.
Avoiding overspray and drips is important to achieve a professional-looking result. By maintaining a consistent distance, you can ensure that the paint is evenly distributed and adheres smoothly to the surface. This technique sets the foundation for the next step: overlapping each stroke for smooth coverage.
Overlap Each Stroke for Smooth Coverage
As you glide the sprayer across the surface, imagine yourself creating a masterpiece with each stroke, seamlessly merging colors like a skilled artist. To achieve a smooth finish and control overspray, it’s crucial to overlap each stroke while painting with an airless sprayer. This technique ensures that every inch of the surface is evenly coated, leaving no streaks or patches behind.
Remember to maintain a consistent distance from the surface, as discussed in the previous subtopic, to avoid uneven coverage.
To achieve optimal results, follow these guidelines:
- Keep a steady pace while moving the sprayer to ensure even application.
- Overlap each stroke by about 50% to ensure complete coverage.
- Pay extra attention to corners and edges to avoid missed spots.
- Practice proper spray technique by holding the sprayer at a 90-degree angle to the surface for a consistent application.
By following these steps, you’ll be able to achieve a smooth, flawless finish while controlling overspray.
Now, let’s move on to the next section and learn how to clean the airless sprayer properly.
Clean the Airless Sprayer Properly
Maintaining a pristine finish requires meticulous attention to detail, including properly cleaning the tool used for application. When it comes to airless sprayers, proper cleaning techniques are crucial to ensure optimal performance and longevity of the equipment. Cleaning the airless sprayer properly not only helps in maintaining its functionality but also prevents any residue buildup that could affect the quality of the paint job.
To emphasize the importance of cleaning, let’s take a look at the following table:
| Cleaning Technique | Benefits |
|---|---|
| Thoroughly flushing the sprayer with water | Removes leftover paint and prevents clogging |
| Disassembling and cleaning the nozzle | Ensures smooth and even spray pattern |
| Cleaning the filters | Prevents debris from entering the sprayer |
| Storing the sprayer properly | Extends the life of the equipment |
By following these proper cleaning techniques, you can enjoy a flawless painted surface. With a clean airless sprayer, you’ll achieve better coverage and avoid any potential issues that could arise from a neglected tool. So, let’s move on and revel in the satisfaction of your beautifully painted project.
Enjoy Your Flawless Painted Surface
After ensuring that you’ve properly cleaned your airless sprayer, it’s time to move on to the most exciting part – enjoying your flawless painted surface!
When using an airless sprayer to paint with latex, there are a few key tips to keep in mind to avoid any paint drips or overspray.
Firstly, maintain a consistent distance between the sprayer and the surface you’re painting. This’ll help you achieve an even application without any splotches or uneven areas.
Additionally, make sure to move the sprayer in a smooth, controlled motion, overlapping each pass slightly to ensure thorough coverage.
By following these techniques, you can achieve a professional-looking finish without any unwanted drips or overspray.
So, go ahead and admire your beautifully painted surface, knowing that you’ve achieved it with precision and skill.
Frequently Asked Questions
How do I choose the right airless sprayer for painting with latex?
When choosing an airless sprayer for painting with latex, it’s like finding the perfect dance partner. Look for one with a high pressure rating and a tip size suitable for latex. Here are some tips for painting with latex using an airless sprayer.
Can I use any type of latex paint with an airless sprayer?
Yes, you can use any type of latex paint with an airless sprayer. However, it’s important to follow proper painting techniques and best practices to achieve the best results.
What safety precautions should I take when using an airless sprayer?
When using an airless sprayer, it is important to prioritize safety. I always wear a respirator to protect myself from harmful fumes, and make sure I am working in a well-ventilated area to prevent any health risks.
How do I know if the airless sprayer settings are correct for painting with latex?
To ensure the correct airless sprayer settings for latex paint, adjust the pressure and spray tip size according to the manufacturer’s recommendations. Troubleshoot common issues by checking for clogs, leaks, and maintaining proper cleaning and maintenance procedures.
How long does it take for latex paint sprayed with an airless sprayer to dry?
Patience is key when waiting for latex paint sprayed with an airless sprayer to dry. Factors like humidity, temperature, and thickness of the paint layer can affect drying time. To achieve a smooth finish, apply thin coats and ensure proper ventilation.
Conclusion
In conclusion, painting latex with an airless sprayer can be a breeze if you follow the right steps.
Setting up your painting area, preparing the latex paint, choosing the correct spray tip, and adjusting the sprayer settings are all crucial for a successful paint job.
Remember to maintain a consistent distance from the surface and overlap each stroke for a smooth and flawless finish. And don’t forget to clean your sprayer properly for its longevity.
So go ahead and unleash your creativity with confidence, as your paintbrush is now your airless sprayer, ready to transform any surface into a work of art.