
Did you know that using an airless sprayer to paint your cabinet doors can achieve a smooth and professional finish? By choosing the right materials and using the proper technique, you can easily give your kitchen or bathroom cabinets a makeover.
In this article, I will guide you through the process of painting your cabinet doors using an airless sprayer.
First, we will gather all the necessary materials and prepare our workspace.
Then, I will teach you the proper spraying technique to ensure an even and smooth application.
We will start by applying a primer to create a strong base for the paint.
Once the primer is dry, we will move on to applying the paint color of your choice.
After letting the paint cure, we will reattach the cabinet doors to complete the transformation.
Lastly, I will provide tips on how to clean and maintain your airless sprayer for future projects.
Get ready to enjoy your newly painted cabinet doors and give your space a fresh look!
Key Takeaways
- Preparing the cabinet doors by cleaning and aligning the hinges and choosing paint color options
- Cleaning and maintaining the airless sprayer by thoroughly cleaning after each use, removing leftover paint and debris, and inspecting for damage or wear
- Benefits of using an airless sprayer including achieving a smooth and even finish, saving time and effort, enhancing the overall appearance, and enjoying the convenience
- Cabinet door design ideas such as classic or modern designs, sleek and minimalist options, intricate patterns and textures, and personalized customization to enhance the aesthetic appeal.
Gather Your Materials
Now that you’ve chosen to tackle the task of painting your cabinet doors with an airless sprayer, it’s time to gather all the materials you’ll need.
First, choose the right paint color that suits your preference and complements your kitchen décor. Consider the overall aesthetic and style you want to achieve.
Next, make sure you have an airless sprayer, paint, primer, drop cloths, paint trays, and brushes. Having high-quality materials will ensure a professional-looking finish.
Additionally, here are some tips for achieving a smooth finish: clean and sand the cabinet doors beforehand, remove any hardware, and use a primer to provide a smooth surface for the paint to adhere to.
Lastly, gather all your materials and move on to preparing your workspace for the painting process.
Prepare Your Workspace
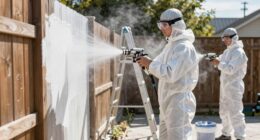
Before starting the paint job, it’s important to prepare your workspace. This involves covering and protecting the surrounding areas to avoid any accidental overspray or damage. You can use drop cloths or plastic sheets to cover furniture and floors.
Additionally, it’s crucial to ensure proper ventilation in the workspace. This helps prevent the accumulation of fumes and maintains a safe environment.
Cover and Protect Surrounding Areas
To ensure a flawless finish on your paint cabinet doors, it’s crucial to cover and protect the surrounding areas. Here’s how:
- Lay down a drop cloth on the floor and secure it with tape. This prevents paint splatters or spills.
- Use painter’s tape to cover fixtures, trims, or surfaces you don’t want to be painted. This creates clean lines and protects from overspray.
- Tape off any glass or mirrors to avoid getting paint on them.
Once you’ve properly covered and protected the surrounding areas, you can focus on ensuring proper ventilation for the painting process.
Ensure Proper Ventilation
To ensure a safe and healthy environment while painting the cabinet doors, it is important to have proper ventilation. As the saying goes, ‘Better safe than sorry.’ Proper ventilation is crucial to minimize health concerns associated with inhaling paint fumes.
To achieve this, make sure the area where you will be painting is well-ventilated. Open windows and doors to allow fresh air to circulate. Additionally, consider using fans to improve air circulation.
By doing so, you can reduce the concentration of paint fumes in the room and prevent any potential health issues. With proper ventilation, you can create a comfortable and safe atmosphere while painting your cabinet doors.
Now that you have ensured proper ventilation, let’s move on to the next section and discuss how to practice proper spraying technique.
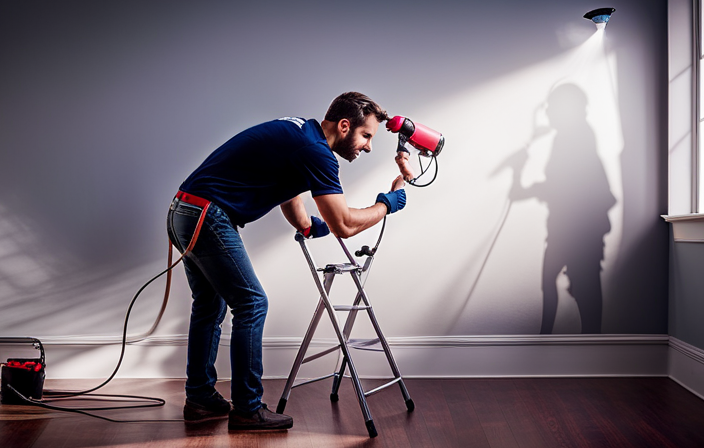
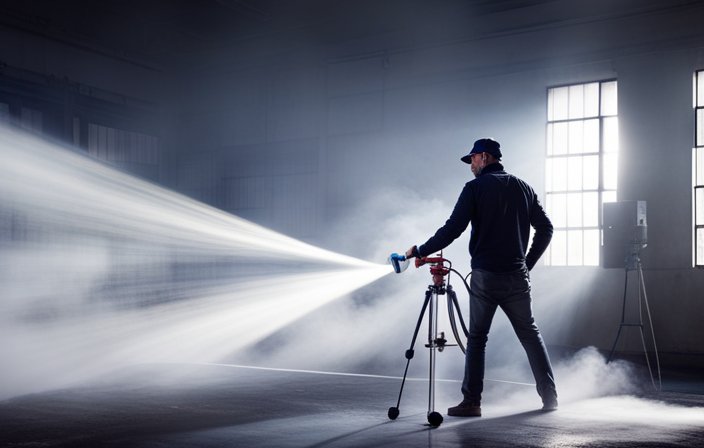
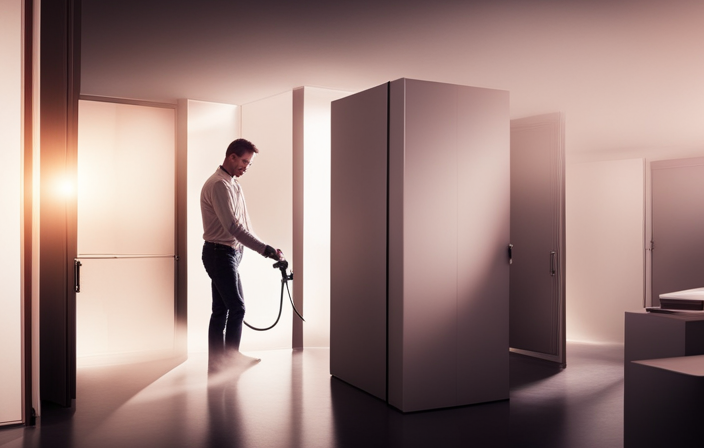
Practice Proper Spraying Technique
Mastering the art of proper spraying technique will elevate your paint cabinet doors to a professional level, allowing you to create a flawless finish that will leave a lasting impression. To achieve the best results, it is crucial to understand proper spraying techniques and avoid common spraying mistakes.
Begin by holding the airless sprayer at a consistent distance from the cabinet doors, typically around 12 inches, and maintain a steady, even motion. Avoid spraying too close or too far, as it can result in uneven coverage or drips.
Additionally, overlap each pass by about 50% to ensure complete and uniform coverage. Remember to keep the sprayer perpendicular to the surface for an even application.
With these proper spraying techniques in mind, you are now ready to move on to applying primer for a flawless base coat.
Apply Primer
Now that you’ve practiced proper spraying technique, let’s move on to the next step: applying primer. Primer is crucial for achieving a smooth and durable finish on your cabinet doors.
-
Choosing the right primer: Consider the type of paint you’ll be using and select a primer that’s compatible with it. Look for a product specifically designed for cabinets to ensure optimal adhesion and coverage.
-
Sanding and preparing the cabinet doors: Before applying primer, make sure to thoroughly clean the doors and remove any dirt or grease. Next, lightly sand the surface to create a rough texture for better primer adhesion. Wipe away any dust with a tack cloth.
-
Apply primer: Using your airless sprayer, apply a thin and even coat of primer to the cabinet doors. Start from the top and work your way down, maintaining a consistent distance from the surface.
-
Allow the primer to dry completely before moving on to the next step: applying paint.
Now that the primer is applied, it’s time to bring your cabinet doors to life with a fresh coat of paint.
Apply Paint
To truly transform your cabinets, you’ll want to dive into the art of applying a flawless coat of paint. When it comes to paint application techniques, using an airless sprayer is the way to go. It provides a smooth and even finish, giving your cabinet doors a professional look.
Before starting, make sure to choose the right paint color that complements your kitchen or desired aesthetic. When applying the paint, hold the sprayer about 12 inches away from the surface and move in a steady back-and-forth motion. This will ensure an even application and prevent drips or streaks.
Take care of overspray by using drop cloths or masking off surrounding areas. This will help protect your kitchen from any accidental paint splatters.
Now, let’s move on to the next section about how to take care of overspray.
Take Care of Overspray
If you want to avoid any accidental splatters, be sure to take the necessary precautions when using an airless sprayer for your cabinet makeover. One important aspect to consider is how to take care of overspray. Overspray occurs when the paint mist goes beyond the intended surface area, resulting in wasted paint and a messy work area. To avoid this, you can employ a few techniques to minimize overspray. First, create a controlled environment by using drop cloths or plastic sheeting to cover surrounding surfaces and furniture. Additionally, adjust the spray pattern and pressure on the sprayer to achieve a fine mist that reduces overspray. Lastly, be mindful of your spraying technique, moving the sprayer in a smooth and consistent motion to avoid leaving excess paint in certain areas. By taking these precautions, you can ensure a cleaner and more efficient painting process, avoiding drips and preventing clogs. As we move onto the next section about letting the paint cure, it’s important to let the painted cabinet doors dry thoroughly before handling or reinstalling them.
Let the Paint Cure
Allow the freshly applied coat of paint on your cabinets to fully cure, giving it time to harden and become durable. Curing time is an important step in the painting process as it ensures that the paint adheres properly and doesn’t easily chip or peel.
The drying process can vary depending on the type of paint used, but generally, it takes around 24-48 hours for the paint to fully cure. During this time, it is crucial to avoid touching or bumping the painted surfaces to prevent any damage.
Once the paint has completely cured, you can proceed to reattach the cabinet doors, bringing your project one step closer to completion.
Reattach Cabinet Doors
Once the paint has fully cured, it’s time to bring back the finishing touch by reuniting your cabinets with their stylish companions – the doors.
Before reattaching the cabinet doors, make sure to clean and dry the hardware thoroughly to remove any paint residue. This will ensure a seamless and professional finish.
Once the hardware is clean, align the hinges and carefully screw them back into place. Take your time to ensure that the doors are properly aligned and level.
Now, it’s time to admire your freshly painted cabinet doors! Remember, you can choose from a wide range of paint color options to match your personal style and the overall aesthetic of your kitchen.
With your cabinets complete, it’s time to move on to the next step – cleaning and maintaining your airless sprayer.
Clean and Maintain Your Airless Sprayer
To ensure the longevity and optimal performance of your airless sprayer, it’s essential to regularly clean and maintain it. Proper maintenance prevents issues and keeps your sprayer in top shape for future projects.
Start by thoroughly cleaning the sprayer after each use. Remove any leftover paint and debris from the spray gun, nozzle, and filters. Check for clogs and clean or replace any parts as needed.
Regularly inspect the hoses, fittings, and seals for damage or wear. Lubricate the moving parts to keep them functioning smoothly.
Troubleshooting common issues, such as uneven spray patterns or loss of pressure, can often be resolved by cleaning and maintaining your sprayer.
By taking the time to care for your airless sprayer, you can enjoy your newly painted cabinet doors without any hiccups in the painting process.
Enjoy Your Newly Painted Cabinet Doors
Now that your cabinets have been beautifully transformed, you can bask in the satisfaction of a job well done. With your newly painted cabinet doors, you can now enjoy the benefits of using an airless sprayer for the painting process.
The smooth and even finish achieved with an airless sprayer enhances the overall appearance of your cabinet doors. Additionally, the airless sprayer allows for quick and efficient painting, saving you time and effort.
To further enhance the aesthetic appeal of your cabinet doors, consider exploring different cabinet door design ideas. Whether you prefer a classic or modern look, there are countless design options available to suit your style. From sleek and minimalist designs to intricate patterns and textures, you can truly customize your cabinet doors to reflect your personal taste.
With the combination of using an airless sprayer and incorporating unique cabinet door design ideas, you can create a stunning and personalized look for your kitchen or any other space where the cabinets are installed.
Enjoy the transformation and the beauty of your newly painted cabinet doors!
Frequently Asked Questions
How long does it take for the paint to cure on the cabinet doors?
To speed up the paint curing process on cabinet doors, factors like temperature, humidity, and ventilation play a crucial role. Higher temperatures and lower humidity levels can accelerate curing. Adequate ventilation aids in the process by allowing the paint to dry faster.
Can I use an airless sprayer to paint other surfaces besides cabinet doors?
Can an airless sprayer be used for painting techniques on surfaces other than cabinet doors? What are the alternative painting methods that can be employed? Find out in this concise and informative answer.
What type of primer should I use before painting the cabinet doors?
Before painting the cabinet doors, it’s important to use a high-quality primer specifically designed for the material of the doors. This step ensures proper adhesion and a smooth finish. Proper pre-painting preparation is crucial for a successful paint job.
How should I properly clean and maintain my airless sprayer after painting?
To properly clean and maintain an airless sprayer, it is important to follow best cleaning practices. After painting, I recommend thoroughly cleaning the sprayer, removing any leftover paint and storing it properly to prevent damage.
Are there any specific safety precautions I should take when using an airless sprayer for painting cabinet doors?
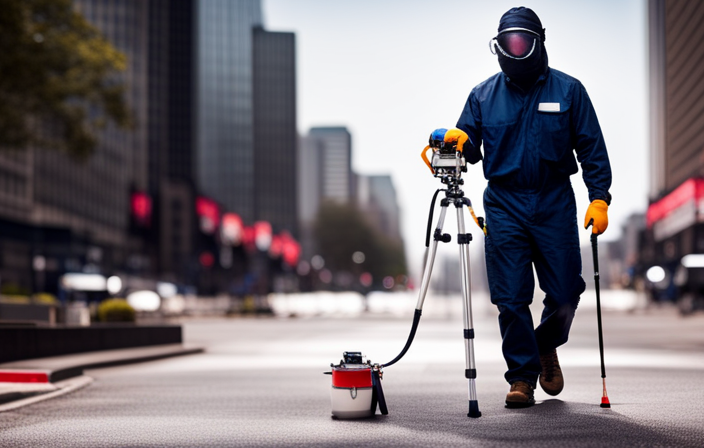
Proper ventilation is crucial when using an airless sprayer, as it releases a high volume of paint particles into the air. It’s important to choose the right safety gear, such as a respirator and goggles, to protect yourself from fumes and overspray.
Conclusion
In conclusion, painting your cabinet doors with an airless sprayer is a game-changer. It’s like giving your kitchen a fresh coat of confidence, breathing new life into your space.
With the right materials and technique, you can achieve professional-looking results. So why wait? Get started on this transformative project and watch your cabinets become the masterpiece they were always meant to be.
Embrace the power of the sprayer and say hello to a kitchen that will leave you feeling inspired every day.