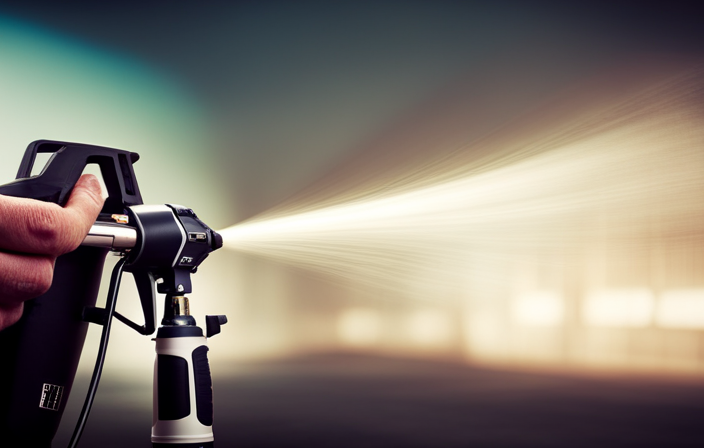

Before me is a blank canvas, with an airless paint sprayer in hand, I am filled with anticipation. Endless possibilities lie ahead, and the power to transform a space is within my reach.
In this article, I will guide you through the process of setting up an airless paint sprayer skid, unlocking the potential within your own creative endeavors.
With a concise, technical approach, I will share step-by-step instructions on assembling the skid, connecting hoses and attachments, and preparing the paint for a flawless application. I will emphasize the importance of testing the sprayer on a scrap surface, ensuring smooth strokes and a professional finish.
But it doesn’t end there. I will also provide valuable insights on cleaning and maintaining the sprayer, allowing you to enjoy the fruits of your labor for years to come.
So, let’s dive in and discover the artistry that awaits us with the airless paint sprayer skid.
Key Takeaways
- Gather necessary tools and equipment for setup.
- Organize workspace for efficiency and safety.
- Choose a well-ventilated and spacious location for painting.
- Consider safety measures and protect surrounding surfaces.

Baotree Airless Paint Sprayer, High-Pressure Electric Paint Spray Gun with Extension Rod, Thinning-Free Professional Painting Tool for Interior/Exterior Walls, Fences, Ceilings, Cabinets
1. High efficiency and time saving, the spraying speed is 5 times faster than traditional brushing ✅ High...
As an affiliate, we earn on qualifying purchases.
Gather the Necessary Tools and Equipment
You’ll need to gather all the essential tools and equipment to make your airless paint sprayer skid setup a breeze. First, select the appropriate paint type for your project, considering factors such as the surface material and desired finish. This will ensure optimal performance and longevity of your paint job.
Additionally, organizing your workspace is crucial for efficiency and safety. Clear any clutter and create a designated area for your paint sprayer skid setup. Arrange your tools and equipment in an easily accessible manner, ensuring everything is within reach.
Now that you’ve gathered the necessary tools and organized your workspace, it’s time to choose the right location for painting. This will be discussed in the subsequent section, where we’ll explore the importance of finding a suitable area for optimal paint application.

VEVOR 750W Stand Airless Paint Sprayer, 3000PSI High Efficiency Electric Airless Sprayer, Fine and Even Painting Effect, Handheld Paint Sprayers for Home Interior and Exterior Furniture and Fences
Efficient Painting: Our stand airless paint sprayer is equipped with a powerful 750W motor, capable of delivering up...
As an affiliate, we earn on qualifying purchases.
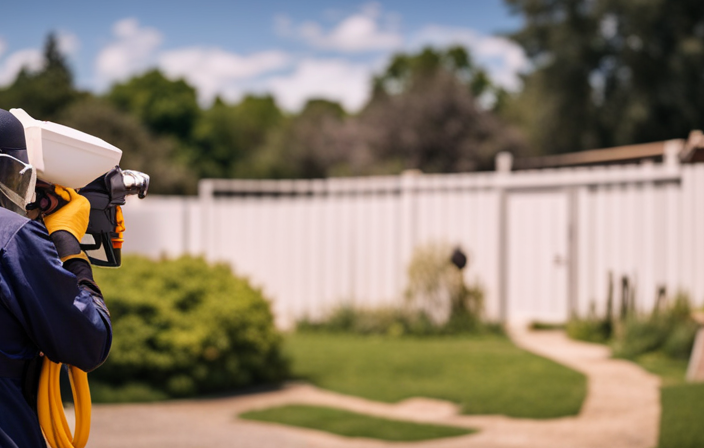
Choose the Right Location for Painting
Find a spot in your workshop or garage that’s well-ventilated and has enough space for you to move around comfortably.
When choosing the right location for painting with an airless paint sprayer skid, there are important factors to consider.
-
Ensure the area has proper ventilation requirements. Make sure there’s adequate airflow to prevent the buildup of fumes and paint particles. You can achieve this by opening windows, using exhaust fans, or setting up ventilation systems.
-
Consider safety measures. Choose a location away from flammable objects or materials. Keep the area clear of clutter to avoid accidents. You can also use drop cloths or tarps to protect surrounding surfaces from overspray.
-
Prepare the surface you’ll be painting. Clean and prepare it to ensure optimal adhesion and a smooth finish.
-
Set up a work area. Arrange your tools, equipment, and paint supplies in an organized manner to maximize efficiency.
Now that you’ve chosen the right location, let’s move on to assembling the airless paint sprayer skid.

MaXpray M1 Airless Paint Sprayer, Highly Efficient Thinning-Free Minimal Overspray for Up to 10 Gallon DIY Painting Projects Home Interior & House Exterior, Comes with Sprayer Accessories
Your DIY Partner - All DIY Homeowners, upgrade your DIY game with the MaXpray M1 airless paint sprayer—far...
As an affiliate, we earn on qualifying purchases.
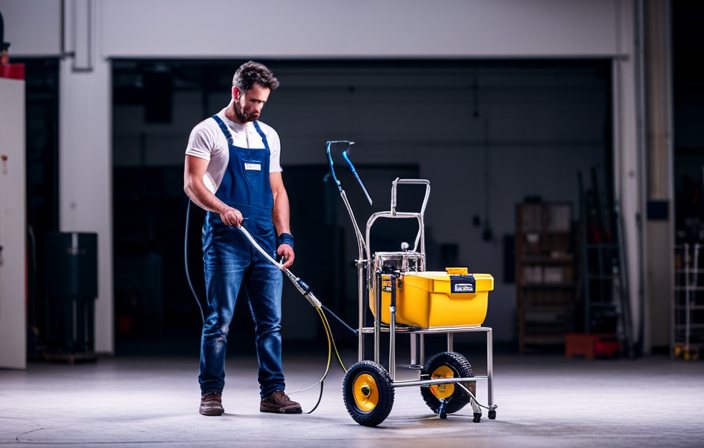
Assemble the Airless Paint Sprayer Skid
Now that you’ve got all the pieces ready, it’s time to put together your powerful paint sprayer setup.
Assembling the airless paint sprayer skid requires following specific techniques to ensure proper functionality. Start by attaching the pump to the skid frame securely, making sure all bolts are tightened.
Next, connect the pressure regulator and filter assembly to the pump, ensuring a tight seal. Double-check all connections to prevent any leaks.
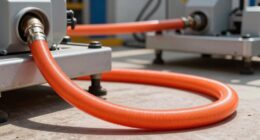
Then, attach the high-pressure hose to the pump and secure it with the hose clamp.
Finally, install the spray gun and tip guard onto the hose, making sure they are properly aligned and tightened.
Troubleshooting tip: If you encounter any issues during assembly, consult the user manual or contact the manufacturer for assistance.
With the skid assembly complete, it’s time to move on to connecting the hoses and attachments.

Graco Magnum 262805 X7 Cart Airless Paint Sprayer, Gray
CONTROL PAINT FLOW: Fully adjustable pressure to give you ultimate control of paint flow for any project size;...
As an affiliate, we earn on qualifying purchases.
Connect the Hoses and Attachments
Get ready to connect the hoses and attachments for a seamless painting experience. Here are some tips for achieving a professional finish with an airless paint sprayer:
-
Troubleshooting common hose connection issues: Ensure all connections are tight and secure to prevent leaks. Check for any kinks or bends in the hose that could restrict paint flow. Use Teflon tape on threaded connections to create a tight seal.
-
Tips for achieving a professional finish: Start with a clean and dry surface for better adhesion. Maintain a consistent distance from the surface while spraying to avoid uneven coverage. Apply multiple thin coats instead of one thick coat for a smoother finish.
When you’ve successfully connected the hoses and attachments, it’s time to prepare the paint and dilute if necessary.
Prepare the Paint and Dilute if Necessary
Once the hoses and attachments are securely connected, it’s time to mix the paint and dilute it if necessary, ensuring a flawless painting process. Dilution techniques are crucial to achieve the desired consistency for the spray application.
Different paint brands may have specific instructions on how to dilute their products, so it’s important to read and follow the manufacturer’s recommendations. Generally, latex paints require water dilution, while oil-based paints may need mineral spirits or other solvents. I recommend using high-quality paint brands known for their durability and smooth application.
By carefully following the dilution instructions and using the best paint brands available, you can ensure optimal performance from your airless paint sprayer.
Now, let’s move on to the next step and adjust the pressure and spray pattern for the perfect finish.
Adjust the Pressure and Spray Pattern
Fine-tune the pressure and spray pattern on your airless paint sprayer to achieve a flawless finish that will transform your space.
To adjust the pressure, refer to the manufacturer’s instructions and use the pressure control knob or dial. Start with a low pressure setting and gradually increase it until the paint is atomized properly.
Additionally, adjusting the spray angle is crucial for achieving even coverage. Experiment with different angles to find the one that works best for your project.
If you encounter common issues such as spattering or uneven spray, troubleshoot by checking for clogs in the spray tip or hose, ensuring proper paint consistency, and cleaning or replacing any damaged parts.
Once you have fine-tuned the pressure and spray pattern, you can proceed to the next step of testing the sprayer on a scrap surface to ensure optimal performance.
Test the Sprayer on a Scrap Surface
Now that you’ve adjusted the pressure and spray pattern, it’s time to put your skills to the test by trying out the sprayer on a scrap surface.
This is an essential step to practice techniques and familiarize yourself with the equipment before tackling the actual painting project. Start by selecting a scrap surface that closely resembles the material you’ll be painting. Ensure the surface is clean and free of any debris.
Hold the sprayer at a consistent distance from the surface, usually around 12 inches, and begin spraying in smooth, even strokes. Pay attention to the spray pattern and adjust your technique as needed.
This practice run will help you identify any common mistakes and make necessary adjustments before moving on to the main painting task.
Now, let’s delve into the subsequent section about beginning your painting in smooth strokes.
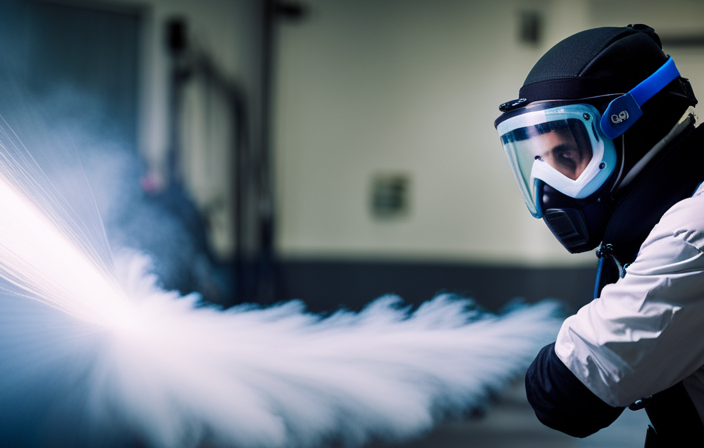
Begin Painting in Smooth Strokes
Get ready to unleash your creativity and transform your project with smooth, flowing strokes as you begin painting using the sprayer. Achieving a smooth paint application is crucial for professional-looking results.
To ensure this, start by maintaining a consistent distance between the sprayer and the surface, typically around 12 inches. Move your hand steadily and smoothly in a back-and-forth motion, overlapping each stroke slightly for even coverage.
Troubleshooting common painting issues, such as uneven spray patterns or drips, can be resolved by adjusting the pressure settings or cleaning the nozzle. Remember to always test the sprayer on a scrap surface before starting the project to familiarize yourself with its operation and make any necessary adjustments.
As you perfect your technique, get ready to move on to the next step of cleaning and maintaining the sprayer after use.
Clean and Maintain the Sprayer After Use
After you’ve finished painting, it’s important to clean and maintain the sprayer to ensure its longevity and optimal performance. Studies show that regular maintenance can extend the lifespan of a sprayer by up to 50%.
Here are some cleaning techniques and storage tips to keep your airless paint sprayer skid in top condition:
-
Flush the sprayer: Run a cleaning solution through the sprayer to remove any leftover paint and prevent clogs.
-
Disassemble and clean the components: Take apart the nozzle, gun, and filters, and clean them thoroughly with a brush and solvent.
-
Lubricate moving parts: Apply lubricant to the piston rod and other moving parts to prevent rust and ensure smooth operation.
-
Store properly: Store the sprayer in a clean, dry place, away from extreme temperatures and direct sunlight.
By following these cleaning techniques and storage tips, you can maintain your airless paint sprayer skid for long-lasting performance. Now, enjoy your newly painted space with confidence.
Enjoy Your Newly Painted Space
As I step into my freshly painted space, a sense of satisfaction and pride washes over me. The enjoyment benefits of a newly painted area are numerous. Not only does it enhance the aesthetic appeal of the space, but it also creates a clean and vibrant atmosphere. To ensure the longevity of the paint job, proper post painting maintenance is essential. This includes regular cleaning to remove dust and dirt, as well as addressing any touch-ups or repairs that may be needed. By following these maintenance practices, the paint job will stay looking fresh and beautiful for years to come. To assist you in maintaining your newly painted space, here is a table outlining some key maintenance tasks:
| Maintenance Task | Frequency | Benefits |
|---|---|---|
| Regular cleaning | Weekly | Removes dirt |
| Touch-ups | As needed | Fixes imperfections |
| Repairs | As needed | Restores the paint |
Maintaining your freshly painted space will not only ensure its longevity but also allow you to continue enjoying the beauty it brings to your surroundings.
Frequently Asked Questions
How long does it typically take to assemble an airless paint sprayer skid?
Typically, assembling an airless paint sprayer skid takes just a jiffy. Now, let’s delve into troubleshooting common issues and discover tips for selecting the perfect paint for your sprayer.
Can I use an airless paint sprayer skid for both indoor and outdoor painting projects?
Yes, an airless paint sprayer skid can be used for both indoor and outdoor painting projects. It offers benefits such as faster application, even coverage, and reduced overspray, making it suitable for a wide range of applications.
What safety precautions should I take when using an airless paint sprayer skid?
When using an airless paint sprayer skid, it is important to follow safety tips such as wearing protective clothing and eyewear, using a respirator for proper ventilation, and ensuring a clean and well-ventilated workspace.
How often should I clean and maintain the sprayer to ensure optimal performance?
To ensure optimal performance, it is crucial to clean and maintain your airless paint sprayer skid regularly. Best practices include cleaning the filters, flushing the system with appropriate solvent, and inspecting for any worn or damaged parts.
Are there any specific types of paint that are not suitable for use with an airless paint sprayer skid?
Certain types of paint can be incompatible with airless paint sprayer skids. It’s important to consider the viscosity, texture, and chemical composition of the paint. Compatibility issues can lead to clogging, uneven spray patterns, and poor performance.
Conclusion
As I stand back and admire the beautifully painted walls, I can’t help but feel a sense of accomplishment. Like a skilled artist with a brush, the airless paint sprayer skid has transformed my space into a masterpiece.
With the right tools and a little bit of know-how, anyone can achieve professional-looking results. So don’t be afraid to unleash your inner Picasso and give your home a fresh coat of paint.
With the airless paint sprayer skid by your side, the possibilities are endless. Happy painting!