To use an airless paint sprayer for crown molding, start by cleaning and prepping the surface. Inspect for imperfections and use painter's tape to protect surrounding areas. Choose a reliable airless sprayer, adjusting the pressure to 1500-2000 PSI and a tip size of 310 or 312 for trim work. Maintain a distance of about 12 inches from the molding, using smooth, even strokes with a 50% overlap for great coverage. Apply thin coats, allowing them to dry completely between layers. Finally, watch for missed spots and touch them up for a flawless finish. There's more to explore on ensuring success!
Key Takeaways
- Clean and prepare the crown molding surface by removing dust, filling imperfections, and sanding lightly for better paint adhesion.
- Choose a high-quality airless paint sprayer with adjustable pressure settings and suitable tip size for optimal performance.
- Maintain a distance of about 12 inches when spraying, using smooth motions with 50% overlap for even coverage.
- Allow adequate drying time between coats, typically 1 to 2 hours, to ensure proper adhesion and finish quality.
- Inspect the painted surface for missed spots and use a small brush for touch-ups in hard-to-reach areas.
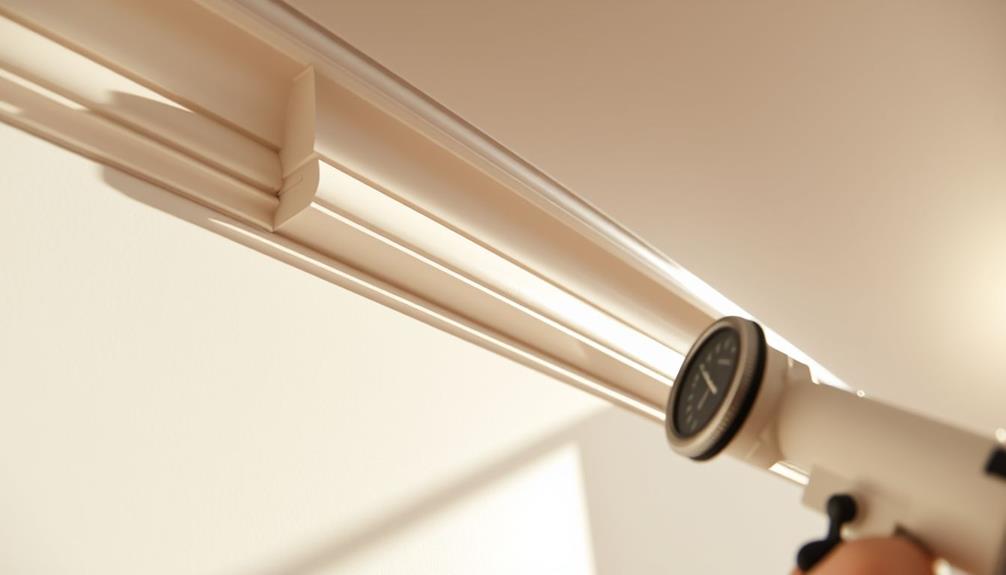
Preparing the Crown Molding
Before you start painting, getting the crown molding ready is vital for a flawless finish. Begin by thoroughly cleaning the crown molding surface to remove any dust and debris. This step guarantees peak paint adhesion, which is essential for a smooth finish.
Additionally, consider using a quality grout cleaner to remove any stubborn stains that could affect the paint's appearance. Next, inspect the trim for imperfections. Fill any cracks and holes with wood putty, allowing it to dry according to the manufacturer's instructions. Once dried, sand the area lightly to create a seamless surface.
After addressing imperfections, it's time to enhance paint adhesion further. Scuff sand the entire surface of the crown molding using medium grit sandpaper. This creates a rough texture that allows the paint to grip better.
To protect your work area, use painter's tape to mask off the adjacent surfaces, including walls and ceilings. This will minimize overspray when you spray paint the crown molding.
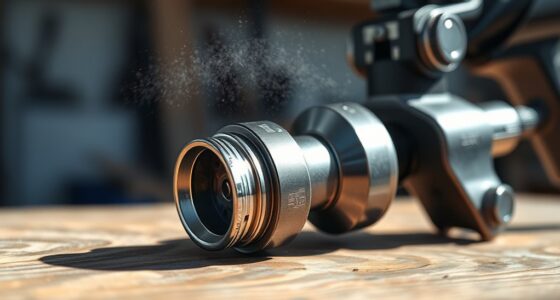
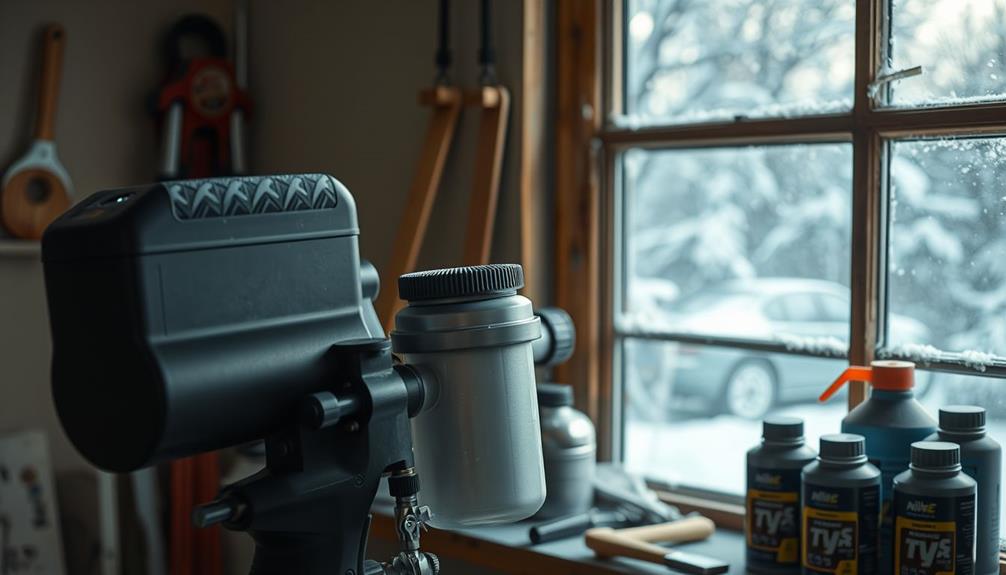
Selecting the Right Sprayer
When selecting the right airless paint sprayer, you'll want to evaluate the types available, essential features, and trusted brands.
A high-quality sprayer can make a significant difference in your project's outcome, especially when it comes to achieving an even finish on intricate details like crown molding.
Additionally, choosing the right sprayer involves assessing nozzle sizes and adjustable pressure settings for versatile applications.
Let's break down what you need to know to make an informed choice.
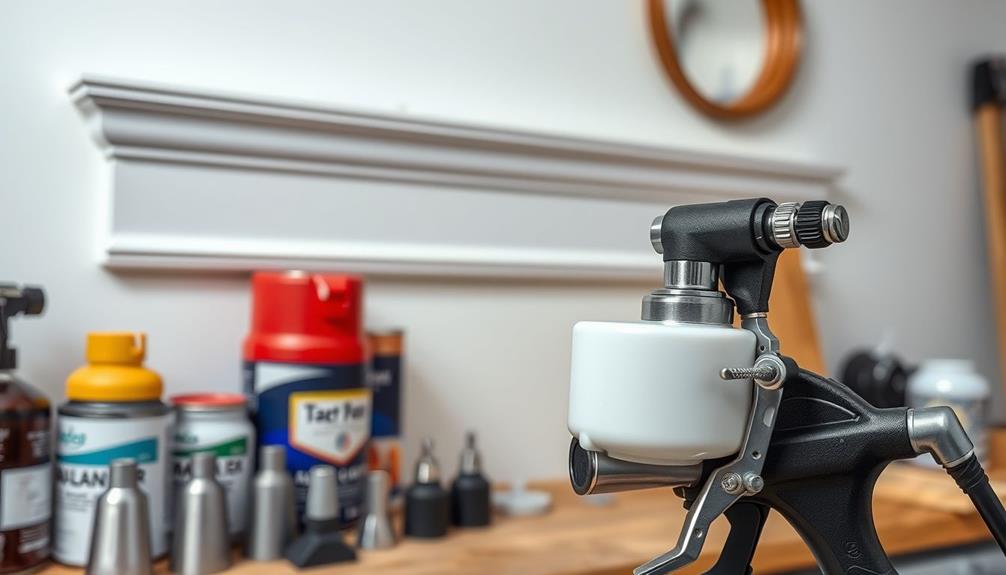
Types of Airless Sprayers
Choosing the right airless paint sprayer can make all the difference in achieving a flawless finish, especially for detailed projects like crown molding. To guarantee you select the best sprayer for your needs, consider the following factors:
1. Model: Look for reputable brands like Titan or Graco, which are known for their reliability and performance, particularly in professional settings.
Many of their sprayers utilize revolutionary spray technology designed to reduce overspray and improve control, making them ideal for intricate projects.
2. Tip Size: Selecting the correct tip size is essential. A tip size of 310 or 312 is recommended for trim work, as it helps avoid clogging while delivering fine detail.
Choosing the right tip size can also influence the spray pattern and finish quality, guaranteeing you achieve the desired results.
3. Paint Compatibility: Confirm your airless sprayer is compatible with the type of paint you're using.
Oil-based enamels work well, but latex may require different equipment.
4. Maintenance: Regular maintenance is key.
Clean your sprayer after each use to maintain peak performance and extend its lifespan.
Essential Sprayer Features
Selecting the right airless paint sprayer involves understanding several important features that can greatly impact your project's outcome. First, consider models with adjustable pressure settings. This feature allows you to accommodate different paint viscosities and achieve ideal atomization, which is critical for a fine finish on crown molding.
Next, look for a sprayer with a maximum tip size of at least 0.015 inches. This guarantees the unit can handle thicker paints typically used for trim work. A flexible hose length is also essential; it lets you maneuver easily and access hard-to-reach areas without repositioning the unit frequently.
Lastly, confirm the sprayer has a built-in filter to reduce clogging, which is necessary for maintaining a smooth application. Opting for a model that includes a variety of interchangeable spray tips, such as 310 and 312 sizes, will provide added versatility for different projects and paint types.
| Feature | Importance | Tip Size |
|---|---|---|
| Adjustable Pressure | Ideal atomization for various paints | Minimum 0.015 in |
| Flexible Hose Length | Easy maneuverability | Compatible tips |
| Built-in Filter | Reduces clogging for a fine finish | 310, 312 options |
Recommended Sprayer Brands
Several reputable brands stand out in the airless paint sprayer market, making it easier for you to find a reliable option. Choosing the right sprayer can greatly impact your project, especially for detailed work like crown molding.
Additionally, understanding the importance of proper maintenance and care for your tools can enhance their longevity and performance, similar to how candle maintenance extends lifespan.
Here are some recommended sprayer brands:
- Titan – Known for their durability and excellent performance in various applications.
- Graco – Offers a range of models that are trusted by professionals and DIY enthusiasts alike.
- Wagner – Particularly popular for projects requiring intricate details and ornate features.
- Husky – Provides budget-friendly options without compromising on quality.
When selecting a sprayer, consider the paint tip size and spray pattern to achieve the best results. For crown molding, a 310 or 312 tip size is ideal, as it helps maintain detail while preventing clogging issues.
It's often advisable to rent high-quality sprayers if you don't plan on using them frequently, as lower-end models may lead to unsatisfactory results.
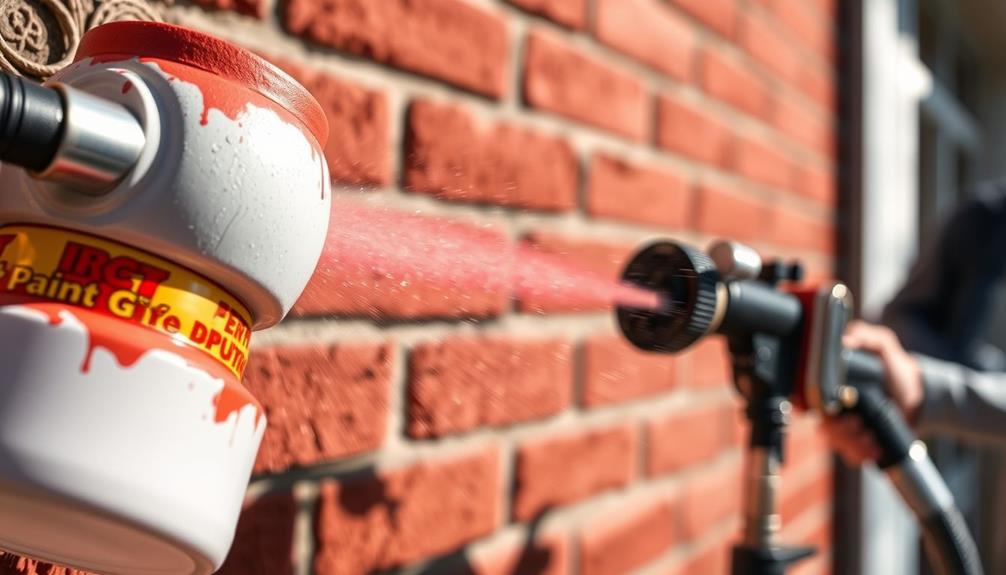
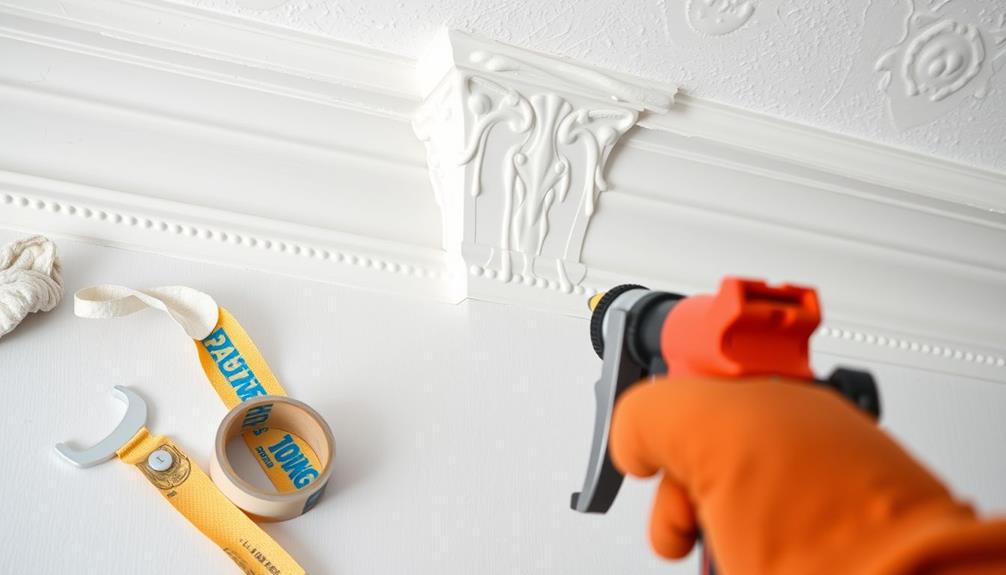
Masking and Protection Techniques
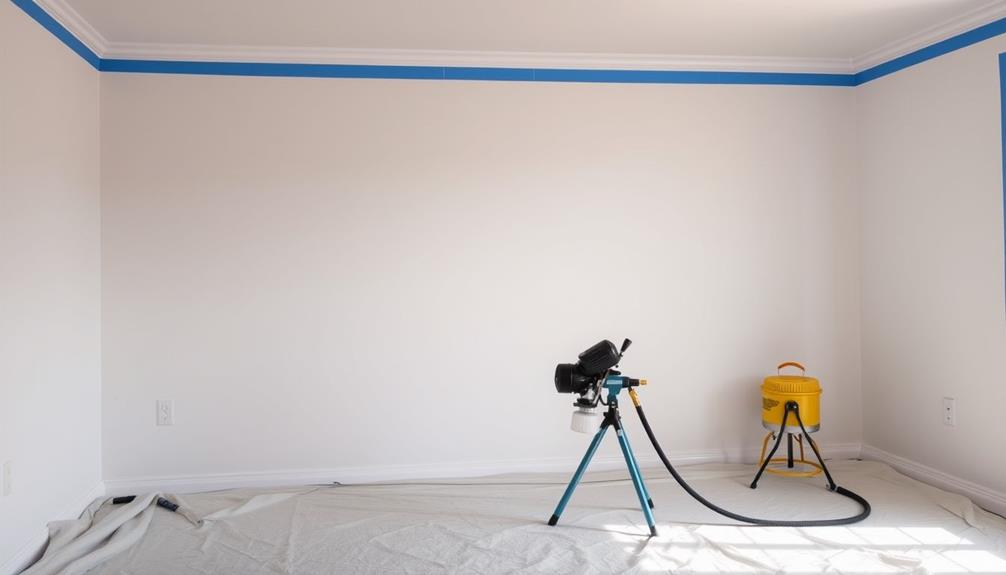
Proper masking and protection techniques are essential for achieving a flawless finish when using an airless paint sprayer. Start by thoroughly cleaning the crown molding surface to eliminate dust and debris, which helps the paint stick better. Next, use high-quality painter's tape, like 3M 2080, to mask off adjacent surfaces. This creates clean lines and prevents overspray on walls or ceilings.
Additionally, lay down drop cloths to protect your floors and furniture from paint splatter. This not only keeps your workspace tidy but also cuts down on clean-up time. Don't forget to mask surrounding surfaces like baseboards and trim to avoid unintentional coverage during spraying. Before you begin, double-check that all masking is secure and properly applied. This can save you time and effort by preventing the need for touch-ups.
| Task | Details |
|---|---|
| Clean the surface | Remove dust and debris |
| Use painter's tape | Choose high-quality options like 3M 2080 |
| Protect workspace | Lay drop cloths and mask surrounding areas |
With these techniques in place, you're set for a smooth painting experience!
Adjusting Pressure and Settings
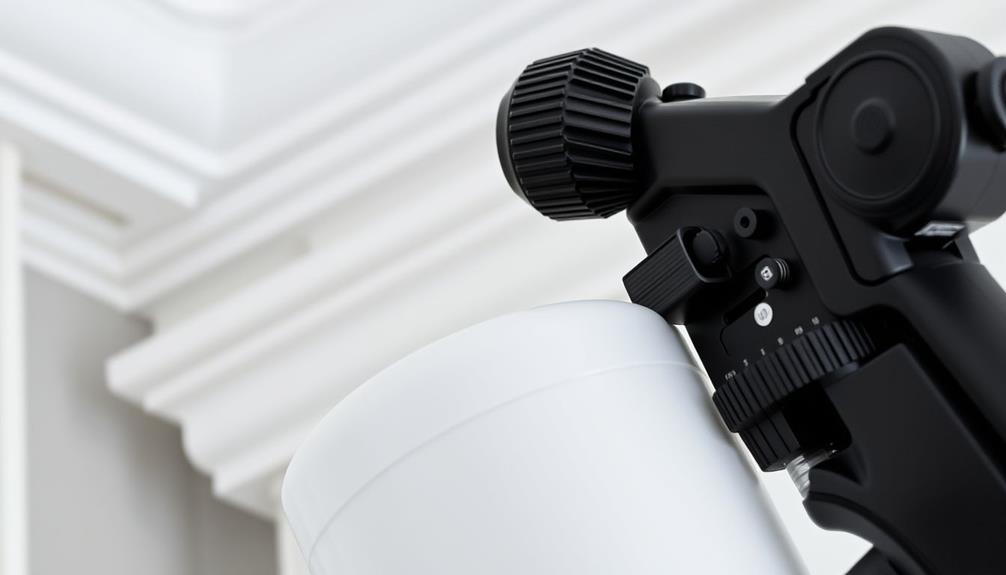
Achieving the right pressure and settings is vital for a successful painting job with an airless paint sprayer. Start with a pressure setting between 1500 to 2000 PSI for ideal atomization and coverage. However, you'll need to adjust based on the tip size and the material you're working with.
For those working in enclosed spaces, consider using an air purifier to maintain air quality by reducing harmful particles and odors, as air purifiers improve indoor air quality considerably.
Here's how to get it right:
- Select the Right Tip Size: Smaller tips (e.g., 310) require lower pressure to avoid clogging, while larger tips (e.g., 517) need higher pressure for proper paint flow.
- Monitor Consistent Pressure: Maintaining consistent pressure is essential to avoid tails in your spray pattern and guarantee an even finish.
- Check Paint Viscosity: Adjust your pressure settings based on the viscosity of the paint and the specific material being sprayed.
- Test the Spray Pattern: Always test on a sample surface to fine-tune your settings, guaranteeing a uniform finish without over-spraying or under-spraying.
Refer to the paint manufacturer's technical data sheets for tailored pressure recommendations.
With these adjustments, you'll achieve a professional finish on your crown molding.
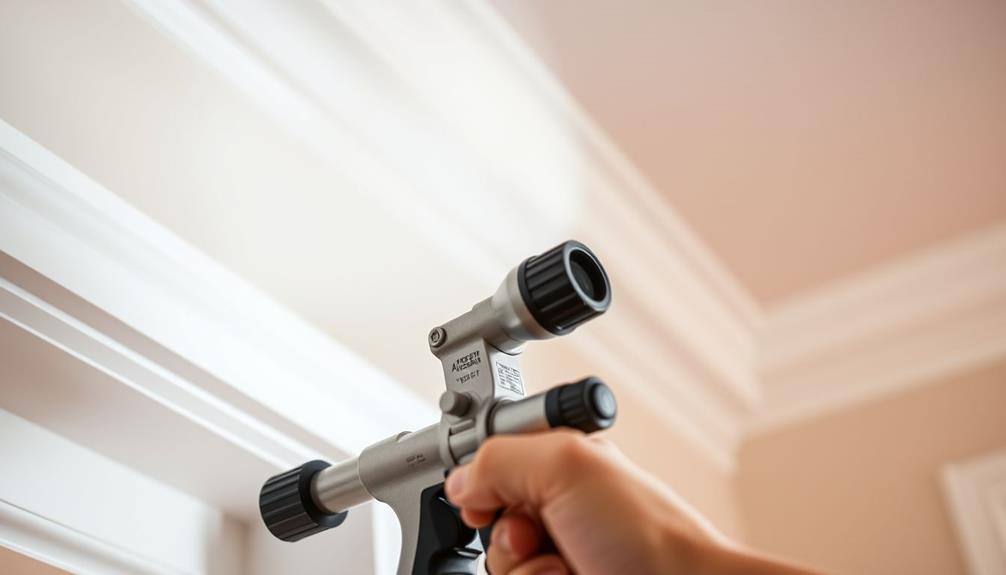
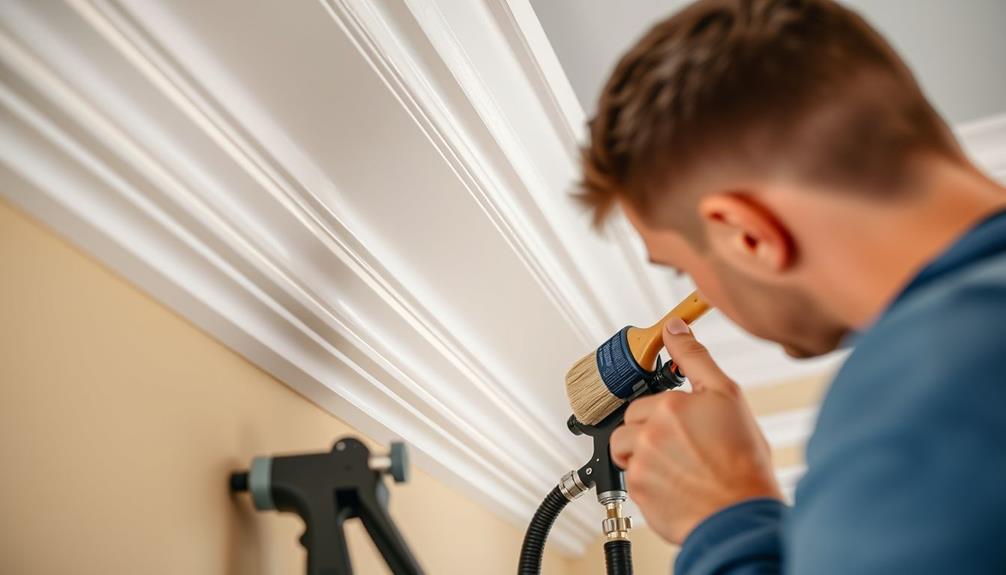
Proper Spraying Techniques
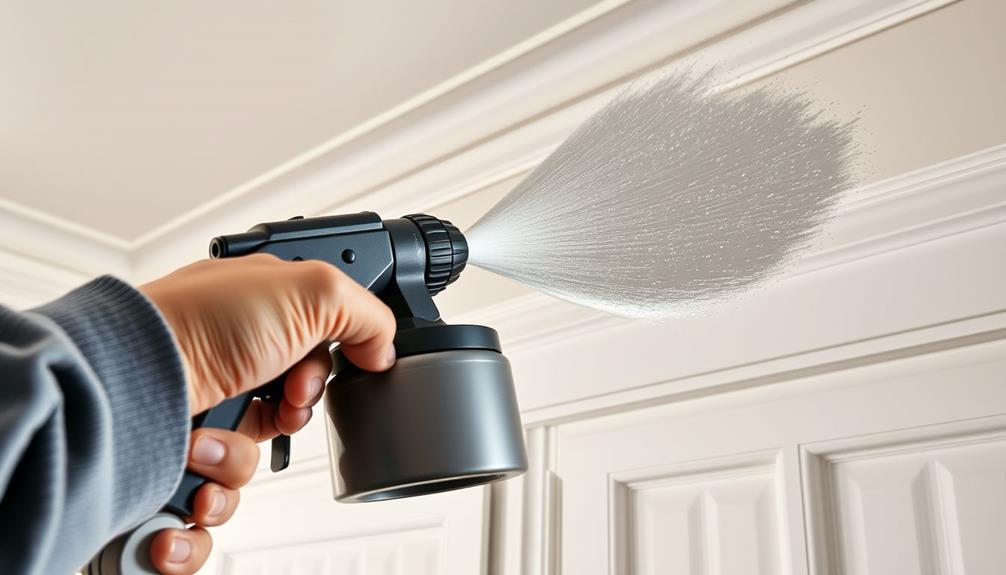
Mastering effective spraying techniques is vital for achieving a flawless finish on crown molding. Start by maintaining a consistent distance of about 12 inches from the surface. This helps guarantee even coverage while preventing drips and runs.
For trim work, use a 310 or 312 spray tip; these sizes offer better control and detail for intricate features. Additionally, having a clean and organized workspace can greatly enhance your efficiency and the quality of your work, similar to how home cleaning services prepare spaces for ideal results.
When you begin spraying, apply thin, even coats in a back-and-forth motion. Overlap each pass by about 50% to avoid missed spots, creating a uniform finish. Before you start on the crown molding, always test the spray pattern on a scrap piece of wood. This allows you to adjust the settings for the desired spray consistency, making sure you're ready to go.
After each coat, allow the paint to dry completely before applying the next one. This step is essential for adhesion and finish quality.
Common Mistakes to Avoid
When using an airless paint sprayer, skipping surface preparation can seriously impact your finish.
Proper surface preparation not only helps the paint adhere better but also reduces the likelihood of imperfections, much like how cat health and nutrition is important to prevent digestive issues.
It's essential to clean and sand the area beforehand to guarantee paint adheres properly.
Also, don't forget to allow enough drying time between coats; rushing this step can lead to a subpar result.
Skipping Surface Preparation
Surface preparation is essential for a successful paint job, yet many people overlook it. Skipping this vital step can lead to poor paint adhesion, resulting in peeling and chipping that compromises the longevity of your finish.
To avoid an uneven finish, make certain you follow these key steps:
- Clean the Surface: Remove dust and debris from the crown molding. A clean surface allows for better paint adhesion and a smoother application, much like how best window treatments enhance home decor by providing a polished look.
- Fill Cracks and Sand Rough Areas: Before painting, fill any cracks and sand down rough spots. This prevents a textured surface that can make your final coat look unprofessional.
- Scuff Sand the Trim: Lightly scuff sanding the existing surface helps the new paint stick better. This step is vital for guaranteeing a durable finish.
- Mask Adjacent Surfaces: Use painter's tape to protect areas around your crown molding. This prevents overspray and saves you from additional cleanup.
Neglecting Drying Time
One of the biggest mistakes you can make while using an airless paint sprayer is neglecting drying time between coats. It's essential to allow each coat to dry thoroughly according to the manufacturer's instructions. Insufficient drying can lead to smudging and uneven finishes, making your hard work seem wasted.
Typically, a minimum drying time of 1-2 hours is recommended, but remember that temperature and humidity levels can affect this. Here's a quick reference to help you gauge drying times:
| Condition | Drying Time (Hours) |
|---|---|
| Low Humidity | 1-1.5 |
| Moderate Humidity | 1.5-2 |
| High Humidity | 2-3 |
| Cooler Temps | 2-3 |
Testing the surface for dryness by lightly touching it can prevent frustration. Rushing the process may cause paint to sag or drip, resulting in additional sanding later on. To help expedite drying without compromising quality, consider using a fan or ensuring proper ventilation in your workspace. Taking the time to let your paint dry properly will save you headaches in the long run.
Drying and Curing Process
To guarantee the best results when using an airless paint sprayer, understanding the drying and curing process is essential. The drying time between coats is critical; allow each coat of paint on your crown molding to dry for at least 1 to 2 hours. This guarantees proper adhesion and enhances paint quality.
Additionally, maintaining a holistic lifestyle can improve focus and reduce stress during your painting project, allowing for a more enjoyable experience stress management techniques.
Here are some key points to contemplate during the drying and curing process:
- Ventilation: Maintain adequate airflow to prevent dust and debris from settling on your freshly painted surfaces.
- Temperature and Humidity: Monitor that the conditions are between 70°F and 80°F with relative humidity below 50% to optimize drying time.
- Light Sanding: Conduct light sanding between coats after the previous coat has dried to the touch. This step improves adhesion and results in a smoother finish.
- Curing Time: Remember that the curing process can take up to 30 days for oil-based paints to reach full hardness, so avoid heavy use or contact with the painted surfaces during this period.
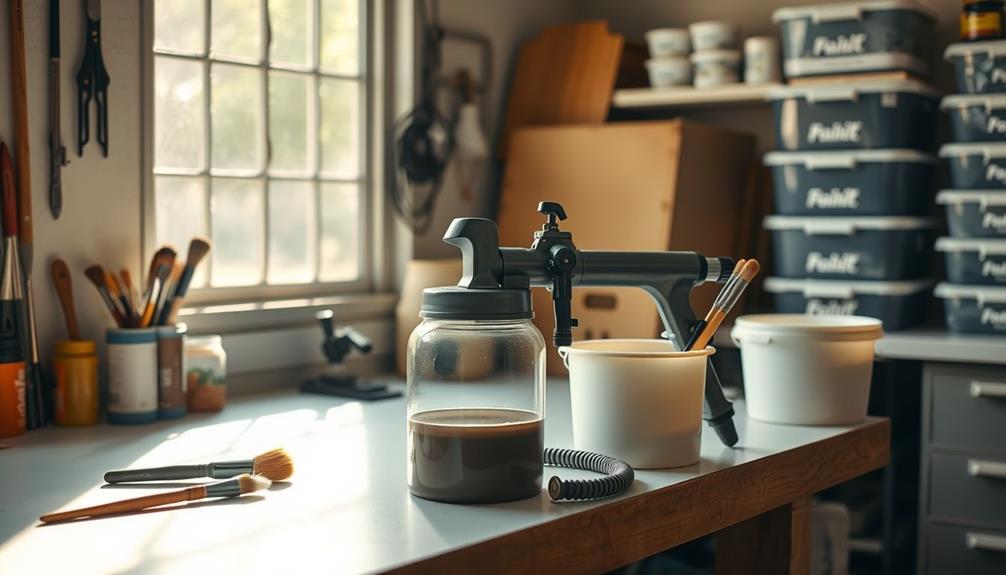
Clean-Up and Maintenance
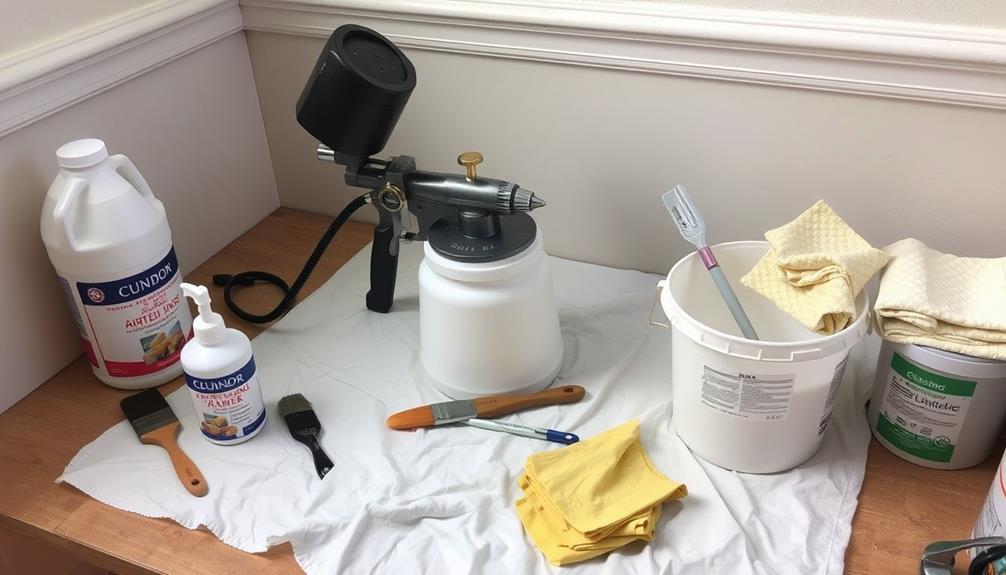
Once you've completed your painting project and allowed the paint to dry properly, it's time to focus on clean-up and maintenance. Start by flushing the system with the appropriate solvent—paint thinner for oil-based paints or water for latex. This step is vital to prevent clogs and guarantee peak performance for your next use.
Additionally, it's important to assess potential risks in your projects, as improper maintenance can lead to costly repairs or replacements.
While you're still working, don't forget to clean the spray tip and filter regularly. This helps avoid paint build-up, which can ruin your spray pattern and finish quality.
After you've finished flushing, make sure all components are completely dry before storing them. Any leftover paint can harden and cause damage.
Refer to your user manual for specific cleaning instructions and maintenance schedules tailored to your sprayer model.
It's also wise to regularly check and replace worn parts, like seals and filters. Keeping these components in good shape is essential for maintaining consistent pressure and spray performance during future painting projects.
Following these steps will guarantee your airless paint sprayer remains in prime condition, ready for your next crown molding endeavor.
Final Touches and Inspection
After painting the crown molding, inspect the surface carefully for any missed spots or drips that need touch-ups before the paint dries completely. This final inspection is essential for achieving a flawless finish.
Here are some steps to guide you:
- Check for Missed Spots: Use a bright light to highlight any areas that may need extra attention, guaranteeing even paint color across the surface.
- Lightly Sand Between Coats: If you're applying multiple coats, lightly sand the painted surfaces to promote adhesion and achieve a smoother finish.
- Remove Masking Tape: While the paint is still slightly wet, carefully pull off the masking tape to create clean lines and prevent peeling.
- Assess Overall Aesthetics: Once the final coat has dried, step back and view the crown molding from different angles to check for uniform coverage and consistency in the finish.
If you notice any inconsistencies, don't hesitate to address them immediately.
For added protection and sheen, consider applying a clear coat after your final touches are complete. This thorough inspection guarantees your crown molding looks professionally finished.
Frequently Asked Questions
Do You Dilute Paint When Using an Airless Sprayer?
Yes, you should dilute paint when using an airless sprayer to prevent clogs. A 10% to 20% thinning ratio is usually recommended, but always check the manufacturer's guidelines for the best results.
What Graco Spray Tip to Use for Trim?
For trim work, you'll want to use a 310 or 312 spray tip with your Graco airless sprayer. These tips provide detail and a smooth finish, ensuring your trim looks professional and polished.
How Many Coats of Paint With an Airless Sprayer?
Imagine transforming your living room with fresh color. You'll typically need two to three coats for a durable finish. Don't forget a primer for bare wood, and let each layer dry completely before moving on.
How to Prep Trim for Spray Painting?
To prep trim for spray painting, clean the surface, repair dings, scuff sand, and protect surrounding areas with tape and drop cloths. This guarantees a smooth finish and prevents overspray from ruining adjacent surfaces.
Conclusion
In the end, mastering an airless paint sprayer for crown molding can transform your space, much like a brushstroke can turn a blank canvas into a masterpiece. By following the steps outlined, you'll not only achieve a professional finish but also gain the confidence to tackle future projects. Remember, every stroke counts, so take the time to refine your technique. With practice, you'll create a crown molding that truly reigns over your decor.