
To paint a room in one day with an airless sprayer, start by thoroughly prepping the space—cover furniture and floors, and clean and prime the walls. Choose the right sprayer and paint, and calibrate your equipment for a smooth application. Use steady, overlapping strokes and maintain proper distance to avoid overspray. Afterward, clean your tools for next time. Keep these tips in mind, and you’ll soon master a flawless, efficient finish—learn more to perfect your technique.
Key Takeaways
- Prepare the room thoroughly by covering furniture, masking trim, and cleaning walls for smooth application.
- Choose an appropriately calibrated airless sprayer with suitable paint for efficient, even coverage.
- Maintain a consistent, overlapping spray technique at about 12 inches from the surface for uniform results.
- Protect surrounding areas from overspray with masking and drop cloths, and work systematically for efficiency.
- Allow proper drying time, clean equipment after use, and perform touch-ups for a professional finish.
Preparing the Room for Painting
Before you start painting, it’s essential to prepare the room properly. First, clear the space by removing furniture or covering it with drop cloths to prevent accidental splatters. Mask off trim, windows, and doorframes to guarantee clean lines and a professional finish. Consider the color contrast you want; lighter shades can make the room appear larger, while darker tones add coziness. Keep in mind the environmental impact of your choices—opt for low-VOC or eco-friendly paints to reduce harmful emissions. Proper preparation not only speeds up your work but also ensures a smooth, high-quality finish. Taking these steps minimizes mess and maximizes efficiency, helping you complete the project in one day with impressive results. Additionally, maintaining good lighting during the painting process can improve visibility and help you achieve a more uniform application.
Selecting the Right Airless Sprayer and Paint
To complete your project efficiently, you need to select the right airless sprayer and paint. Consider the size of the room and the type of finish you want to attain to choose the best equipment. Picking the proper paint also guarantees smooth coverage and a durable result that lasts. Ensuring you have the appropriate sprayer features can help prevent issues like clogging and uneven application during your painting session.
Choosing the Suitable Sprayer
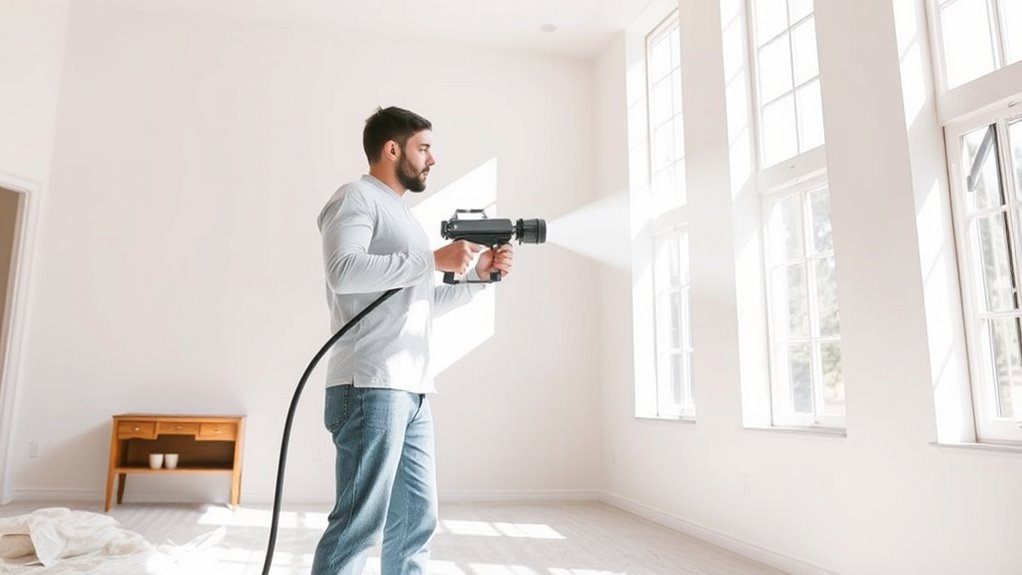
Choosing the right sprayer is essential for a smooth and efficient painting process, especially when aiming to complete the job in a day. Start by considering the sprayer capacity; a larger capacity reduces refilling stops, saving you time. Also, evaluate the spray pattern—whether it’s adjustable or fixed—to ensure it suits the room’s size and surface. A wider spray pattern covers more area quickly, which is ideal for ceilings and walls, while a narrower pattern offers precision for edges and corners. Make sure the sprayer can handle the type of paint you’re using. Selecting a model with the right capacity and flexible spray pattern helps you work faster, produce a professional finish, and meet your tight schedule efficiently. Additionally, choosing a sprayer with airless technology minimizes overspray and provides a smooth, even coat, making your project more efficient.
Picking the Proper Paint
Selecting the right paint is key to achieving a smooth, professional finish in a single day. You want a paint that offers excellent color consistency, ensuring even coverage and a uniform look across the entire wall. Look for high-quality, durable paints designed for your specific surface, which will withstand wear and cleaning over time. Choosing paint with good durability reduces the need for touch-ups later and maintains your room’s fresh appearance longer. Keep in mind that some paints are formulated for faster drying, helping you complete the job swiftly. When selecting your paint, consider both color options and finish type, but prioritize durability and consistency. This ensures your quick project results in a lasting, flawless finish without sacrificing quality.
Protecting Floors and Furniture
Before you start painting, make sure to cover your furniture thoroughly with drop cloths or plastic sheets. Use drop cloths properly to prevent paint spills from seeping through and causing damage. Don’t forget to protect your flooring effectively, so your workspace stays clean and free of unwanted paint marks. Consider using self watering plant pots to keep plants safe and healthy during your painting project, especially if you’re working for an extended period.
Cover Furniture Thoroughly
To keep your furniture and floors safe from paint splatters and drips, it’s essential to cover them thoroughly before you start. Furniture protection is key to a clean, stress-free painting process. Use proper furniture covering materials like plastic sheeting, drop cloths, or specialized furniture covers to shield your pieces effectively. Make sure to secure the coverings tightly so they don’t shift during painting. Remove any items that are easily movable or that could interfere with your work. For larger furniture, drape the covers neatly to avoid gaps. This extra effort minimizes the risk of accidental paint stains and saves you time cleaning up later. Proper furniture protection ensures your space stays neat and your furniture stays pristine, even as you work quickly with an airless sprayer. Using high-quality drop cloths can also help prevent paint from seeping through onto your flooring, further safeguarding your space.
Use Drop Cloths Properly
Using drop cloths properly is essential to protect your floors and furniture from unexpected paint splatters. Start by selecting the right type of drop cloths—canvas or plastic—based on your needs. Guarantee proper placement by covering all areas that could be exposed to drips or overspray. Lay the drop cloths flat on the floor, smoothing out wrinkles to prevent tripping hazards and paint tracking. Tuck the edges under furniture or baseboards when possible for added protection. Secure the cloths with painter’s tape if needed to keep them in place. Proper placement minimizes the risk of accidental damage and makes cleanup easier. Taking the time to set up your drop cloths correctly ensures a cleaner, more efficient painting process. Additionally, understanding paint protection techniques helps prevent costly mistakes and keeps your space looking pristine.
Protect Flooring Effectively
Protecting your flooring effectively is essential to keep your space clean and free from damage during painting. Start by using quality floor protection, such as plastic sheeting or heavy-duty drop cloths, to cover all surfaces. Secure the coverings with painter’s tape along edges to prevent slipping or shifting. Make sure furniture coverage is thorough—move furniture out of the room if possible, or cover it with blankets or plastic wraps. This prevents paint splatters and spills from causing damage. Avoid gaps in your floor protection to ensure no area is exposed. Additionally, using durable protective coverings can provide extra resistance to paint splatters, making cleanup easier. Taking these steps will save you time cleaning up later and help keep your flooring in pristine condition throughout your painting project.
Preparing the Surface for Optimal Coverage
Before applying paint, you need to make sure the surface is properly prepared to achieve the best coverage. Start with thorough surface preparation by cleaning walls to remove dust, dirt, and grease. Sand any rough spots or peeling paint to create a smooth surface, ensuring the paint adheres well. Once clean and smooth, consider primer application, especially on stained or porous surfaces, to improve paint adhesion and enhance color vibrancy. Priming also helps to seal the surface, reducing the number of coats needed. Proper surface preparation minimizes imperfections and guarantees the airless sprayer applies an even coat. Additionally, understanding lifestyle trends can influence your color choices and finishing techniques, making your space more personalized and motivating. Taking these steps upfront guarantees a professional-looking finish and helps you complete the job efficiently within your one-day timeline.
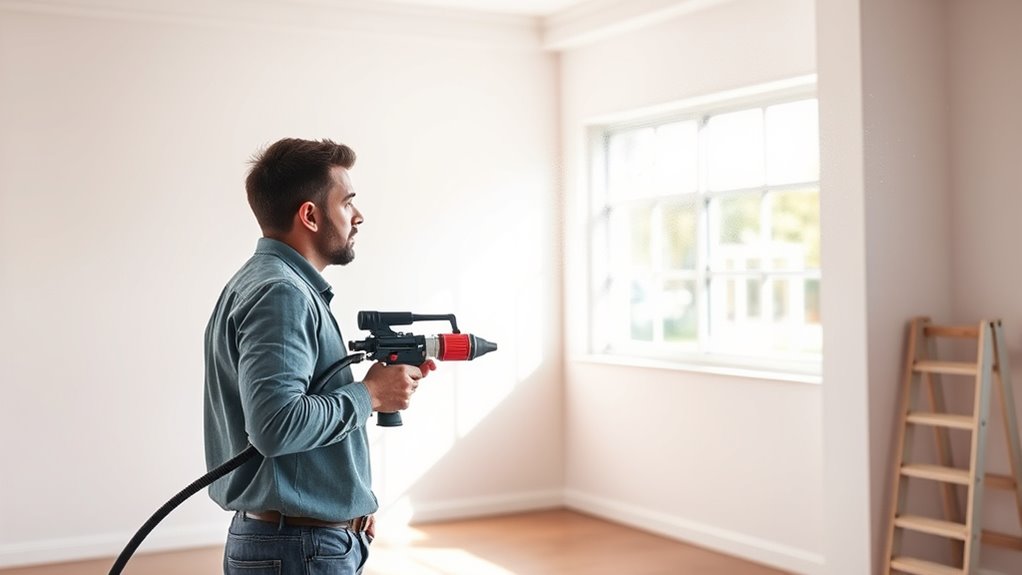
Techniques for Efficient Spraying
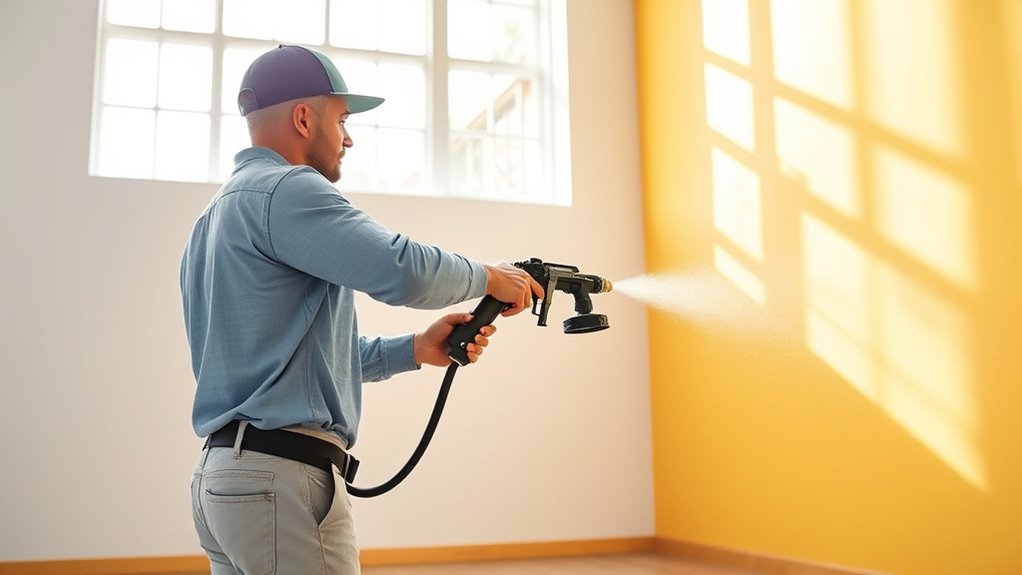
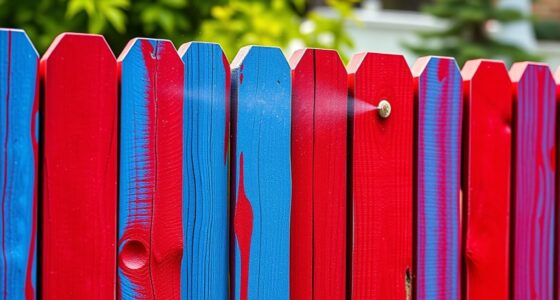
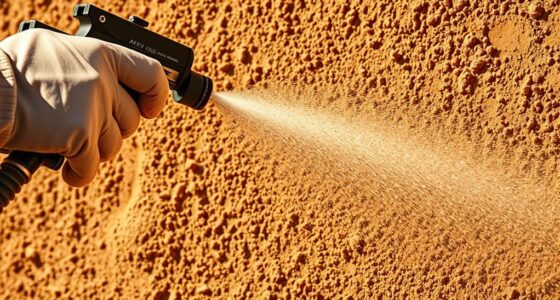
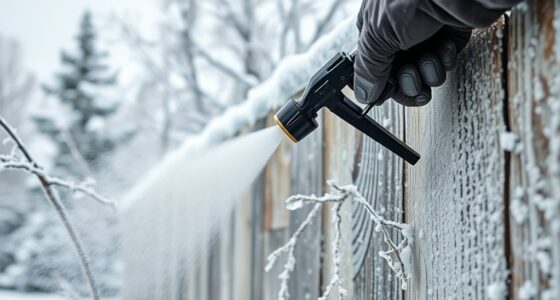
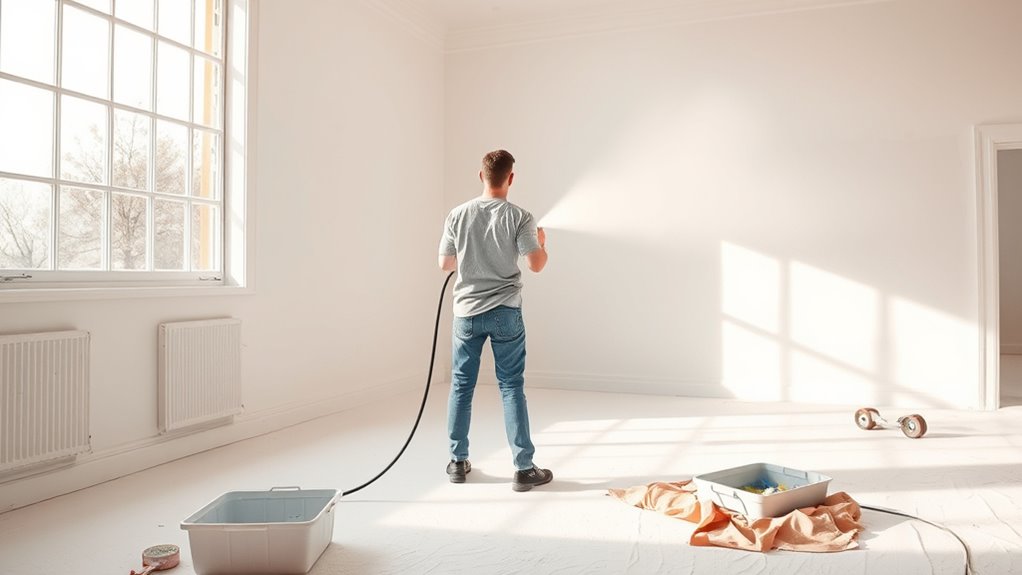
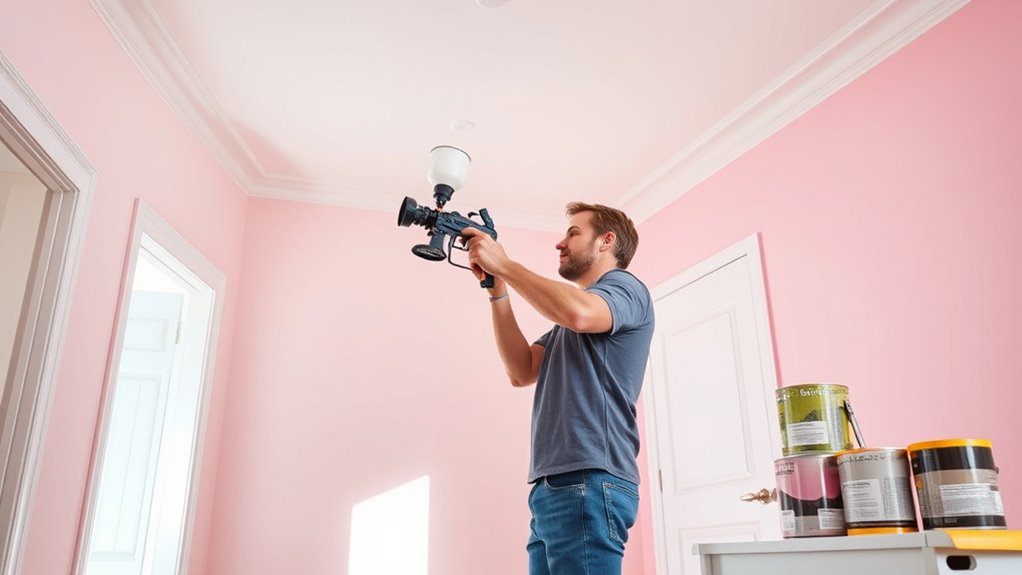
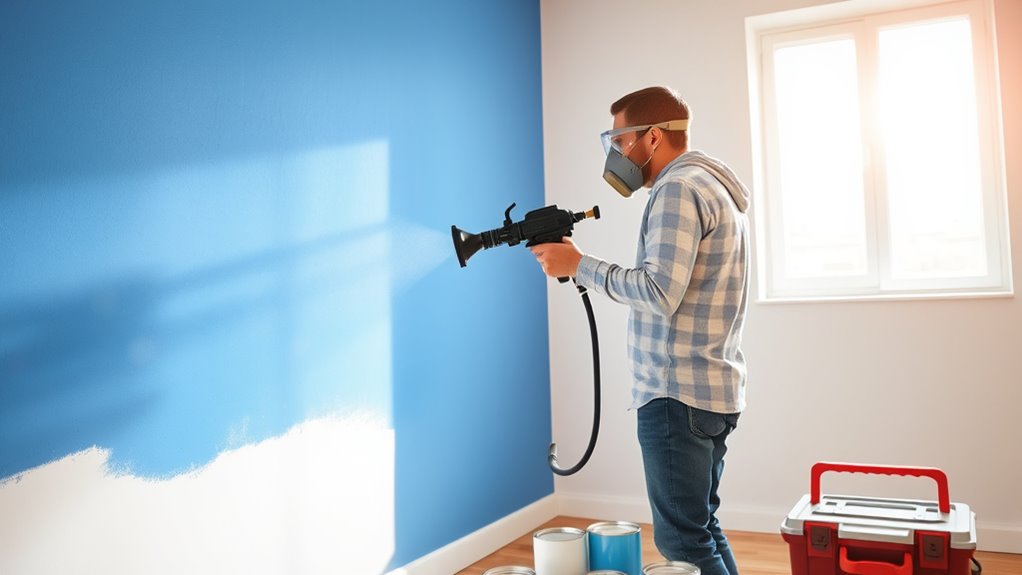
To achieve even coverage and save time, mastering efficient spraying techniques is essential. Begin by maintaining a consistent spray pattern, keeping the nozzle perpendicular to the surface and moving at a steady pace. Use smooth, overlapping strokes to prevent streaks or missed spots. While airless spraying minimizes the need for brush techniques, there are situations where a quick brush touch-up helps blend edges. Adjust the spray pressure for ideal atomization, avoiding drips or overspray. Keep the spray gun about 12 inches from the surface, and avoid stopping in the middle of a section to prevent uneven coats. Practice your spray pattern on scrap material before starting, ensuring even coverage. Proper technique is key to achieving a professional finish quickly and efficiently. These techniques streamline your job and lead to a professional-looking finish in less time.
Managing Overspray and Ensuring Even Coats
Managing overspray and ensuring even coats require careful control of your spraying technique. Start by calibrating your airless sprayer properly; this guarantees the spray pattern is consistent and prevents excess overspray. Maintain a steady, perpendicular distance from the surface—usually 12 to 18 inches—to avoid uneven coverage. Pay attention to paint viscosity management, thinning the paint as needed to achieve smooth, even application without drips or runs. Use overlapping strokes and keep your movements smooth to distribute paint evenly. Keep an eye on overspray near edges and use masking or drop cloths to protect surrounding areas. Consistent technique, combined with proper equipment calibration and paint management, helps you achieve a professional finish in a single day. Regular use of the right exfoliating techniques can also help prepare surfaces for painting by ensuring a clean, smooth base.
Cleaning and Maintaining Your Equipment
Regularly cleaning and maintaining your equipment is essential to guarantee ideal performance and a professional finish. Start by cleaning spray tips thoroughly after each use to prevent clogs and ensure smooth spray patterns. Always check and perform equipment calibration to maintain accurate pressure and flow, which directly impacts your paint application. Inspect hoses and fittings for wear or leaks and replace any damaged parts promptly. Keep your airless sprayer clean by flushing it with the appropriate solvent or water, depending on your paint type. Proper maintenance also involves lubricating moving parts as recommended by the manufacturer. Additionally, understanding crochet styles for locs can inspire creative techniques for subtle modifications or decorative accents to your spraying patterns. By staying on top of cleaning spray tips and calibrating your equipment regularly, you’ll prolong its lifespan and deliver consistent, high-quality results every time.
Tips for a Perfect Finish in Record Time
Achieving a flawless finish quickly requires careful preparation and efficient techniques. Start by mastering brush techniques for edges and corners, which help you avoid streaks and uneven coverage. Use smooth, consistent strokes and keep a wet edge for seamless blending. When selecting colors, opt for shades that complement each other and minimize the need for multiple coats. Test color samples beforehand to guarantee they match your vision and lighting conditions. Work systematically, moving from one wall to the next without hesitation. Use your airless sprayer to cover large areas swiftly, but finish with a brush in tricky spots for precision. Properly prepared surfaces and thoughtful color choices streamline the process, saving you time while ensuring a professional-looking result. Additionally, understanding paint drying times can help you plan your work schedule effectively and avoid smudges or damage during the process.
Frequently Asked Questions
How Long Does It Typically Take to Complete a Room With an Airless Sprayer?
You might wonder how long it takes to finish a room with an airless sprayer. Typically, it’s quite time-efficient, often taking 2 to 4 hours depending on room size and prep work. Your preparation steps, like masking and surface prep, are vital for a smooth process. Once ready, the sprayer speeds up painting, reducing overall time compared to traditional brushes or rollers. Proper planning guarantees a quick, quality finish.
Can I Paint Over Wallpaper or Textured Surfaces With an Airless Sprayer?
You can’t directly spray over wallpaper or textured surfaces without prep. First, remove wallpaper to guarantee a smooth finish, and then thoroughly clean and sand textured surfaces for better paint adhesion. Use an airless sprayer carefully, applying light coats to avoid overspray. Proper prep is essential for a professional look, and remember, skipping wallpaper removal or textured surface prep can lead to peeling or uneven paint.
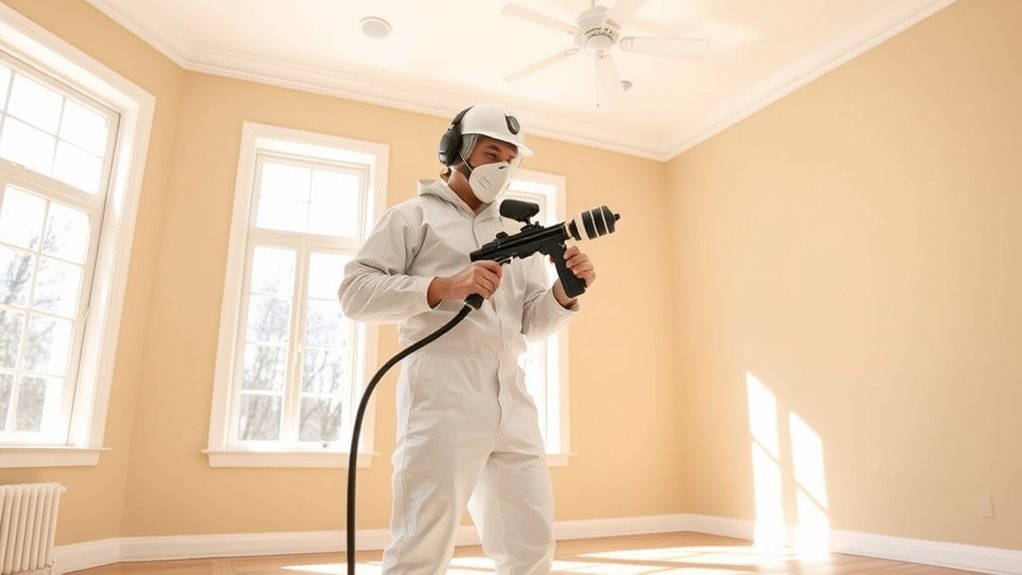
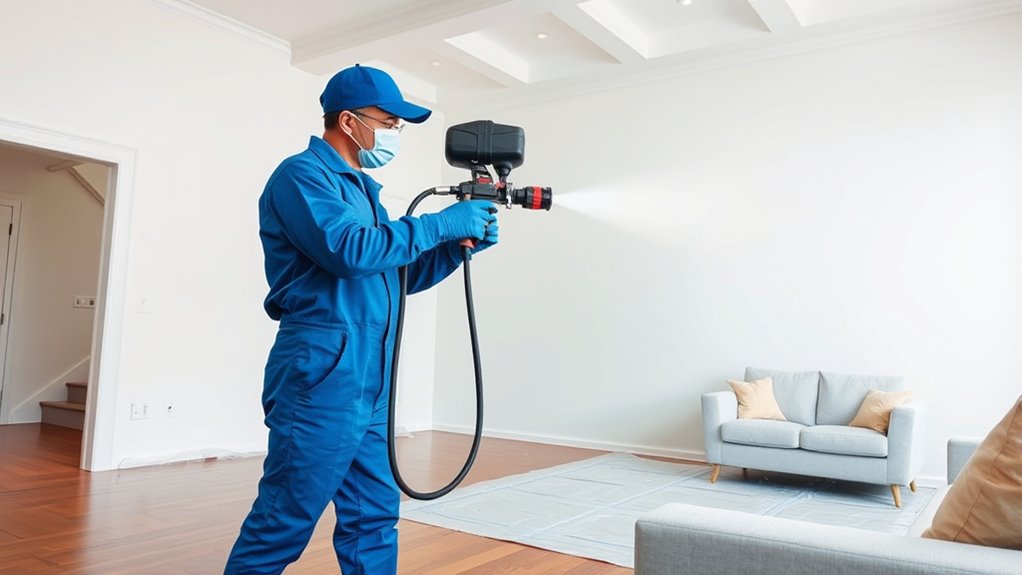
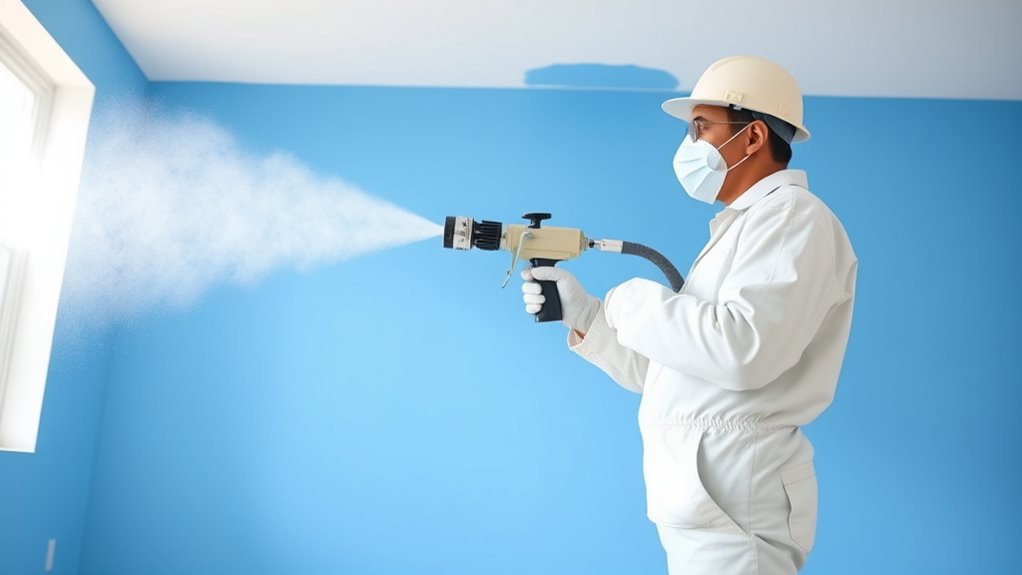
What Safety Precautions Should I Follow When Using an Airless Sprayer Indoors?
When using an airless sprayer indoors, you should always prioritize safety. Wear protective gear like goggles, masks, and gloves to avoid inhaling fumes or getting paint in your eyes. Guarantee good ventilation by opening windows and using fans to disperse fumes and overspray. These precautions help protect your health and create a safer environment while you work efficiently and effectively.
Is It Necessary to Thin the Paint Before Spraying?
Your paint’s consistency can make or break your project—thick paint can clog your sprayer faster than a traffic jam. Generally, you don’t need to thin paint unless it’s really thick or you notice uneven spray. Check your sprayer settings first; they often specify if thinning is necessary. Properly adjusted, your sprayer will deliver smooth, even coats, saving you time and frustration.
How Do I Troubleshoot Common Issues Like Clogging or Uneven Spray Patterns?
When troubleshooting issues like clogging or uneven spray patterns, start with sprayer maintenance by cleaning the nozzle and filters thoroughly. Check the paint consistency—if it’s too thick, thin it according to manufacturer instructions. Regularly inspect hoses for kinks or blockages, and ensure the pressure settings are correct. Proper maintenance and adjusting paint consistency help prevent clogs and deliver a smooth, even spray for a flawless finish.
Conclusion
Painting a room in a day with an airless sprayer is totally doable when you prepare properly and follow the right techniques. Did you know that airless sprayers can cover up to 10 times faster than traditional brushes? With the right prep, tools, and patience, you’ll achieve a smooth, professional finish in record time. So roll up your sleeves, stay focused, and enjoy your beautifully refreshed space—faster than you ever thought possible!