
In cold weather, using your airless sprayer requires careful preparation to prevent damage and guarantee quality results. You should check and warm your equipment, store it in climate-controlled spaces, and select cold-weather paints designed for low temps. Adjust spray settings for ideal flow, and keep paint warm before application. Protect your workspace from temperature fluctuations and maintain your equipment properly. Keep these tips in mind, and you’ll discover how to get professional results even in winter conditions.
Key Takeaways
- Test equipment and paint in cold conditions to ensure proper operation and prevent damage before starting projects.
- Store and insulate tools in climate-controlled spaces to prevent freezing and maintain equipment longevity.
- Use cold-weather-specific paints, warm containers beforehand, and stir thoroughly for best adhesion and finish.
- Adjust spray settings by increasing pressure and selecting appropriate nozzles for cold weather to achieve even coverage.
- Protect work and equipment with insulation, tarps, and proper storage to maintain consistent temperatures during winter projects.

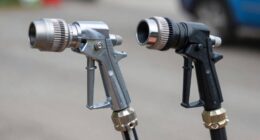
Gyfent 22Pcs Airless Paint Sprayer Gun Kit, 3600PSI Spray Gun with 50Ft x 1/4“ NPT Airless Paint Sprayer Hose & 6Pcs Reversible Spray Tips & Guide Tool & 4Pcs Extension Wand & 6Pcs Filters
- Complete Spray Gun Kit: Includes spray gun, hose, tips, and accessories
- Universal Compatibility: Fits most airless paint sprayers with 50ft hose
- Versatile Nozzles and Extensions: Six spray tips and four extension rods for various needs
As an affiliate, we earn on qualifying purchases.
As an affiliate, we earn on qualifying purchases.
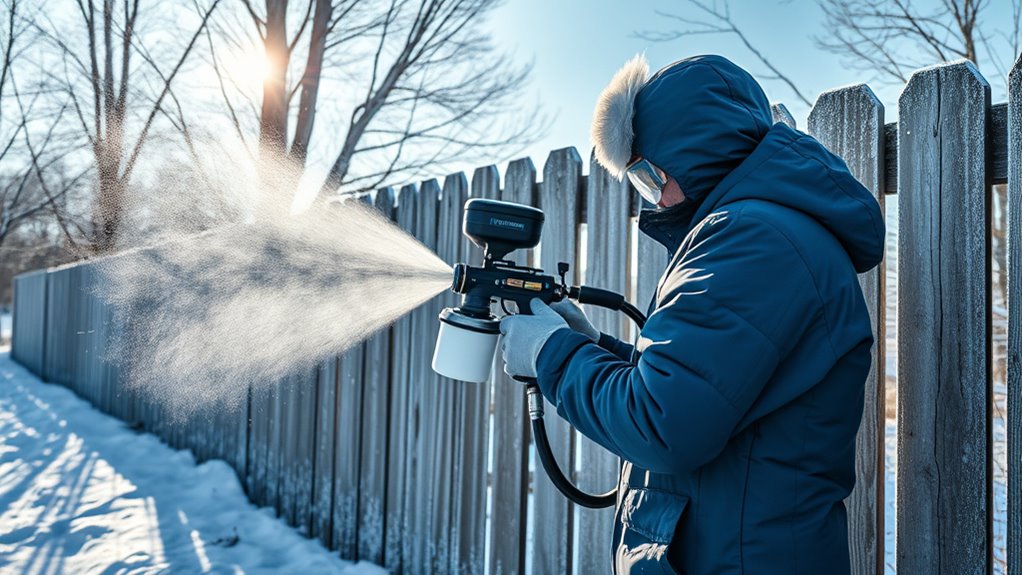
Understanding Cold Weather Challenges for Airless Sprayers
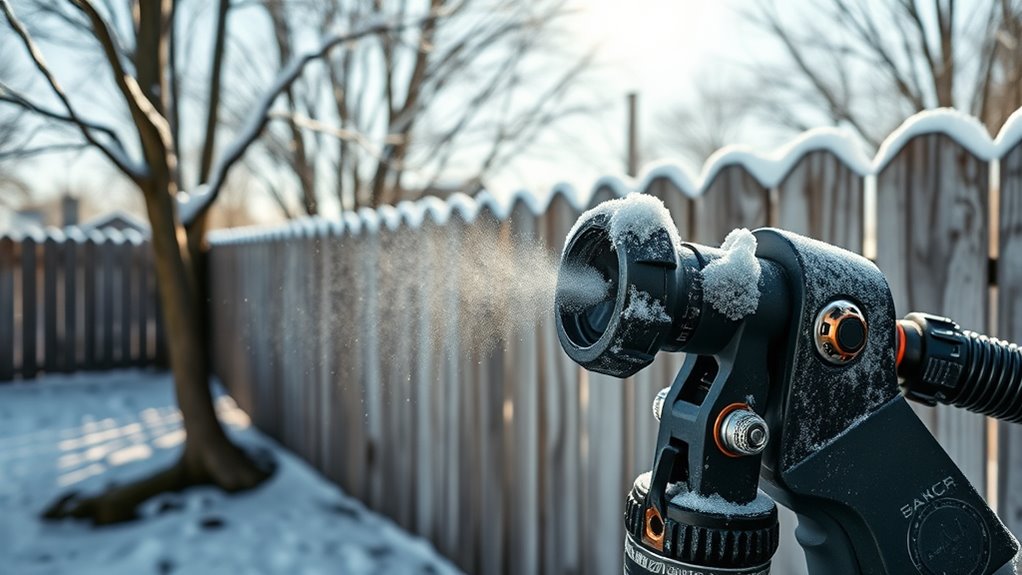
Cold weather can considerably impact the performance of airless sprayers, making it essential to understand the challenges involved. When temperatures drop, your equipment’s durability becomes a concern. Cold conditions can cause the pump and hoses to stiffen, increasing the risk of damage or failure. You might also notice inconsistent spray patterns or clogging, as paint thickens or freezes inside the system. Additionally, cold weather can reduce the efficiency of your sprayer, leading to longer project times. Understanding these challenges helps you recognize that your equipment isn’t built for winter use without proper precautions. Protecting your sprayer from cold-related issues is vital to maintaining its durability and ensuring a smooth painting process despite the chilly conditions. AI security measures are also important to consider in the broader context of maintaining equipment safety and integrity during all seasons.
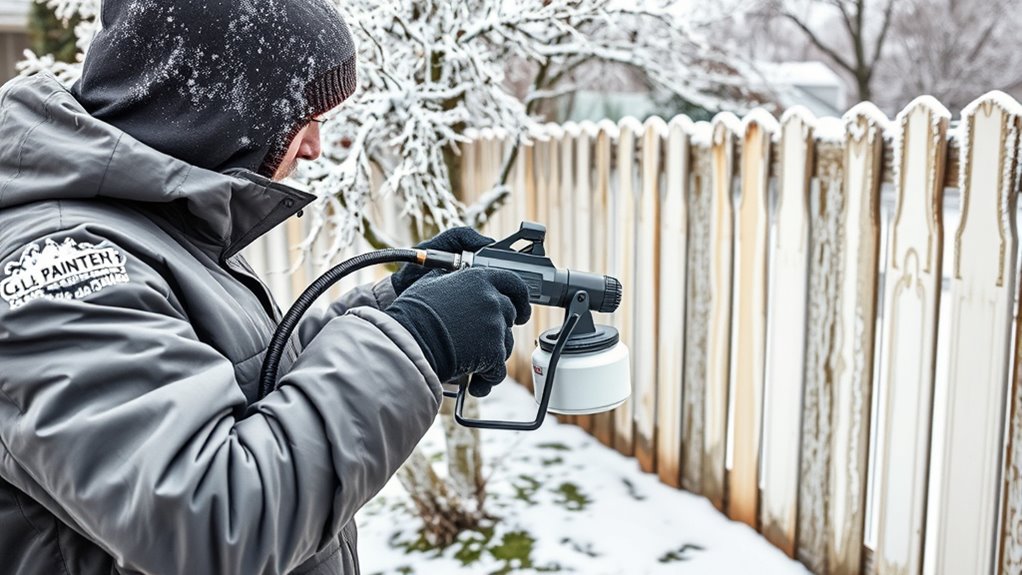
Preparing Your Equipment for Winter Use
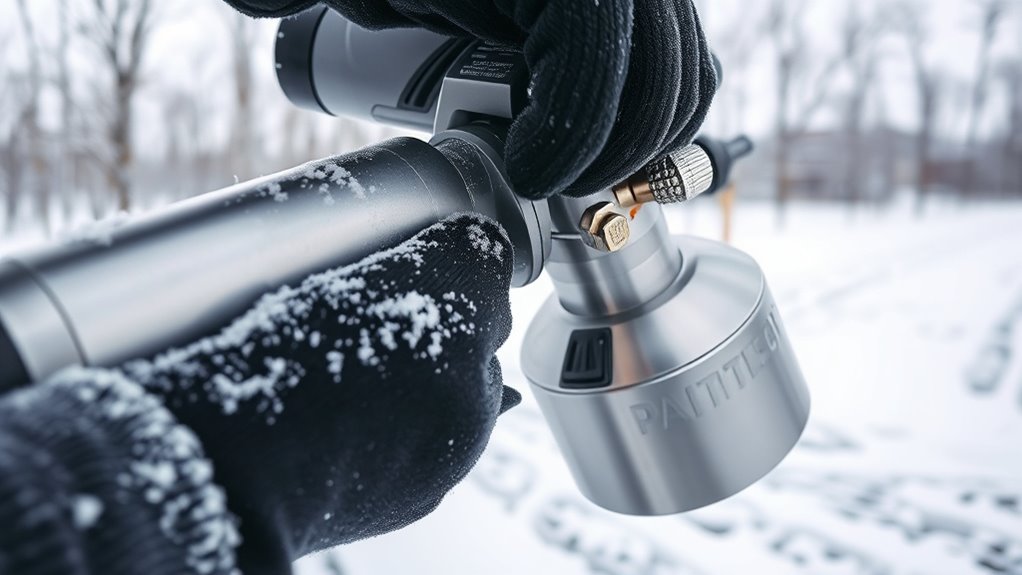
Before you start painting in winter, you need to test your equipment in cold conditions to guarantee it works properly. Store your tools and supplies correctly to prevent damage from freezing temperatures. Also, choose winter-appropriate paint that performs well in low temperatures for a smooth finish. Regularly inspecting and maintaining your airless sprayer, including checking for proper filtration, ensures optimal performance in cold weather filtration systems.
Cold Weather Testing
Have you tested your painting equipment to guarantee it can withstand winter conditions? Cold weather can affect your airless sprayer’s performance, so it’s essential to do some testing first. Here are four key steps:
- Check paint viscosity: Cold temperatures thicken paint, so warm it up to ensure smooth flow.
- Test spray pattern: Spray on a scrap surface to confirm the pattern remains even and consistent.
- Inspect equipment: Look for cracks, leaks, or damage caused by cold or previous use.
- Run a small test: Operate the sprayer briefly in cold conditions to verify it maintains proper pressure and flow.
- Consider equipment maintenance procedures to prevent freezing or damage during storage and use in winter.
Performing these checks helps prevent uneven coats, clogs, or equipment failure, ensuring successful winter painting.
Proper Equipment Storage
To guarantee your painting equipment stays in top condition during the winter months, proper storage is essential. Store your airless sprayer in a climate controlled space to prevent damage from freezing temperatures. Insulating your equipment helps maintain consistent temperatures and protects sensitive components. Before storing, clean all parts thoroughly to prevent rust and buildup. Use equipment insulation covers or blankets for added protection. Keep hoses and nozzles in a dry, protected area. If possible, place your sprayer in a climate controlled storage unit to avoid exposure to moisture and extreme cold. Proper storage reduces the risk of freezing, cracking, and other winter-related damage, ensuring your equipment remains reliable for spring projects. Low-carb and keto-friendly alternatives can also be stored with your equipment to support healthy habits during the off-season.
Using Winter-Appropriate Paint
Using winter-appropriate paint guarantees your projects withstand cold conditions and adhere properly on chilly days. To assure success, consider these tips: 1. Choose color selection that resists fading in low temperatures, opting for darker shades that retain heat better. 2. Select finish types like eggshell or satin, which are more flexible and less prone to cracking when temperatures drop. 3. Use paints formulated for cold weather, specifically designed to cure properly in low temperatures. 4. Prepare your equipment by warming paint containers slightly to improve flow and application, preventing issues caused by viscosity changes. Additionally, understanding how paint adhesion can be affected by temperature fluctuations is crucial for a durable finish.
Selecting the Right Paint for Cold Temperatures
Choosing the right paint for cold weather guarantees your project lasts longer and looks great. You need to contemplate cold-weather paint formulations, temperature compatibility tips, and proper storage to keep your supplies effective. Let’s explore how to select, store, and apply paint effectively in winter conditions. Utilizing paints designed for specific temperature ranges can significantly improve application success and durability. Personality traits influence how paint interacts with surfaces and environmental conditions, making the right choice crucial for a quality finish.
Cold-Weather Paint Formulations
When temperatures drop, selecting the right paint becomes crucial to guarantee proper adhesion and durability. Cold-weather paint formulations are specially designed to perform in lower temperatures, ensuring your project lasts. Here are key points to weigh:
- Check the paint formulation for cold compatibility—look for products labeled for low temperatures.
- Choose fast-drying paints to minimize issues caused by moisture or dew.
- Use paints with excellent adhesion properties to prevent peeling in chilly conditions.
- Adjust application techniques by applying thinner coats and avoiding high-pressure sprays, which can cause uneven coverage.
- Remember that creative practice can be a helpful approach to experimenting with different paint types and techniques to find what works best in cold weather conditions.
Temperature Compatibility Tips
To guarantee your paint performs well in cold temperatures, you need to pay close attention to its temperature compatibility. Always check the manufacturer’s guidelines for recommended application ranges. Use thermal gloves to handle paint safely in low temperatures, and consider heated tents or enclosures to maintain consistent heat. Choose paints formulated for cold weather, which resist freezing and thickening. Additionally, selecting appropriate paint types is crucial for achieving durable and high-quality results in cold conditions.
Proper Paint Storage Strategies
Proper paint storage is essential for maintaining its quality, especially in cold temperatures. If you don’t store paint correctly, it can thicken, affecting your paint color options and prolonging paint drying times. To keep your paint in top shape, consider these strategies:
- Store paint in a heated space, ideally above 50°F, to prevent thickening.
- Keep paint containers tightly sealed to avoid moisture contamination.
- Label stored paint clearly, noting the date and temperature conditions.
- Stir paint thoroughly before use, especially if it has been stored in cold conditions, to ensure smooth application and consistent color.
- Additionally, understanding shower best practices can help you maintain a comfortable environment during your DIY projects.
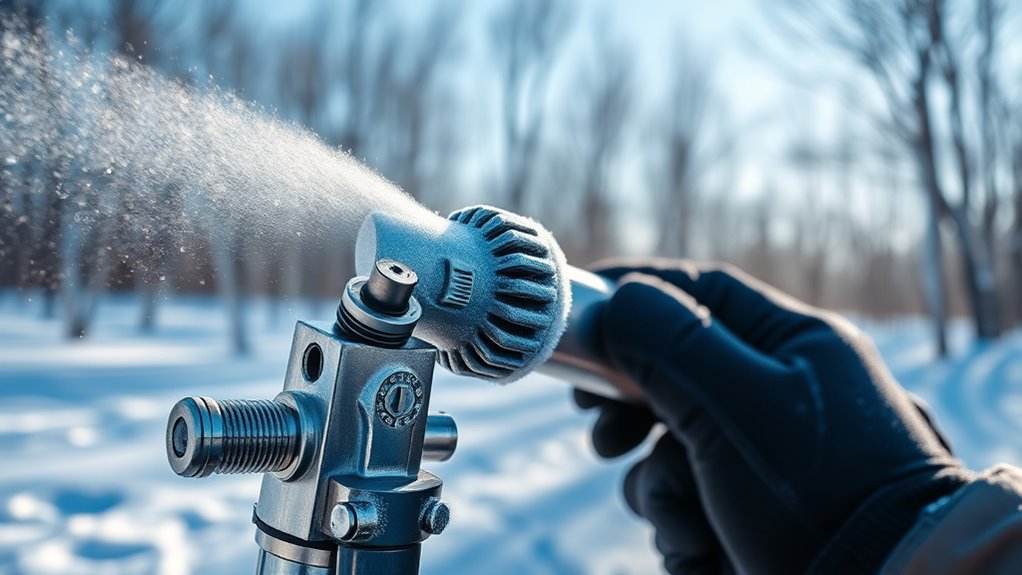
Adjusting Spray Settings for Optimal Results
Adjusting your spray settings is essential for achieving a smooth, even finish in winter painting projects. Start by setting the spray pressure correctly; too high can cause drips, while too low may result in uneven coverage. In cold weather, you might need to increase pressure slightly to maintain a consistent spray flow. Next, focus on nozzle selection—choose a nozzle size suited for the paint thickness and surface. A smaller nozzle offers finer detail, but a larger one provides better coverage for rough surfaces. Keep in mind that cold temperatures can affect spray patterns, so fine-tune your settings accordingly. Testing on a small area before starting your main project helps ensure your spray pattern is even and your finish is flawless. Proper adjustments make all the difference in winter conditions. Additionally, filter maintenance is crucial to prevent clogs and ensure consistent spray performance during cold weather.
Maintaining Proper Paint Temperature Before Application

Ensuring your paint is at the right temperature before application is essential for achieving a smooth and even finish, especially in winter conditions. Proper paint temperature affects paint consistency, making it easier to spray and reducing issues like uneven coverage or drips. To maintain ideal conditions: 1. Store paint indoors or in a heated space to prevent it from freezing. 2. Warm the paint gradually in a bucket of warm water if it’s too cold. 3. Stir thoroughly to restore the correct paint consistency. 4. Test the paint on a small area before full application to confirm it sprays smoothly. Additionally, integrating AI technology can help monitor and optimize your painting process for better results.
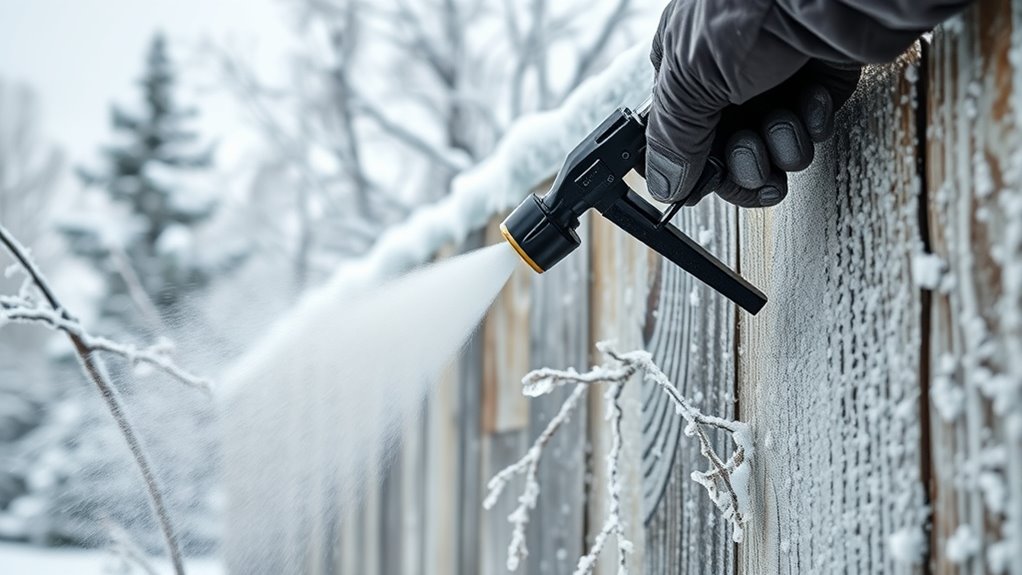
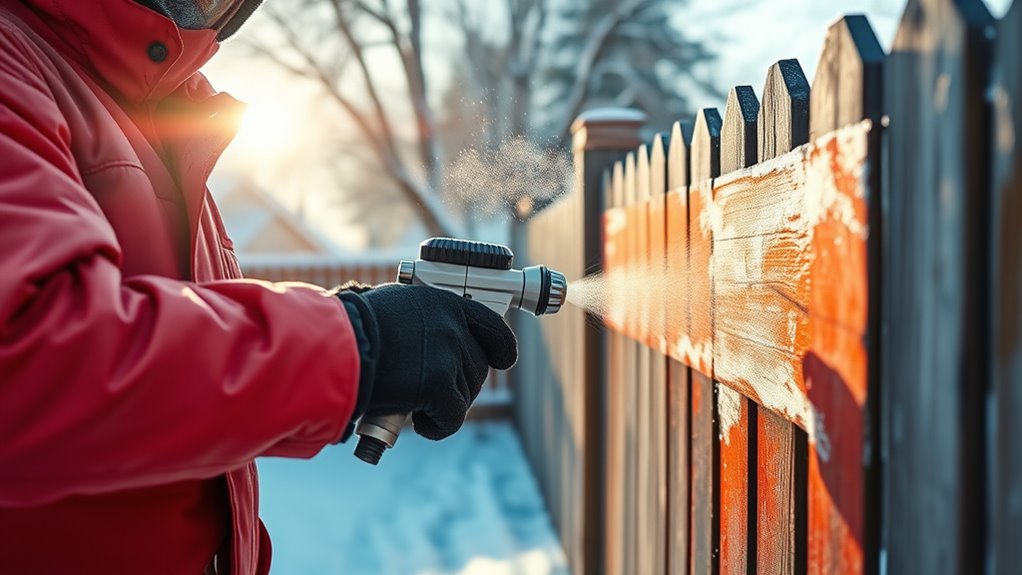
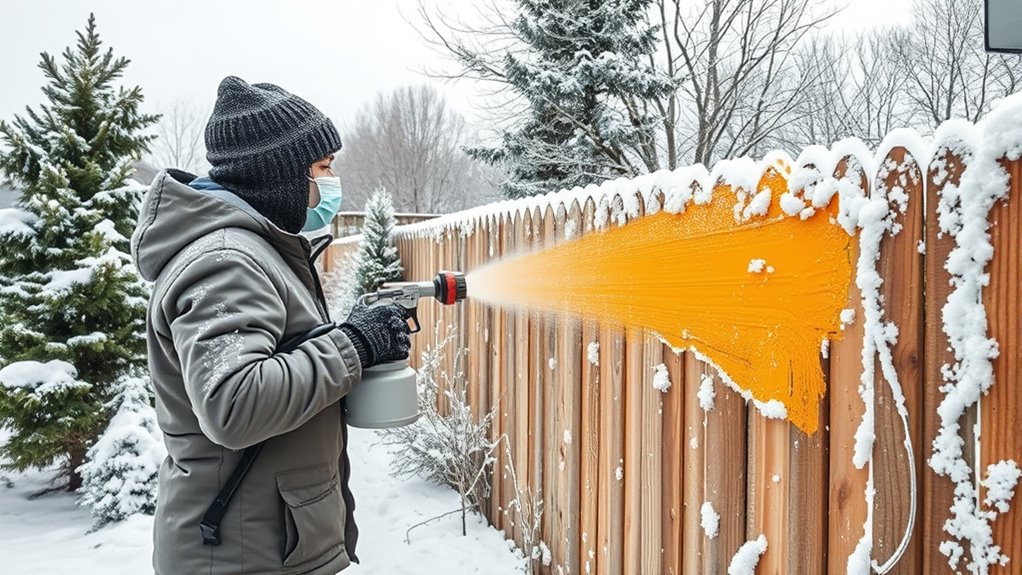
Techniques for Applying Paint in Freezing Conditions
Painting in freezing conditions requires careful technique to guarantee your finish adheres properly and looks professional. When applying paint, use brush techniques that minimize thick coats, which can trap moisture and crack as temperatures drop. Thin, even layers help the paint cure smoothly. For brush work, keep bristles slightly damp but not soaked, and work quickly to prevent the paint from freezing on your tools. Proper color mixing is essential—combine your paint with cold-weather additives if recommended, ensuring the mixture remains consistent and workable. Avoid overworking the paint, as excessive brushing can introduce air bubbles or uneven coverage. Additionally, selecting the right projector type can significantly influence your overall home cinema experience, especially in varying environmental conditions. By adjusting your techniques for cold weather, you’ll achieve a durable, professional-looking finish despite the freezing conditions.
Protecting Your Work From Sudden Temperature Fluctuations
Sudden temperature changes can ruin your paint job if you’re not prepared. Using temperature stabilization techniques helps keep the environment consistent, so your paint dries properly. Protective coverings and barriers also shield your work from drafts and rapid temperature shifts, ensuring a quality finish. Incorporating conflict resolution skills during your project can also help manage unexpected issues arising from weather fluctuations.
Temperature Stabilization Techniques
When temperatures fluctuate unexpectedly, your work can suffer from uneven drying, cracking, or peeling. To stabilize temperature effects, focus on maintaining consistent conditions. Use temporary enclosures or heat lamps to keep the work area warm and steady. Adjust your spray pattern and paint thickness to ensure even application, preventing thin spots that are more prone to cracking. Monitor temperature regularly, timing your spraying during periods of stable weather. Pre-warm your paint and equipment to diminish the risk of uneven drying caused by cold surfaces. Incorporating proper insulation techniques can further help maintain a stable temperature environment around your project.
Protective Coverings and Barriers
Protective coverings and barriers provide an effective way to shield your work from unpredictable temperature changes. Using protective coverings, such as tarps or plastic sheeting, helps insulate freshly painted surfaces and prevents rapid temperature drops that can compromise your finish. Barrier methods, like foam boards or insulating blankets, create a buffer between the paint and the cold air, maintaining a more stable environment. These methods are especially useful during sudden cold snaps or when working overnight. By applying barrier techniques, you reduce the risk of paint cracking, peeling, or uneven drying caused by temperature fluctuations. Proper use of protective coverings and barrier methods keeps your winter painting project on track for a smooth, durable finish. Incorporating thermal insulation measures can further enhance the protection against cold weather effects.
Post-Spray Care and Equipment Maintenance in Winter
After completing your spray project in winter, it’s imperative to clean and maintain your equipment properly to guarantee it stays in good condition. Proper care ensures equipment longevity and helps maintain ideal paint adhesion for your next project.
Proper winter spray equipment care ensures longevity and optimal paint adhesion for future projects.
Here’s what you should do:
- Flush the sprayer with warm, suitable solvent to prevent paint from hardening inside.
- Check and replace filters to keep paint flow smooth.
- Lubricate moving parts to prevent freezing or rusting.
- Store your equipment in a warm, dry place to avoid cold damage.
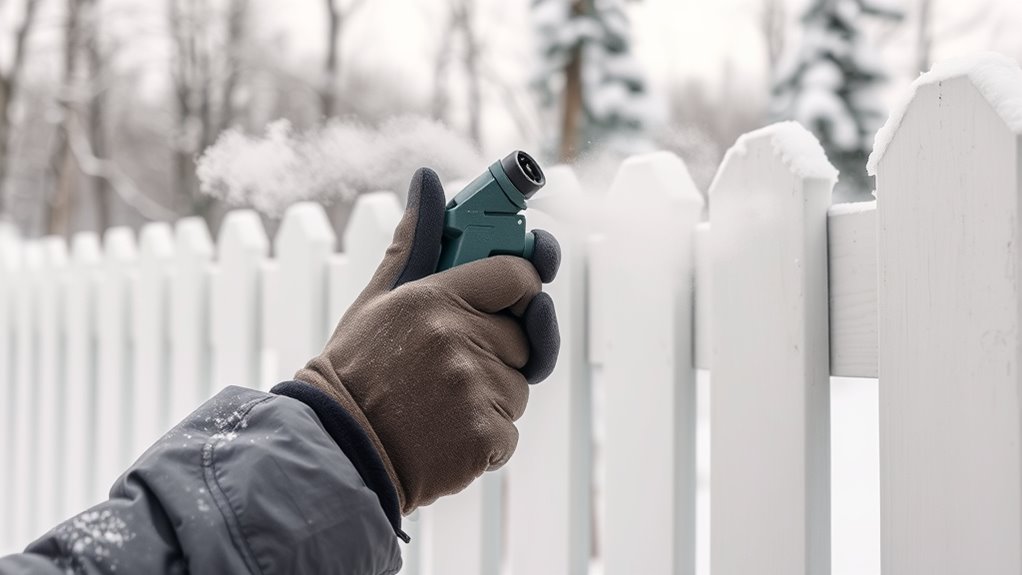
Safety Tips for Cold Weather Painting Projects
Painting in cold weather presents unique safety challenges, so it is vital to take proper precautions. Weather-related hazards, like icy surfaces, wind, and low temperatures, can increase the risk of slips, falls, and health issues. Always wear appropriate safety gear, including gloves, goggles, and insulated clothing, to protect yourself from the elements and potential splashes. Make certain your workspace is clear of ice and snow, and use non-slip footwear for stability. Keep emergency supplies nearby, such as a first aid kit and warm blankets. Regularly monitor weather conditions to avoid sudden temperature drops or storms. By prioritizing safety gear and being aware of weather-related hazards, you minimize risks and guarantee a safer, more successful painting project in cold weather. Incorporating expert voice actors into your safety awareness can help you communicate precautions effectively to your team.
Timing Your Painting Tasks for Best Outcomes
Timing your painting tasks carefully can make a significant difference in achieving a smooth, durable finish. Cold weather can slow paint drying, so choosing the right moment is vital. Consider these tips:
- Pick the warmest days—aim for daytime temperatures above 50°F to ensure proper paint drying.
- Monitor weather forecasts—avoid rain and wind, which can ruin your paint job.
- Plan your color selection—lighter colors tend to dry faster in cold weather, reducing the risk of uneven paint drying.
- Start early—begin painting when temperatures are rising, giving paint ample time to dry before temperatures drop again.
- Understanding paint properties can help you select the most suitable products for cold weather conditions.
Frequently Asked Questions
Can I Use an Airless Sprayer Indoors During Winter?
You can use an airless sprayer indoors during winter, but you need to prioritize indoor ventilation and safety precautions. Make certain of proper airflow to disperse fumes and paint particles, opening windows and using fans if possible. Always wear appropriate protective gear, like masks and goggles, and follow manufacturer instructions. Taking these steps helps keep your indoor environment safe while you achieve a smooth, professional finish with your sprayer.
How Long Does Paint Take to Dry in Cold Weather?
Think of paint drying in cold weather like a slow-burning candle. It can take twice as long or more for paint to cure, sometimes up to 48 hours or longer, depending on temperature and humidity. Proper surface preparation is essential—clean, dry, and properly primed surfaces help. Keep the temperature consistent and avoid rushing the process; patience guarantees your paint cures well and lasts longer.
Are Special Additives Needed for Cold Weather Painting?
When painting in cold weather, you might wonder if you need special additives. Generally, yes, winter additives can be beneficial for cold weather paint, as they help improve flow, adhesion, and drying times. These additives are designed to work in lower temperatures, ensuring your paint cures properly. Using winter additives prevents issues like cracking or improper drying, so you get a smooth, lasting finish even in chilly conditions.
What Is the Ideal Temperature Range for Airless Spraying?
Sure, because painting in a swamp is ideal, right? The perfect temperature range for airless spraying is between 50°F and 90°F. You need to focus on temperature control to guarantee paint flows smoothly and adheres properly. Don’t forget, cold weather demands diligent equipment maintenance—like keeping hoses warm and filters clean—so your sprayer doesn’t turn into a frozen mess. Stay within this range for flawless results.
How Can I Prevent Paint From Freezing During Application?
To prevent paint from freezing during application, you need to monitor the paint temperature closely. Keep your paint above 50°F to avoid spray freezing, especially in cold weather. Use heated storage areas or insulating blankets around your paint and equipment. Warm your sprayer and paint before use, and consider adding a paint additive designed for cold temperatures. These steps help maintain proper spray consistency and prevent freezing during your project.
Conclusion
So, you’ve braved the icy winds and battled the cold to give your project a splash of color. Just remember, your airless sprayer isn’t a snowman—treat it like royalty in winter. With these tips, you’ll turn frosty frustrations into a masterpiece, all while avoiding frozen fingers and paint goblins. Now go on, paint that winter wonderland—just don’t forget to keep your tools warm, or they might just call in sick!