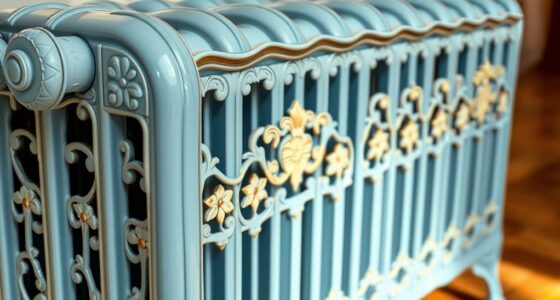
To achieve a factory finish with an airless sprayer, start by thoroughly preparing your workspace and furniture surface. Choose high-quality paint and thin it correctly to guarantee smooth flow. Adjust your sprayer’s pressure and maintain a steady distance of about 12-14 inches from the surface. Use overlapping, even passes and apply multiple coats for a flawless look. Proper cleanup and techniques to prevent drips will help you master professional results—learn more for flawless furniture!
Key Takeaways
- Thin your paint properly using the recommended ratio to ensure smooth application and prevent sputtering or runs.
- Maintain a consistent spray distance of 10-14 inches and overlapping strokes for an even, professional finish.
- Adjust sprayer pressure and test spray pattern on scrap to achieve uniform coverage and prevent overspray.
- Use proper lighting and practice on scrap surfaces to perfect technique and ensure a flawless factory-like result.
- Clean equipment thoroughly after use and inspect the finish for imperfections, performing touch-ups as needed.
Preparing Your Workspace and Furniture
Before you begin painting, it’s essential to prepare your workspace and furniture properly. Start with surface preparation by cleaning the furniture thoroughly to remove dust, grease, or old paint, ensuring a smooth finish. Sand rough spots lightly to enhance paint adhesion, and wipe away any residue. Pay attention to lighting considerations; ensure your workspace is well-lit with natural or bright artificial light so you can see imperfections and monitor your spray. Cover nearby surfaces and floors with drop cloths to protect them from overspray. Keep your tools organized and within reach. A clean, well-lit area and properly prepared furniture set the foundation for a flawless, professional-looking finish with your airless sprayer. Additionally, understanding color accuracy can help you choose the right paint shades for a cohesive look.
Choosing the Right Paint and Thinner
Selecting the appropriate paint and thinner is essential for achieving a smooth, durable finish with your airless sprayer. Choose a paint color that complements your furniture and suits your style. Use high-quality paint designed for furniture to ensure a professional look. Proper paint storage keeps your supplies fresh and prevents clogging. Consider the following options to visualize your choices:
| Paint Type | Ideal Use Cases |
|---|---|
| Water-based latex | Easy cleanup, quick drying |
| Oil-based enamel | Durable, smooth finish for furniture |
| Thinner Type | Benefits |
| Water thinner | Suitable for latex paints |
| Mineral spirits | Works with oil-based paints |
Matching the right paint and thinner to your project helps guarantee a flawless, factory-like finish. For best results, understanding paint compatibility and how it interacts with various thinners can make all the difference.
Properly Thinning Your Paint for Airless Spraying
Properly thinning your paint guarantees it flows smoothly through your airless sprayer, preventing clogs and uneven coverage. To achieve this, you need to adjust the paint viscosity by using the right thinning ratios, which depend on your specific sprayer and paint type. Typically, a ratio of 1 part thinner to 4 parts paint works well, but always test and modify as needed. Too thick paint can cause sputtering and poor atomization, while too thin paint might run or drip. Use a viscosity cup to measure the paint’s flow; aim for the manufacturer’s recommended range. Consistently thinning your paint ensures a smoother application and a professional-looking finish. Remember, proper thinning is key to optimizing your airless sprayer’s performance. Additionally, understanding paint consistency helps in achieving the best results and avoiding common spraying issues.
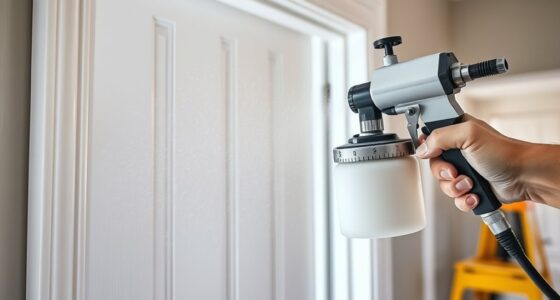
Setting Up and Adjusting Your Airless Sprayer
Start by preparing your workspace to keep everything clean and organized. Next, adjust the pressure settings on your sprayer for smooth, even paint application. Finally, test the spray pattern on a scrap piece to guarantee it’s even and ready for your furniture project. Additionally, consider using performance upgrades to optimize your sprayer’s efficiency and achieve a professional finish.
Prepare Your Workspace
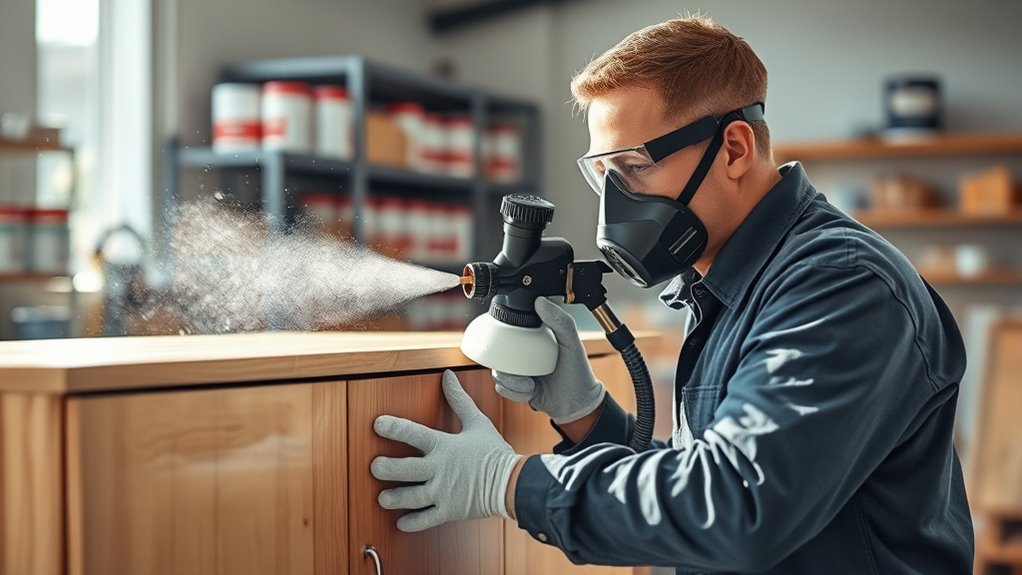
Before you begin spraying, it’s essential to set up your workspace to guarantee safety and achieve the best results. Clear the area of clutter and ensure proper ventilation. Wear your safety equipment, including gloves, goggles, and a mask, to protect yourself from fumes and overspray. Use the following table to organize your setup:
| Item | Purpose | Tips |
|---|---|---|
| Drop Cloths | Protect surfaces | Cover nearby furniture |
| Ventilation Fans | Improve airflow | Keep fumes away from you |
| Color Matching Tools | Achieve accurate colors | Keep handy for quick adjustments |
| Safety Equipment | Ensure safety | Always wear before spraying |
| Work Lighting | See clearly during work | Use bright, even light |
Proper setup minimizes risks and guarantees a professional finish. Additionally, understanding Hackathons can inspire innovative techniques and solutions for your project.
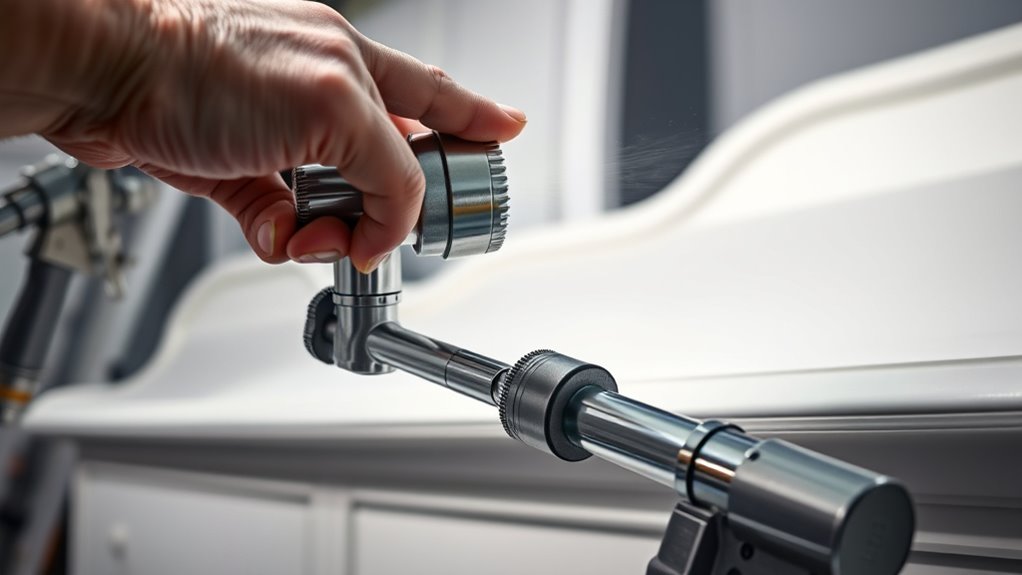
Adjust Pressure Settings
To achieve a smooth, professional finish when painting furniture with an airless sprayer, you need to modify the pressure settings correctly. Start with a proper pressure calibration, which ensures the sprayer delivers consistent paint flow. If the pressure is too high, you’ll get overspray and uneven coverage; too low, and the spray pattern becomes uneven or drips. Adjust the pressure gradually, observing how the paint sprays onto a test surface. Aim for a spray pattern that’s even and consistent, without excessive overspray or pooling. Fine-tuning the pressure helps you control the atomization of the paint, resulting in a flawless, factory-like finish. Remember, small adjustments can make a significant difference in your final results. Using the correct air quality settings can also help prevent dust or debris from settling on your freshly painted surface, ensuring a cleaner finish.
Test Spray Pattern
Once you’ve adjusted the pressure settings, it’s time to test the spray pattern to guarantee even coverage. This helps ensure your nozzle selection is correct and the spray pattern is consistent. Start by spraying on a scrap piece of cardboard or plywood, holding the sprayer about 12 inches away. Observe the pattern and adjust as needed.
- Check if the spray pattern is uniform—no blobs or thin spots.
- Adjust the nozzle or pressure if the pattern is uneven or too wide.
- Confirm that the spray pattern matches the furniture’s contours.
- Practice overlapping each pass by 50% for smooth, even coverage.
Regular testing improves control and helps achieve a factory-quality finish.
Techniques for Even and Consistent Coats
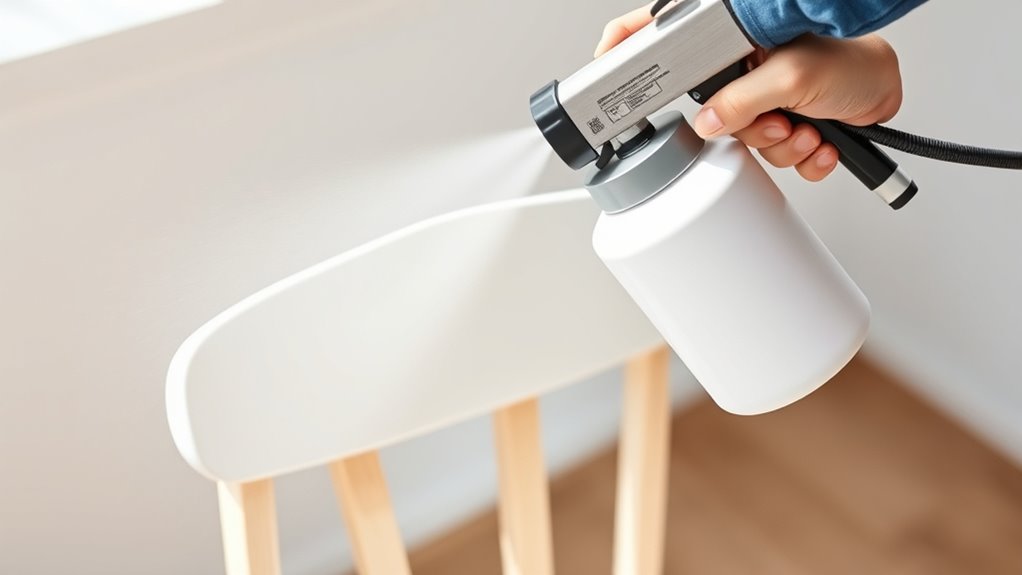
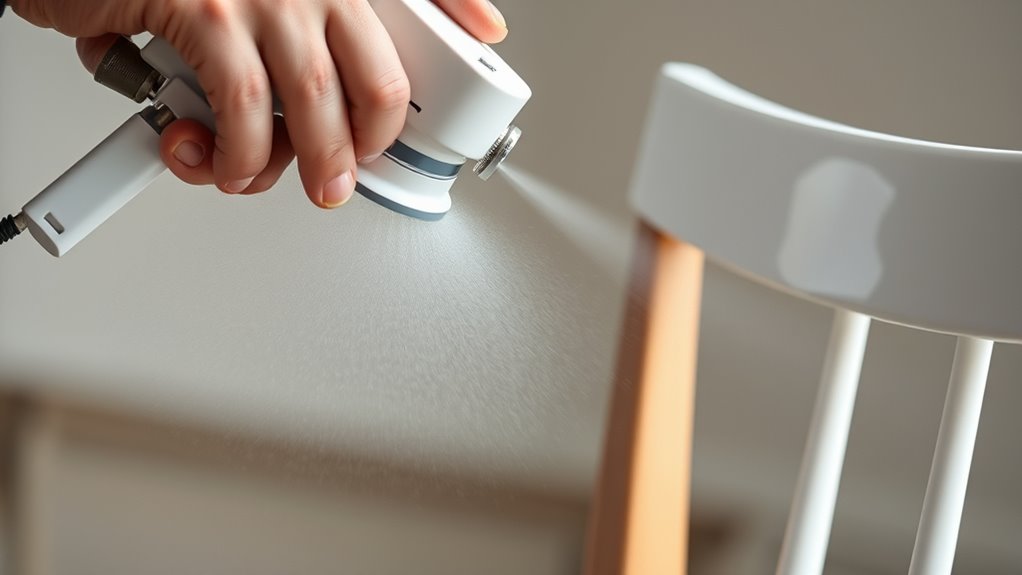
Achieving even and consistent coats with an airless sprayer requires steady technique and attention to detail. Maintain a consistent spray distance, typically 12-14 inches, to ensure uniform coverage. Keep your strokes smooth and overlapping slightly to avoid streaks. Prioritize safety precautions by wearing protective gear and ventilating your workspace. For perfect color matching, test your spray on scrap material before starting. Use the following table to evoke confidence and focus:
| Technique | Emotion |
|---|---|
| Steady, overlapping strokes | Confidence in your craftsmanship |
| Consistent spray distance | Trust in your process |
| Proper safety precautions | Peace of mind during your project |
| Regularly checking coverage | Satisfaction in your flawless finish |
| Maintaining proper equipment care | Longevity of your sprayer and optimal results |
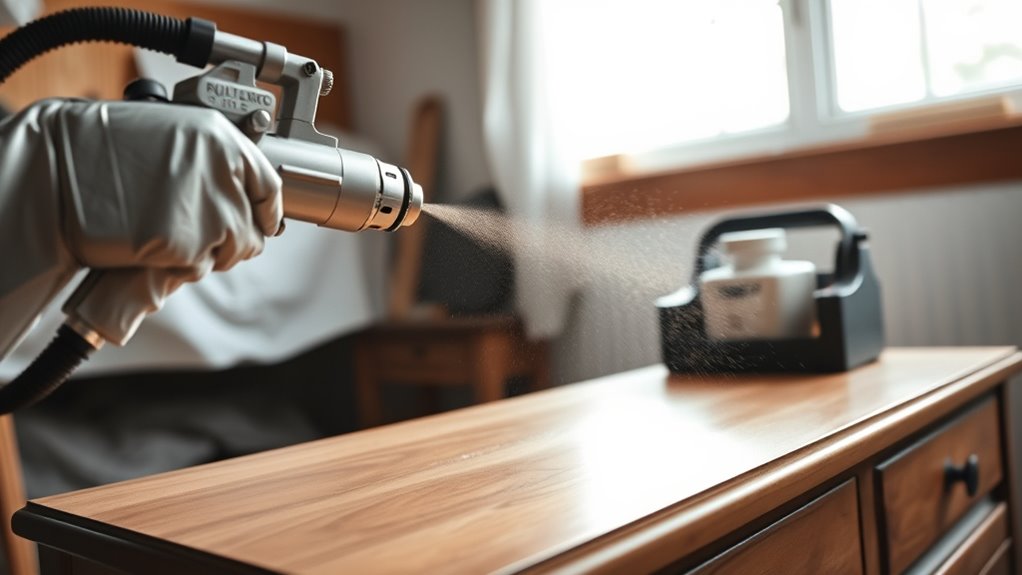
Managing Spray Distance and Movement

To get the best finish, keep your spray gun at a consistent distance from the furniture surface. Move smoothly and evenly, overlapping each pass slightly to avoid streaks or bare spots. Practicing steady motion and maintaining your spray distance will help you achieve a professional look. Additionally, understanding security vulnerabilities in new technologies can prevent potential issues with equipment or data security.
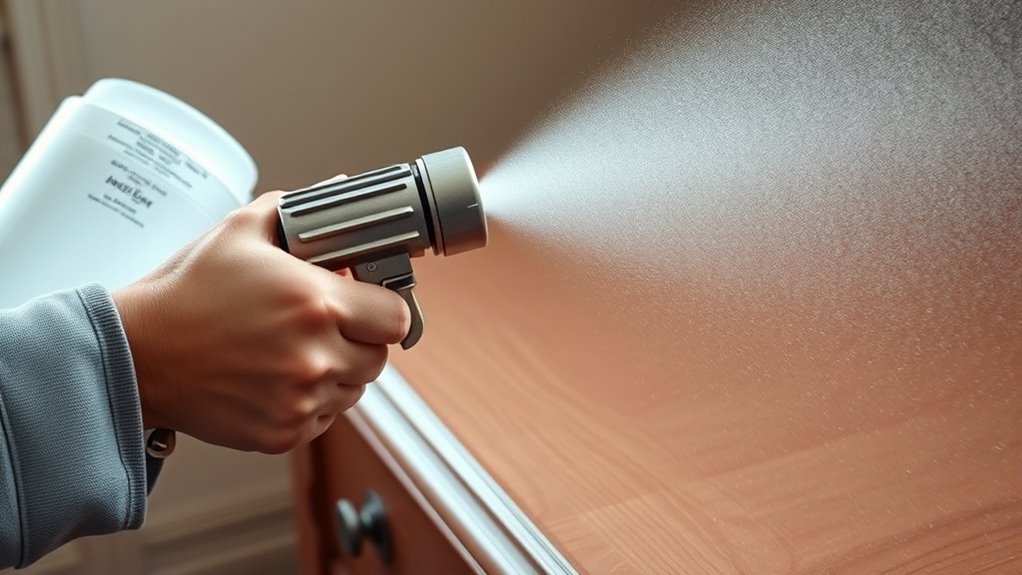
Consistent Spray Distance
Maintaining a consistent spray distance is essential for achieving an even, professional finish when using an airless sprayer. A steady distance guarantees the spray pattern remains uniform and prevents drips or uneven coverage. To help, keep these points in mind:
- Always hold the sprayer at the same distance from the surface, typically 10-12 inches.
- Adjust your spray angle to maintain consistent coverage and avoid overspray.
- Keep your hand steady, moving smoothly to avoid fluctuating spray distances.
- Watch the spray pattern; a uniform pattern indicates proper distance and angle, ensuring even paint distribution.
- Incorporate proper lighting, such as task or ambient lighting, to better see your spray coverage and maintain consistent application.
Smooth, Overlap Motion
A smooth, overlapping motion is key to creating an even finish when using an airless sprayer. Keep your spray distance consistent to avoid streaks or thin spots. Move your sprayer steadily, overlapping each pass by about 50%, similar to brush techniques but at a faster pace. Before starting, ensure your paint is well-mixed; proper paint mixing prevents uneven flow and drips. Maintain a steady speed to avoid thick or thin areas, and don’t stop abruptly—continue moving to keep the finish uniform. Practice your overlap motion on scrap before tackling your furniture. This method ensures a factory-quality look, with no missed spots or uneven coverage, resulting in a smooth, professional finish that highlights your craftsmanship. Additionally, maintaining the correct spray distance can help optimize the application and achieve a flawless appearance.
Applying Multiple Coats for a Flawless Finish
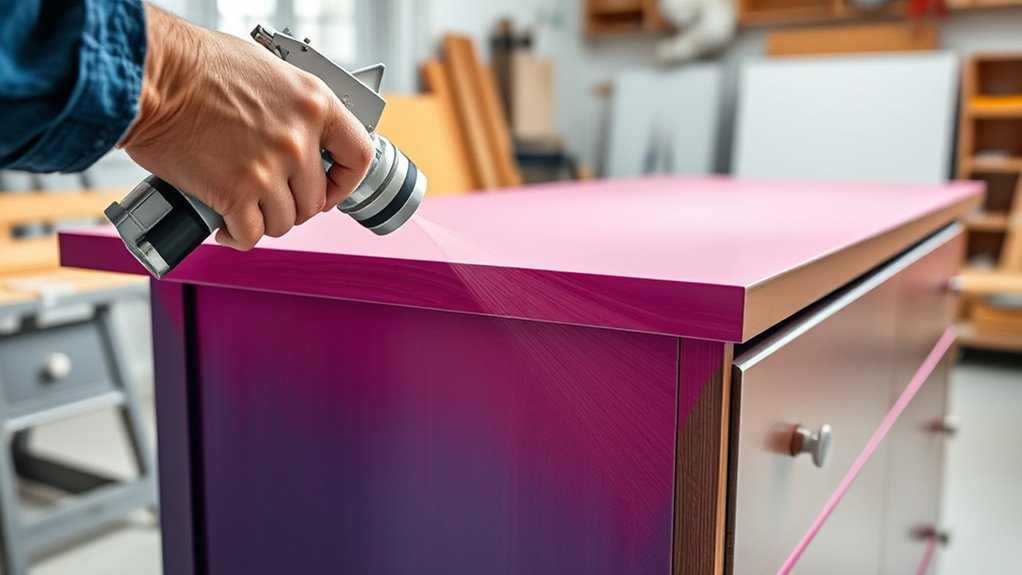
Applying multiple coats is essential for achieving a smooth, durable finish when painting furniture with an airless sprayer. It ensures proper color matching and prevents uneven coverage. To get the best results, follow these steps:
- Wait for each coat to dry completely before applying the next, avoiding imperfections like drips or orange peel textures.
- Use proper paint storage techniques to keep your paint in excellent condition, maintaining consistency between coats.
- Lightly sand between coats to promote adhesion and a flawless surface.
- Keep track of your coats to prevent over-application or mismatched layers, ensuring a professional, factory-like finish.
- Incorporate proper technique during application to maximize the quality and longevity of your paint job.
Tips for Preventing Drips and Orange Peel Texture
To prevent drips and orange peel texture when using an airless sprayer, it’s essential to adjust your spraying technique and equipment settings properly. Keep your spray gun at the right distance—usually 12-14 inches from the surface—and use even, overlapping passes. Proper brush techniques, like feathering edges and avoiding heavy pressure, help smooth out any imperfections during touch-ups. Additionally, ensure paint compatibility by thinning your paint according to manufacturer guidelines; thicker paints are prone to drips and uneven textures. Adjust the pressure on your sprayer to control flow, reducing the risk of excess paint. Practicing on scrap wood first allows you to fine-tune your technique, ensuring a smooth, factory-like finish without unwanted texture or drips. Understanding the vacuum cleaner performance metrics can help you maintain your equipment properly, ensuring consistent spray results.
Finishing Touches and Proper Cleanup

Once you finish spraying, it’s crucial to focus on finishing touches and proper cleanup to guarantee your project looks professional and your equipment stays in good condition. First, inspect your furniture for any imperfections, then perform touch-up procedures, ensuring color matching remains consistent. Next, carefully clean your airless sprayer according to the manufacturer’s instructions to prevent clogs and maintain performance. Third, remove painter’s tape smoothly to avoid damaging your finish. Finally, store paint and equipment properly in a dust-free area. Proper cleanup also involves disposing of leftover paint responsibly. Additionally, understanding the power output of electric dirt bikes can help you select the right equipment for your needs. Taking these steps ensures your furniture looks flawless and your sprayer stays in top condition for future projects. A meticulous approach guarantees a factory-like finish every time.
Frequently Asked Questions
How Do I Prevent Overspray When Using an Airless Sprayer?
To prevent overspray when using an airless sprayer, you should focus on controlling your spray pattern by maintaining a consistent distance from the surface. Use masking techniques to cover areas you don’t want painted, and adjust the pressure settings for better control. Move your sprayer smoothly and steadily, avoiding quick or jerky motions. This helps you achieve a clean, professional finish while minimizing unwanted overspray.
What Safety Gear Should I Wear During Painting?
Think of painting like stepping into a superhero suit—you need the right gear to stay safe. Always wear personal protective equipment like a mask or respirator, gloves, and goggles to shield your skin and eyes. Guarantee proper ventilation to clear fumes and prevent inhalation risks. By following these safety measures, you can focus on your work confidently, knowing you’re protected from potential hazards during your painting project.
How Can I Troubleshoot Uneven Paint Application?
To troubleshoot uneven paint application, start by checking your brush techniques and ensuring you’re applying even strokes. Make sure your paint consistency isn’t too thick or thin, as this affects flow. Adjust your spray pressure and distance from the surface to prevent uneven coverage. Practice steady, overlapping strokes and keep your equipment clean. These steps help achieve a smooth, professional finish every time.
What Are the Best Storage Practices for Leftover Paint?
Think of your paint storage as safeguarding a treasure. To keep your leftover paint in top shape, tightly seal the containers after use, store them upright in a cool, dry place, and avoid temperature swings. Label each container clearly for easy identification, and consider using airtight lids or plastic wrap under the lid to prevent drying out. Proper paint storage guarantees your leftover paint remains fresh and ready for your next project.
How Do I Achieve a Distressed or Antique Finish?
To achieve a distressed or antique finish, you can use various distressing techniques like sanding edges, scratching surfaces, or applying a glaze to highlight details. Try antique finishing methods such as wax or stain overlays to create an aged look. Work carefully, gradually removing paint or applying layers, and don’t rush. Practice these techniques to develop your style, and always test on scrap before working on your furniture.
Conclusion
By mastering these tips, you’ll transform your furniture into a masterpiece rivaling factory perfection. With patience, practice, and the right technique, your spray job will be smoother than silk and flawless enough to turn heads. Keep your workspace tidy, your paint well-thinned, and your spray consistent, and you’ll achieve stunning results every time. Remember, your craftsmanship can elevate even the simplest piece into a work of art—so go ahead and create something truly extraordinary!