To practice spraying with water before paint, start by choosing water with a thin, even consistency and test it on scrap surfaces to understand flow and coverage. Hold your spray gun 6 to 12 inches from the surface and use steady, overlapping strokes to develop control. Focus on maintaining a smooth pattern, adjusting pressure as needed, and mastering techniques like straight lines or crosshatch patterns. If you keep refining these skills, you’ll gain confidence and improve your spray technique.
Key Takeaways
- Use water with a smooth, consistent flow to mimic paint application without mess or waste.
- Hold the spray gun 6-12 inches from the surface and practice steady, overlapping strokes.
- Adjust pressure and nozzle settings based on water flow feedback to achieve even spray patterns.
- Practice creating straight lines and crosshatch patterns to improve spray control and overlap.
- Observe water dispersal and spray behavior to refine technique before transitioning to paint.
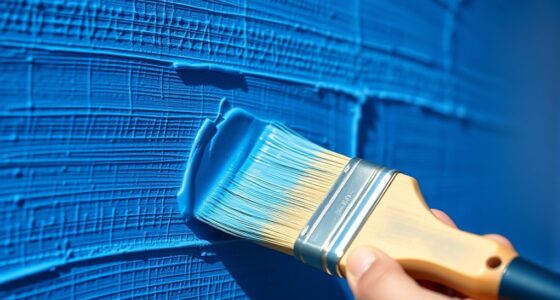
Have you ever struggled with achieving smooth, even paint coverage? If so, practicing spraying with water before you move on to actual paint can make a huge difference. This step allows you to refine your technique, understand how your equipment behaves, and build confidence. To start, focus on mastering your brush techniques, which are essential even when using a spray gun. Proper brush techniques help you understand how paint should flow, how much pressure to apply, and the distance needed from the surface. Once you’re comfortable with these fundamentals, shift to water spraying becomes easier because it mimics the flow and coverage of paint without the mess or waste.
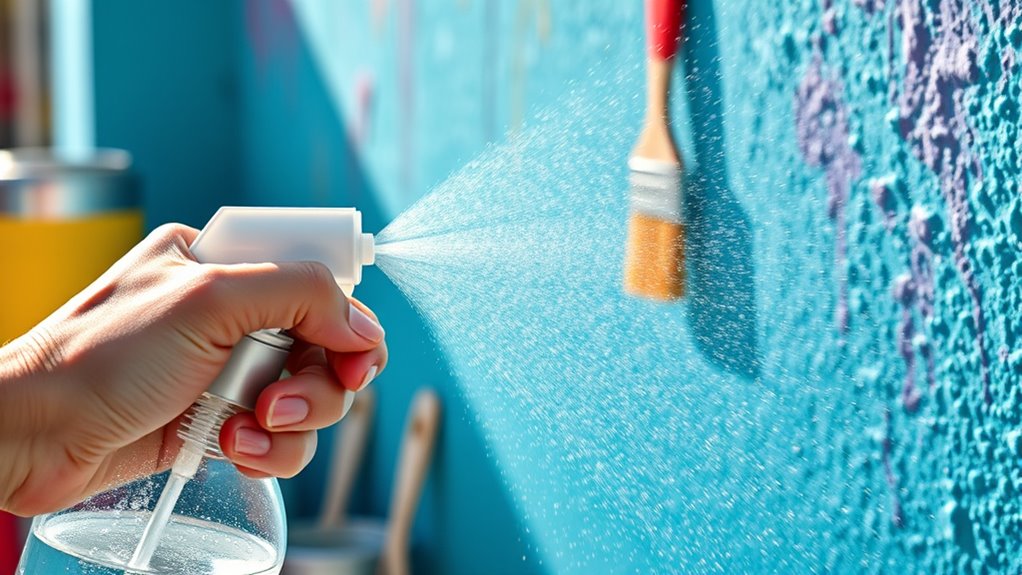
When practicing with water, pay close attention to water consistency. You want the water to be neither too runny nor too thick. If it’s too watery, it will drip and create uneven coverage, making it harder to control your spray pattern. Conversely, if it’s too thick, you won’t get a true sense of how the spray will behave with paint. Ideally, the water should have a thin but uniform consistency that allows you to see how the spray disperses across the surface. Adjust your water mixture gradually, experimenting with different ratios until you find the sweet spot where the spray feels smooth and controlled. Additionally, understanding how your spray equipment responds to different settings can help you fine-tune your technique for optimal results.
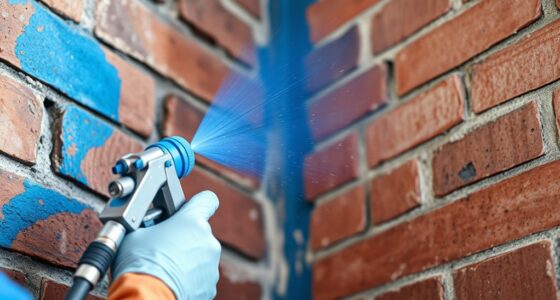
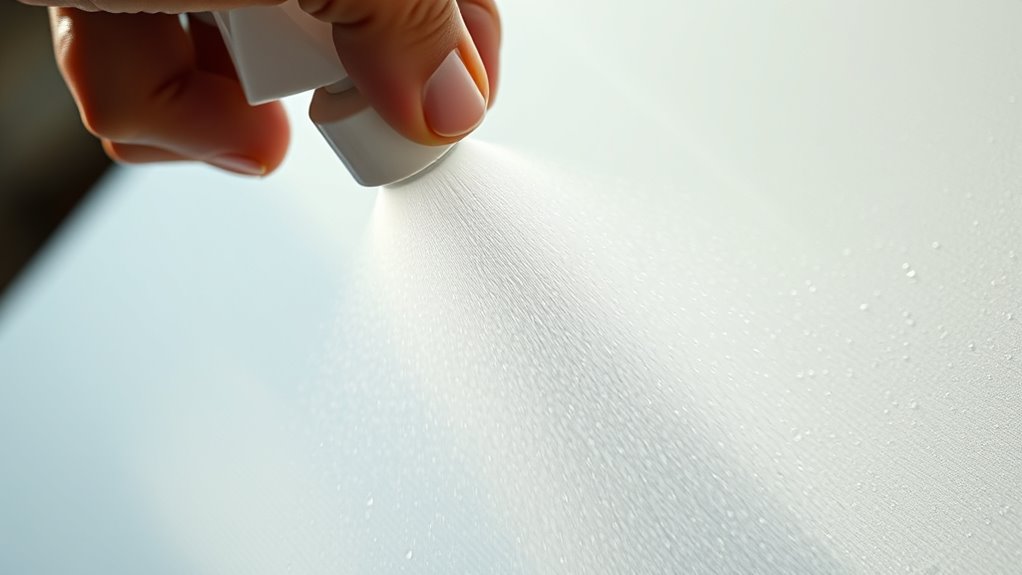
Start by holding your spray gun or nozzle at a consistent distance from the surface—usually around 6 to 12 inches—and use steady, overlapping strokes. Focus on even coverage, keeping your hand movement smooth and deliberate. Practice moving in straight lines, then try creating crosshatch patterns to see how well the spray overlaps and covers. This helps you identify any areas that are over- or under-sprayed, so you can make adjustments before applying actual paint. It’s beneficial to do this on scrap surfaces or cardboard, so you don’t waste time or materials.
During your practice, observe how the water flows out and adjust the pressure or nozzle settings if possible. Consistent water flow indicates good water consistency and proper technique. If the water splatters or sputters, check your equipment, and make sure the nozzle is clean and the pressure is steady. The goal is to develop a feel for how your spray pattern behaves under different conditions. Once you’re comfortable with water, you’ll be better equipped to control your spray with paint, resulting in a more professional finish. Remember, patience and repeated practice are key to mastering spraying techniques, and using water as a practice medium is a smart, cost-effective way to build your skills.
Frequently Asked Questions
What Type of Water Nozzle Is Best for Practice Spraying?
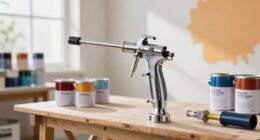
For practice spraying, a adjustable nozzle is your best choice because it allows you to control water pressure and spray patterns easily. Nozzle types like a fan or cone-shaped nozzle give you versatility, helping you simulate different paint spraying techniques. Start with a lower water pressure to get comfortable, then gradually increase it. This helps you master control and consistency, making your actual painting job smoother and more professional.
How Can I Adjust Spray Distance for Better Control?
To improve your spray technique, you should focus on distance adjustment by holding the nozzle consistently at the same distance from the surface. Move your arm smoothly, maintaining this distance to control the spray pattern better. Practice varying your spray distance slightly to see how it affects coverage and detail. This helps you develop precision, ensuring even coats and avoiding overspray or runs for a professional finish.
Should I Wear Protective Gear During Practice?
Wearing protective gear during practice is essential because safety precautions protect you from potential splashes or accidental inhalation. Evidence shows that PPE like masks, goggles, and gloves markedly reduce health risks. You should always prioritize safety, especially when practicing spray techniques. By wearing protective gear, you ensure you’re well-prepared and protected, making your practice safer and more effective. Safety precautions are a small investment for your long-term health.
How Long Should I Practice Spraying With Water?
You should practice spraying with water for about 15 to 20 minutes, adjusting spray pressure and water temperature as needed. Start with a lower spray pressure to control the flow and avoid splattering. Use warm water to simulate paint consistency, but avoid very hot water to prevent damage to equipment. Regular practice helps you master the spray pattern and get comfortable with the equipment before applying paint.
Are There Specific Surfaces Ideal for Water Spray Practice?
Think of practicing water spray as tuning a musical instrument. Smooth surfaces like glossy tile or sealed wood are ideal, much like tuning a perfect pitch. These surfaces allow you to control water pressure and spray evenness better, helping you master technique. Avoid rough or porous textures, which can be like dissonant notes. Focus on these surfaces to refine your skills before moving on to actual painting projects.
Conclusion
So, now that you’ve mastered the art of water spraying, you’re practically a Picasso of precision—minus the paint mess, of course. Remember, the key to avoiding costly mistakes lies in the humble water test. After all, who needs expensive paint spills when you can impress your friends with your spray-perfect technique? Keep practicing, stay patient, and soon you’ll be the envy of all DIY enthusiasts—because nothing says “professional” like a flawlessly water-sprayed surface.