
To replace worn pump seals on your airless sprayer, first turn off the power, depressurize the system, and remove the spray gun. Disassemble the pump carefully, noting how parts fit together. Inspect the seals and surrounding components for damage. Choose the correct replacement seals, apply a little lubricant, and install them gently to avoid damage. Reassemble the pump correctly, ensuring seals are seated properly. Keep your sprayer in top shape by learning more about proper maintenance.
Key Takeaways
- Power off, depressurize, and remove the spray gun before disassembling the pump to access the seals safely.
- Carefully disassemble the pump, noting the order and orientation of parts for accurate reassembly.
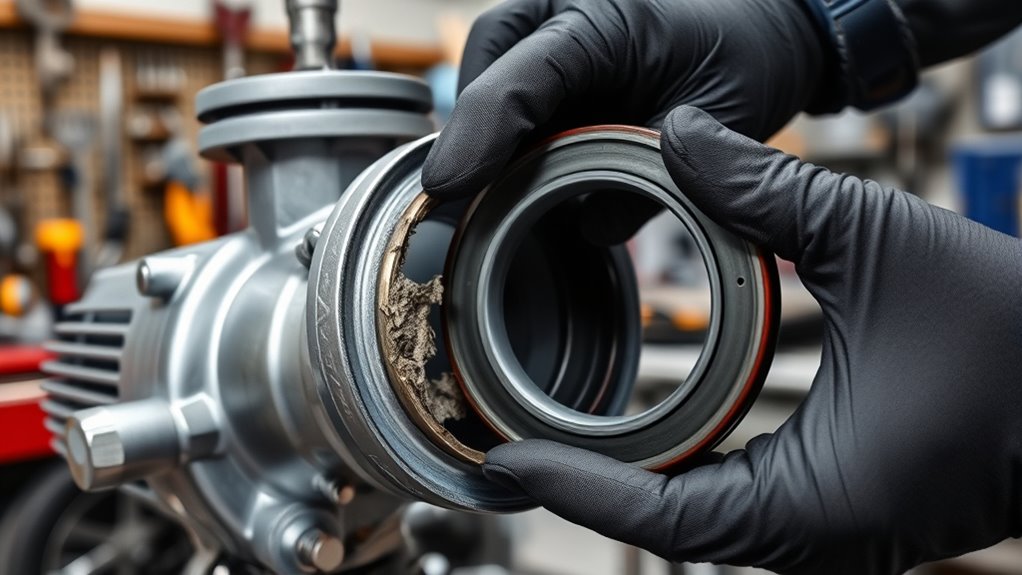
- Inspect the old seals for cracks, brittleness, or damage, and select matching replacement seals for your sprayer model.
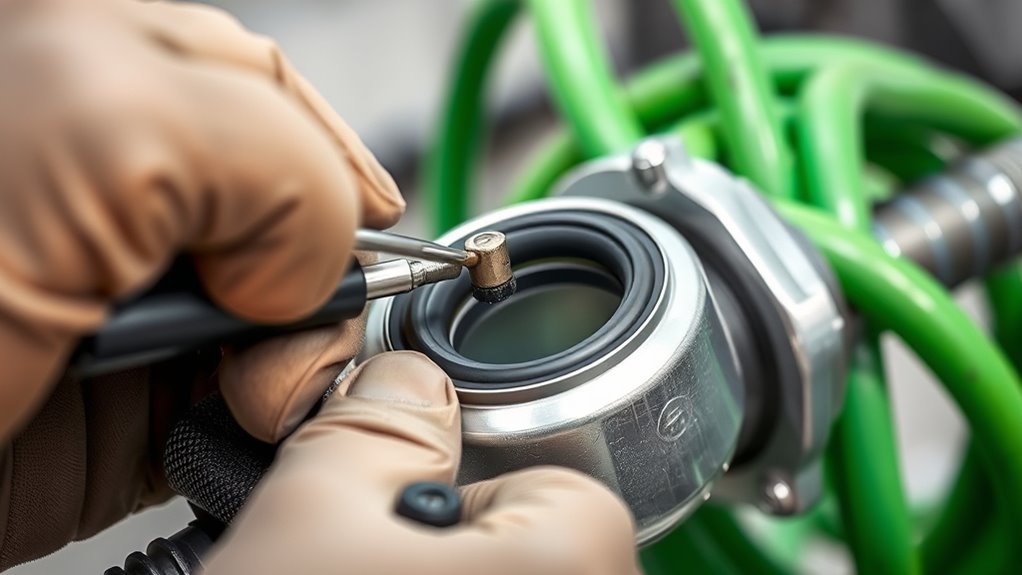
- Lubricate seals lightly and gently insert them, ensuring proper alignment and seating without forcing.
- Reassemble the pump in reverse order, tighten components properly, and test for leaks before regular use.
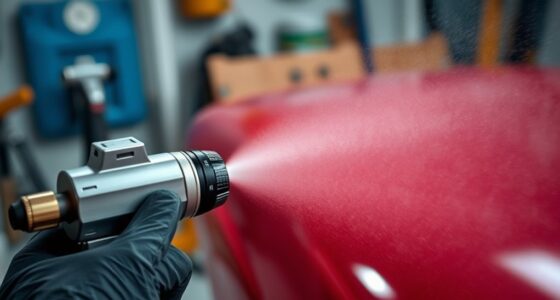
Have you noticed your airless sprayer losing pressure or leaking fluid? If so, it could be a sign that the pump seals are worn out and need replacement. Seal replacement is a critical step to restore your sprayer’s performance and prevent further damage. Addressing this issue promptly not only improves efficiency but also extends the life of your equipment. Before diving into the repair, it’s helpful to understand some basic maintenance tips to keep your sprayer functioning smoothly and reduce the likelihood of seal problems in the future.
Noticing pressure drops or leaks? Worn pump seals may need replacing to restore performance and prevent damage.
First, make sure your sprayer is powered off and depressurized before beginning any work. Removing the spray gun and relieving pressure from the system helps prevent accidental leaks or injuries. Once safe, locate the pump seals—these are typically situated inside the pump assembly, where they form a tight seal around the piston or plunger. Worn seals often appear cracked, brittle, or visibly damaged. To proceed with seal replacement, you’ll need to disassemble the pump carefully, noting the order of parts to ensure proper reassembly later.
When replacing the seals, clean all parts thoroughly, removing any old gasket material, debris, or paint buildup. Using the correct replacement seals is essential; always match the new parts to the specifications of your sprayer model. Applying a light coat of lubricant can help the new seals seat properly, preventing leaks and ensuring consistent pressure. Be gentle during installation—forcing seals or misaligning components can cause premature wear or damage. Additionally, understanding the importance of proper seal materials can help you select the best replacements for durability.
Incorporate regular maintenance tips to keep your airless sprayer in top shape. Check seals periodically, especially if you notice any pressure drops or leaks. Lubricate moving parts as recommended by the manufacturer, and keep the pump clean from paint or debris. Storing your sprayer properly—cleaning it after each use and storing it in a dry, protected area—also helps prevent seal deterioration. If you follow these steps, you’ll minimize the chances of seal failure and improve overall performance.
Frequently Asked Questions
How Often Should I Replace the Pump Seals?
You should replace your pump seals when you notice a decline in spray quality or leaks, typically every 1,000 to 2,000 hours of use. The seal lifespan varies based on usage and maintenance, so check your sprayer regularly. Regular inspection and timely replacement ensure peak performance, preventing damage to internal components. Keep an eye out for signs of wear to maintain efficient operation and extend the overall lifespan of your equipment.
Can I Reuse Old Pump Seals?
Reusing old pump seals is risky, as worn seal material can cause leaks and uneven spray. While it might seem cost-effective, it’s better to prioritize your equipment’s performance and longevity. Check the replacement frequency recommended by the manufacturer, and replace seals when they show signs of wear. Trust fresh seals for a reliable, smooth spray, avoiding the frustration and potential damage that reusing old seals can bring.
What Tools Are Needed for Seal Replacement?
To replace the pump seals, you’ll need basic tools like screwdrivers, pliers, and a seal removal tool. Make sure to apply seal lubrication during installation to prevent damage and guarantee a proper fit. Check seal compatibility carefully to avoid using incompatible parts, which can cause leaks or damage. Having these tools and tips handy makes the process smoother and helps maintain your sprayer’s performance.
How Do I Identify a Worn Pump Seal?
You can identify a worn pump seal through seal inspection for visible signs of wear or damage. Look for leaks around the pump area, especially during operation, which indicates leak detection issues. If you notice inconsistent spray patterns or pressure drops, these also suggest the seal might be compromised. Regularly inspecting the seal and monitoring for leaks helps you catch wear early and maintain ideal sprayer performance.
Are There Different Seal Types for Various Sprayer Models?
Yes, there are different seal types for various sprayer models. You should check seal compatibility before purchasing to guarantee it fits your specific sprayer. Different seal material options, like rubber or Viton, offer varying levels of chemical resistance and durability. Always verify the manufacturer’s specifications for your model to select the correct seal type and material, preventing leaks and ensuring ideal pump performance.
Conclusion
Replacing those worn pump seals might seem tricky at first, but with the right tools and steps, you can do it yourself. Think about how smoothly your sprayer will operate once it’s back in top shape—no more leaks or inconsistent spray patterns. Isn’t it satisfying to fix things yourself and save money? Just take your time, follow the instructions, and you’ll have your airless sprayer working like new in no time.