
To achieve a smooth finish with your airless sprayer, start by preparing your equipment properly and ensuring your paint is well-mixed and thinned if needed. Choose the right nozzle and adjust spray pressure for even coverage, maintaining a consistent distance and overlapping each pass about 50%. Practice on scrap surfaces to refine your technique. For more tips on troubleshooting and perfecting your spray job, keep exploring the key strategies that lead to professional results.
Key Takeaways
- Properly prepare equipment, thin paint appropriately, and test spray on scrap surfaces for optimal flow and consistency.
- Choose the correct nozzle size and adjust spray pressure to ensure even coverage and a smooth finish.
- Maintain a steady distance and consistent motion during spraying, overlapping passes by about 50% for uniform results.
- Practice on test surfaces to refine technique, troubleshoot issues, and adjust settings before working on the main surface.
- Regularly clean or replace nozzles and fine-tune pressure to prevent clogs, drips, and uneven application.
Preparing Your Equipment for Optimal Performance
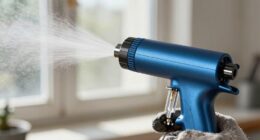
Before you start spraying, it’s essential to prepare your equipment to guarantee the best results. First, select the right paint type for your project, making sure it’s compatible with your sprayer and suitable for the surface. Check the environmental conditions; ideal weather includes low humidity and moderate temperatures to prevent issues like uneven drying or runs. Clean your spray tips and filters thoroughly to avoid clogs and ensure a smooth spray pattern. Adjust your pressure settings based on the paint type and environmental factors—this helps achieve a consistent coat. Additionally, test your sprayer on a scrap surface to confirm proper operation. Proper preparation minimizes hiccups during painting and results in a professional, smooth finish. Ensuring your equipment is well-maintained can also help prevent malfunctions and improve overall performance.
Choosing the Right Nozzle and Spray Settings
Choosing the right nozzle and spray settings can make a big difference in your project’s finish. You’ll need to pick the correct nozzle size, adjust the spray pressure, and find the best spray pattern for your surface. Let’s explore how to optimize these choices for smooth, efficient results. Additionally, understanding the benefits of all-terrain strollers can help you navigate outdoor environments more comfortably, just as selecting appropriate spray settings ensures a flawless paint job.
Nozzle Size Selection
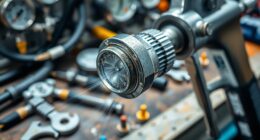
Selecting the right nozzle size is vital for achieving a smooth, even finish with your airless sprayer. The correct size influences the spray pattern, ensuring your coating is uniform and free of drips. If you choose a nozzle that’s too small, you may experience nozzle wear quickly and uneven coverage. Conversely, a too-large nozzle can cause overspray and waste material. Consider the type of project and viscosity of your paint when selecting your nozzle. Proper nozzle selection helps maintain a consistent spray pattern and prevents clogging. Regularly inspecting your nozzle for wear is essential; worn nozzles can distort the spray pattern, affecting the finish quality. Always match your nozzle size to your project needs for best results and efficiency. Additionally, understanding Hyundai Tuning options can help optimize your vehicle’s performance for different driving conditions.
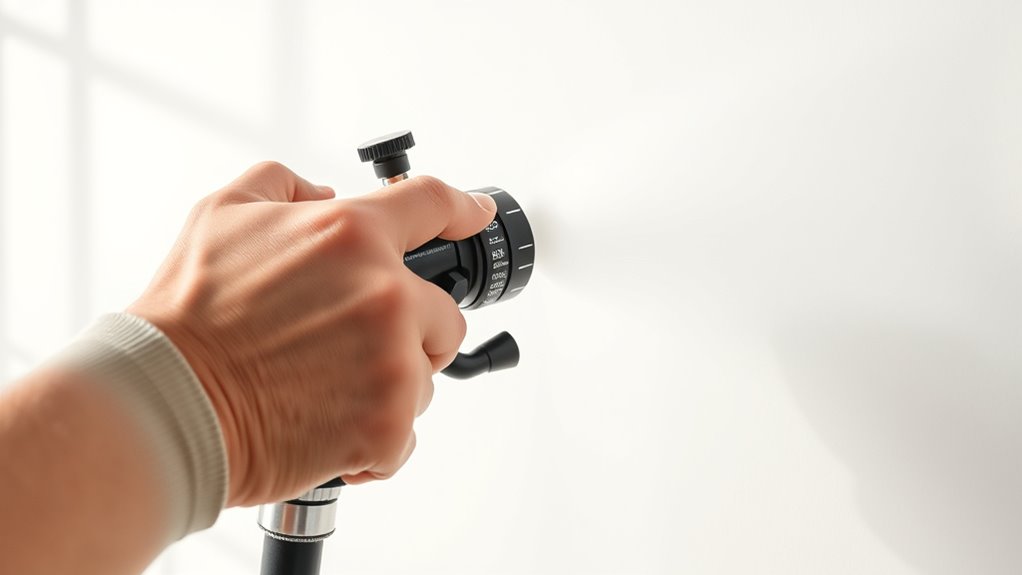
Adjusting Spray Pressure
Adjusting spray pressure is essential for getting the best finish from your airless sprayer. Proper pressure adjustment ensures spray consistency, preventing drips, runs, or uneven coverage. Start by setting the pressure according to your material and nozzle size—too high causes overspray, too low results in poor atomization. Test your spray on a scrap surface before starting your project. Fine-tune the pressure until the spray pattern is even, with a smooth, consistent flow. Keep in mind that different coatings and surfaces require different pressure settings, so don’t hesitate to make small adjustments as needed. Adjusting spray pressure correctly helps you achieve a professional-looking finish, reduces material waste, and minimizes overspray. Always refer to your sprayer’s manual for recommended pressure ranges for ideal spray consistency. Understanding proper spray pressure is key to mastering your painting technique.
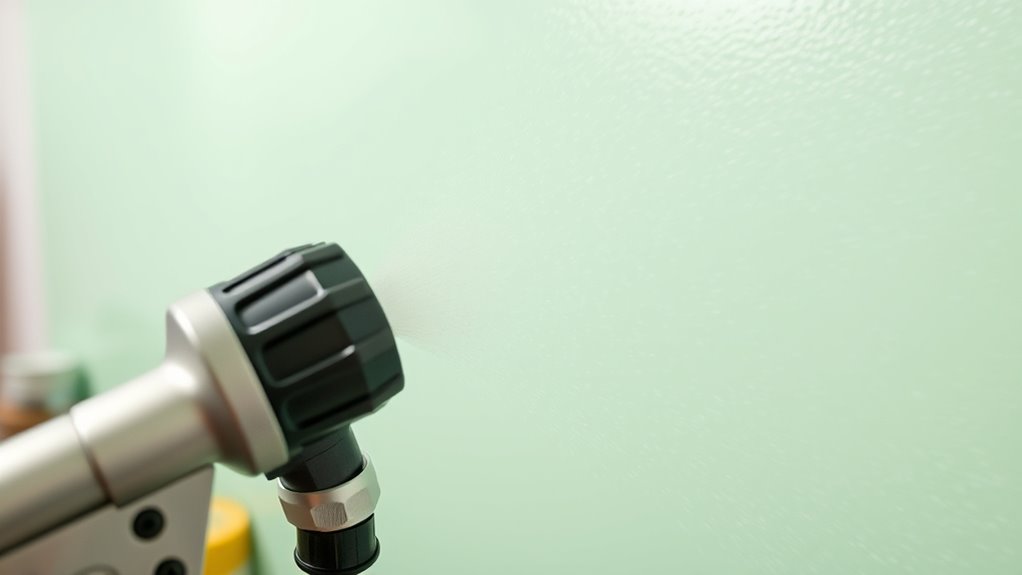
Optimal Spray Pattern
Getting the most effective spray pattern starts with using the right nozzle and spray settings for your project. To guarantee spray pattern consistency, choose a nozzle suited to your surface and material. Proper nozzle alignment is critical; misalignment causes uneven coverage and drips. Adjust your spray width and pressure to achieve a uniform pattern. Always test your spray pattern on a scrap surface before starting your project. Keep an eye on nozzle condition, replacing or cleaning it regularly to maintain consistency. Remember, a well-aligned nozzle and correct settings help you avoid overspray and runs. Fine-tuning these factors ensures a smooth, even finish, saving time and effort. With the right nozzle and settings, you’ll master a consistent, flawless spray pattern every time. Regular maintenance and understanding of spray pattern control are essential for achieving professional results.
Properly Thinning and Mixing Your Paint
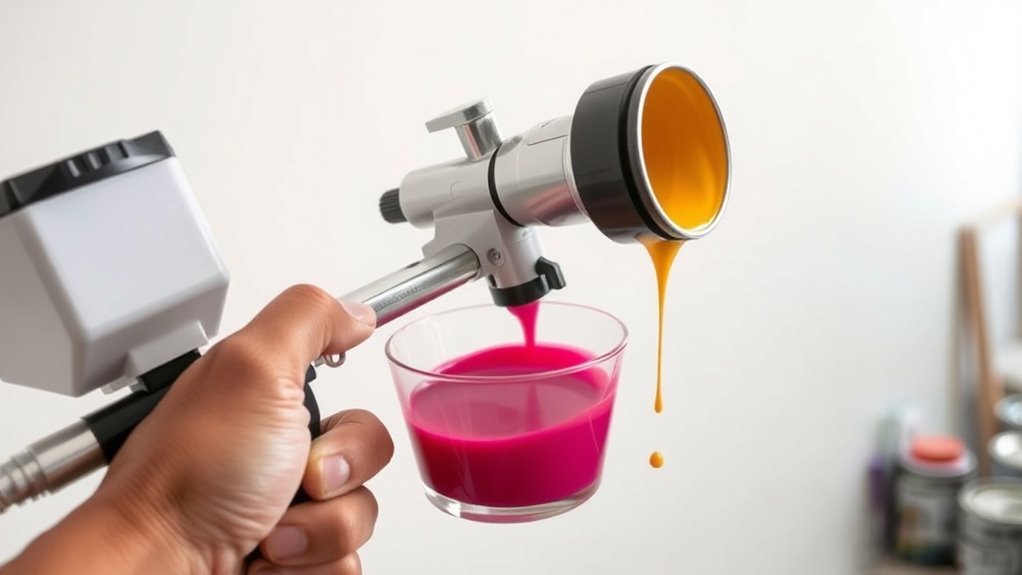
To guarantee your airless sprayer performs smoothly, properly thinning and mixing your paint is essential. Start by ensuring your paint color selection isn’t too thick, which can clog your sprayer, or too thin, which can lead to uneven coverage. Always stir your paint thoroughly to achieve a uniform consistency. Depending on weather considerations, you might need to thin the paint slightly—hot, dry conditions can cause paint to thicken, while cooler, humid weather may require less thinning. Use a compatible thinning agent if necessary, and follow the manufacturer’s recommendations. Proper mixing prevents streaks and ensures a smooth, even application. Additionally, understanding your Mental Wellbeing Index can help you stay motivated and maintain the patience needed for a successful painting project. Taking these steps helps your sprayer work efficiently and results in a professional-looking finish.
Maintaining Consistent Spray Distance and Speed

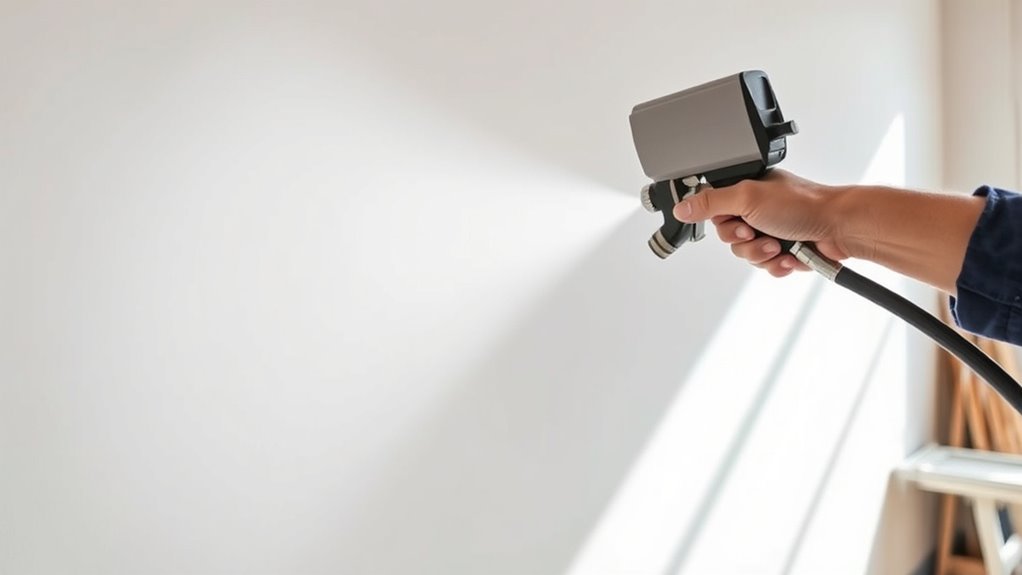
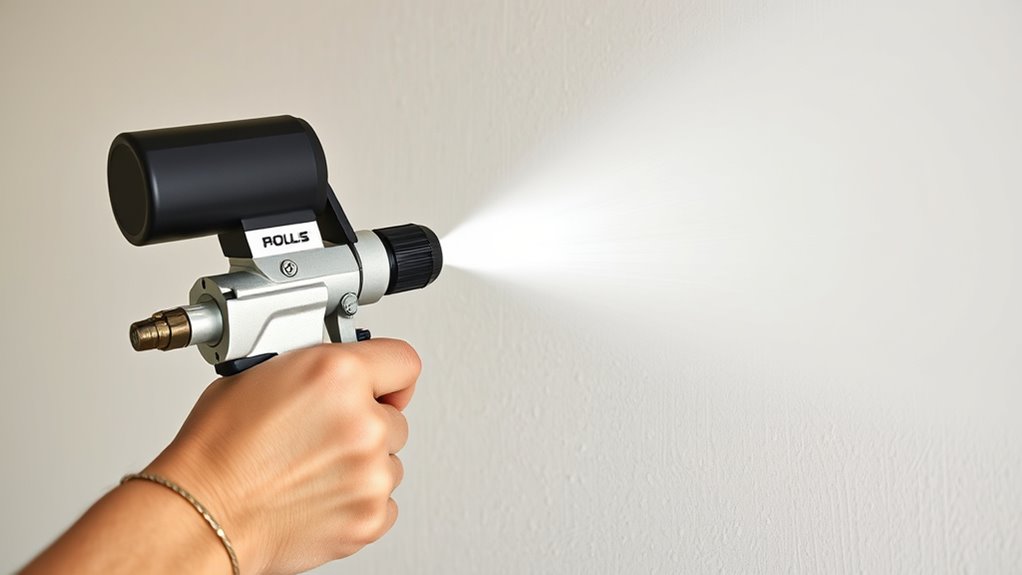
To get a smooth, even finish, you need to keep a steady pace and maintain the same distance from the surface. Practice moving your sprayer in a consistent, overlapping motion to avoid uneven layers. When you stay mindful of your speed and distance, your results will look professional and flawless. Additionally, maintaining proper technique and posture can further improve your application quality and reduce fatigue during spraying.
Keep a Steady Pace
Maintaining a steady pace is essential for achieving an even spray and a professional finish. Consistent movement prevents thick or thin spots, ensuring smooth coverage. To master this, focus on your brush techniques and surface preparation beforehand. Proper surface prep allows for a more uniform application, reducing the need for frequent adjustments. Keep your hand steady and move at a consistent speed across the surface. Rushing can cause uneven coats, while moving too slowly may lead to drips. Practice maintaining a uniform motion, avoiding stops and starts. This consistency results in a polished look, minimizing touch-ups later. Remember, your goal is a smooth, streak-free finish, so stay mindful of your pace throughout the project. Developing an awareness of performance metrics can help you gauge your spraying consistency and make real-time adjustments.
Maintain Even Distance
Keeping your sprayer at a consistent distance from the surface guarantees even coverage and prevents runs or thin spots. Maintain a steady spray angle and avoid moving too close or too far. This consistency helps prevent uneven paint thickness caused by inconsistent spray patterns. Be mindful of nozzle wear, which can alter spray distance and angle, leading to uneven application. Regularly check your nozzle for wear and replace it if needed. To emphasize the importance of distance, consider this:
| Spray Distance | Result |
|---|---|
| Too close | Runs, drips, uneven coating |
| Too far | Thin spots, incomplete coverage |
| Correct distance | Smooth, even finish |
Maintaining even distance ensures your finish is flawless and professional-looking. Consistent technique is essential for achieving a high-quality finish and avoiding rework.
Practice Consistent Motion
Practicing consistent motion while spraying is essential to achieving a smooth, professional finish. When you keep your spray distance and speed steady, you prevent uneven coverage or drips. Focus on maintaining a uniform distance from the surface and a smooth, steady pace, similar to brush techniques for precision. This helps with seamless color blending and reduces the need for touch-ups. To improve, practice sweeping motions and avoid starting or stopping abruptly. Consistency ensures that each pass overlaps evenly, resulting in a flawless finish. Additionally, understanding tuning options can help optimize equipment performance for a more uniform spray.
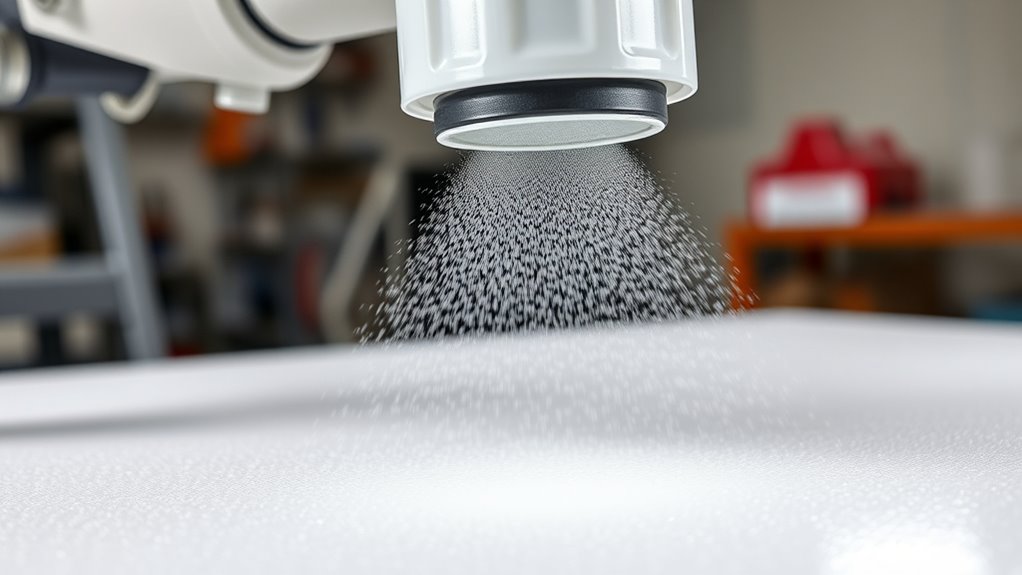
Overlapping Passes for Even Coverage

To achieve a smooth, even finish with your airless sprayer, overlapping your passes is essential. Use consistent brush techniques to guide your spray strokes, maintaining a steady motion and distance from the surface. This prevents streaks and uneven patches. When working with multiple colors, ensure proper color matching by blending edges carefully and avoiding gaps. Overlapping each pass by about 50% helps distribute the paint evenly and minimizes visible lines or thin spots. Keep your spray pattern uniform, and don’t rush; slow, controlled passes produce the best results. Remember, consistent overlaps and proper technique are key to achieving a professional-looking finish that’s smooth and flawless. Incorporating testing methodologies can also help evaluate your spraying technique for better quality control.
Managing Pressure for a Flawless Finish
Properly managing your sprayer’s pressure guarantees an even application and a professional finish. When you control pressure effectively, you ensure consistent spray patterns and avoid uneven coats or drips. Adjusting pressure based on the project’s requirements helps you maintain spray consistency, resulting in a smoother finish. Keep an eye on your pressure gauge and make small adjustments as needed. Too high pressure can cause overspray and waste, while too low may lead to uneven coverage. Practice fine-tuning until you find the ideal setting for your material and surface. A high contrast ratio enhances the visual quality of images, making details pop and improving overall clarity.
Controlling sprayer pressure ensures smooth, even finishes and reduces waste.
- Use the pressure control knob or regulator to fine-tune your spray
- Lower pressure for delicate surfaces or thin coatings
- Increase pressure for thicker paints or faster coverage
- Regularly check your pressure to maintain spray consistency
Practicing Your Technique on Test Surfaces
Before applying paint to your project surface, it’s essential to test your spray technique on a designated test surface. This allows you to evaluate how the spray gun handles different surface textures and guarantees consistent coverage. Use the test area to practice maintaining an even distance and steady motion, which helps prevent uneven spray patterns. Pay close attention to how the paint lays down, especially if your project involves multiple coats or precise color matching. Adjust your pressure and spray angle as needed to achieve smooth, uniform coverage. Testing on a sample surface helps you identify and correct issues before tackling your actual project, saving time and reducing the risk of costly mistakes. Additionally, understanding your equipment’s capabilities, such as airless sprayer performance, can aid in optimizing your application technique for a professional-looking finish every time.
Tackling Common Spray Issues and How to Fix Them
Even with careful testing, spray issues can still arise during your project. Common problems include uneven coverage, overspray, paint splatter, and drips. To fix these, first check your paint color selection; darker or metallic paints may require adjustments. Make certain you’re following safety gear guidelines, like wearing masks and goggles, to protect yourself from fumes and splatters. If you notice inconsistent spray patterns, clean or replace the spray tip. Adjust your pressure settings if you see overspray or drips. For rough textures or uneven finishes, check your nozzle for clogs. Regular maintenance and proper technique help prevent these issues, making your project smoother and more professional. Staying attentive to your equipment and safety measures ensures a flawless finish every time. Additionally, understanding AI-powered tools can help you optimize your spraying process for better results.
Cleaning and Maintenance for Long-lasting Results
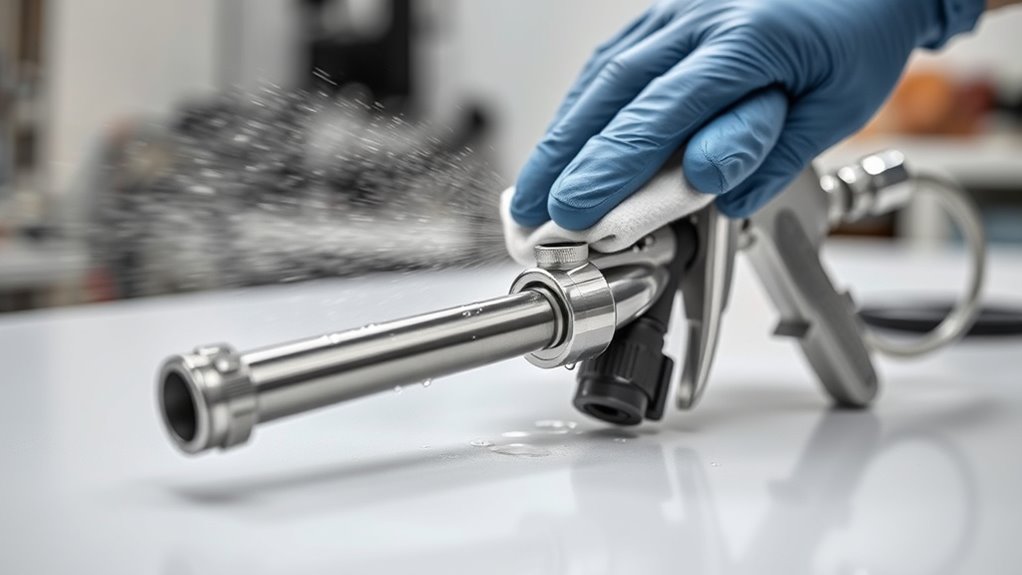
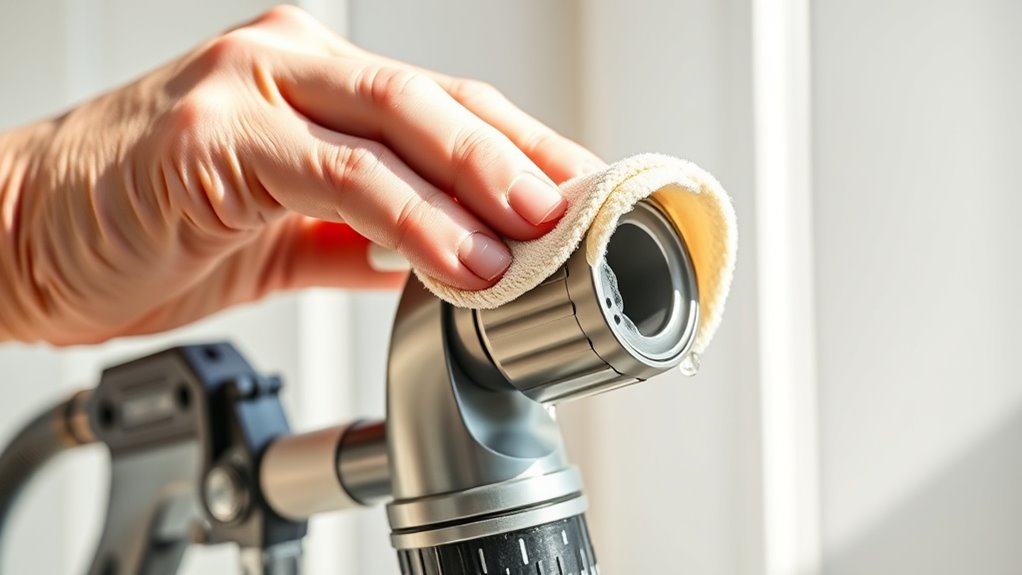
Regular cleaning and maintenance are essential to keep your airless sprayer performing at its best and extend its lifespan. After each use, thoroughly clean the spray gun, hose, and tip to prevent paint buildup. Proper sprayer storage is crucial; store it in a dry, clean area to avoid corrosion and damage. Before storing, wipe down all parts and run solvent through the system to clear residual paint. Regular filter maintenance is also vital—remove and clean filters to prevent clogs and ensure smooth operation. Check filters frequently, replacing them if they become damaged or excessively clogged. By maintaining your sprayer properly, including proper storage and filter upkeep, you’ll ensure consistent performance and a longer service life, saving you time and money on repairs or replacements. Additionally, using high-quality filters can significantly improve your sprayer’s longevity and performance.
Frequently Asked Questions
How Do I Prevent Overspray and Paint Wastage?
To prevent overspray and paint wastage, you should focus on adjusting your spray pattern and maintaining proper paint viscosity. Keep the spray pattern consistent and at the right width, so you cover surfaces evenly without excess. Thin your paint to the recommended viscosity to reduce splattering. Move your sprayer steadily and at a uniform speed, ensuring targeted application and minimizing waste. Proper setup makes a big difference in efficiency.
What Safety Precautions Should I Take During Spraying?
Imagine a cloud of paint swirling around you as you work. To stay safe, always wear protective gear like masks, goggles, and gloves. Guarantee proper ventilation precautions are in place to avoid inhaling fumes and overspray. Keep your workspace clear, and switch on fans or open windows. These safety steps help you protect your health while maintaining control during spraying, making your project safer and more effective.
How Can I Adjust Spray Settings for Different Surfaces?
To adjust spray settings for different surfaces, start by modifying the spray pattern to suit the texture and shape of your surface. Use pressure adjustment to control the paint flow, increasing pressure for thicker surfaces and lowering it for delicate ones. Test on a scrap piece first, then fine-tune your settings to guarantee even coverage and a smooth finish. Proper adjustments help you achieve professional results every time.
What Are Signs of Equipment Malfunction During Spraying?
You’ll notice equipment malfunction if it makes unusual noise or if the spray pattern becomes inconsistent. A noisy sprayer often signals a clogged nozzle or a motor issue, while irregular spray patterns indicate problems like pressure loss or a blocked filter. Keep an ear out for strange sounds, and regularly inspect the spray pattern to catch issues early, ensuring smooth operation and a quality finish.
How Often Should I Calibrate My Airless Sprayer?
Calibrating your sprayer is like tuning a musical instrument—you want it just right. You should perform sprayer maintenance and calibration every 1 to 2 gallons of paint or weekly, whichever comes first. Regular calibration ensures consistent spray pressure and flow, preventing uneven coats. Keep an eye on spray pattern and flow rate, and adjust as needed to maintain peak performance. Proper calibration helps you achieve professional results every time.
Conclusion
With practice and the right techniques, you’ll master the art of airless spraying and achieve a flawless finish. Remember, Rome wasn’t built in a day—patience and attention to detail pay off. Keep your equipment well-maintained, stay consistent, and don’t rush the process. Soon, your projects will showcase smooth, professional results that stand the test of time. With each spray, you’re building confidence—like a painter adding brushstrokes to a masterpiece.