
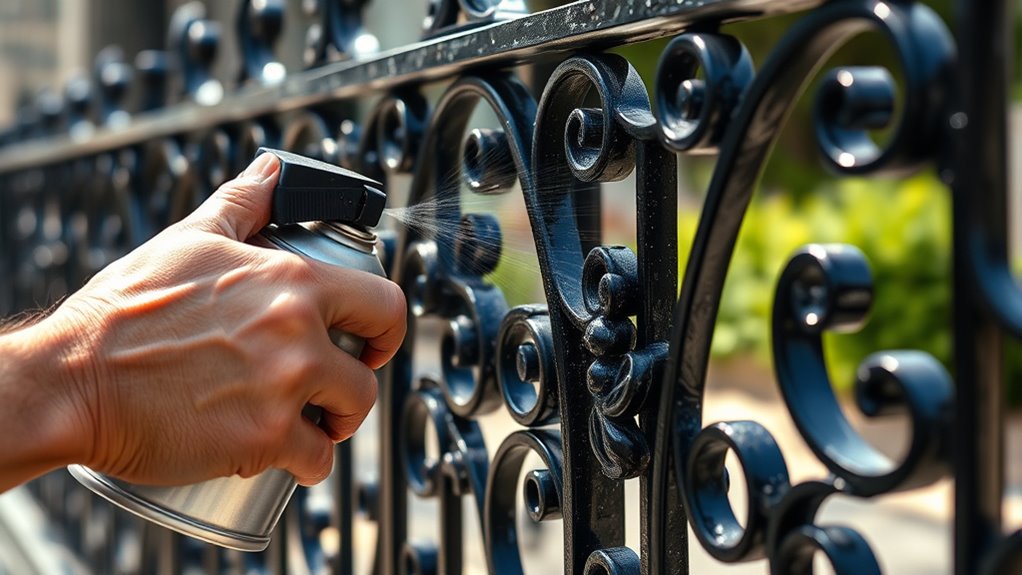
To spray paint wrought iron railings and metal fences, start by inspecting the surface for rust, peeling paint, or damage, and clean thoroughly. Use a rust-inhibiting primer and select a weather-resistant, metal-specific paint to guarantee durability. Keep the spray gun steady and overlap each pass for even coverage, and protect surrounding areas with drop cloths and tape. Properly drying and maintenance tips are essential for long-lasting results—continue to discover how to perfect your project step by step.
Key Takeaways
- Properly clean, remove rust, and sand the metal surface before applying primer and paint for better adhesion.
- Use rust-inhibiting primer and weather-resistant paint designed for metal to ensure durability outdoors.
- Maintain consistent spray distance (6-12 inches) and use smooth, overlapping strokes for an even finish.
- Allow sufficient drying and curing time between coats and after painting to prevent damage and ensure longevity.
- Protect surrounding areas with drop cloths and painter’s tape to prevent overspray and achieve clean, professional results.
Assessing Your Fence or Railing Before Painting

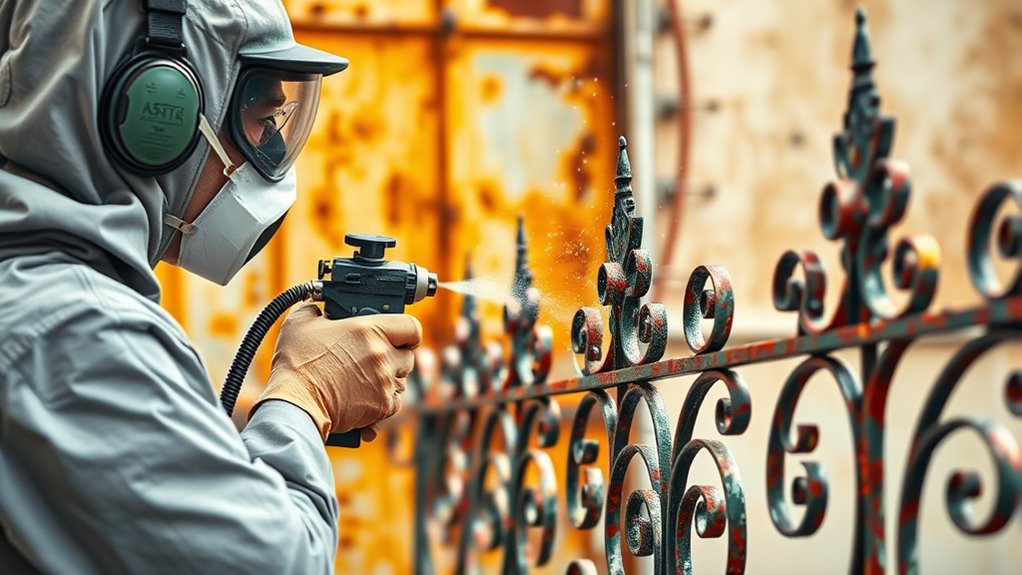
Before you start painting, it’s important to carefully assess your fence or railing to identify any issues that could affect the results. Check for signs of rust, peeling paint, or corrosion, as these can compromise surface durability if not addressed first. Removing rust and loose paint ensures proper adhesion and provides rust prevention, extending the lifespan of your finish. Examine the metal’s surface closely for dents, cracks, or pitting, which could weaken its integrity. Addressing these problems before painting helps maintain the structural strength and enhances the aesthetic appeal. A thorough assessment allows you to spot trouble spots early, ensuring your paint adheres properly and offers long-lasting protection. Ensuring your tools and materials are in good condition, such as checking that your headphones are functioning properly for any instructional videos, can also streamline your project. Taking these steps will give your painted railing a durable, rust-resistant finish.
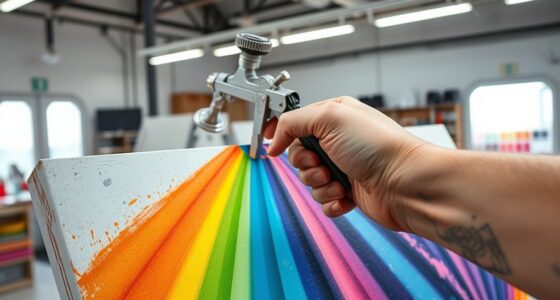
Choosing the Right Paint and Supplies

To get the best results, you need to pick the right paint and supplies for your project. Proper surface preparation is key, so make sure you clean and sand your railings before painting. Choosing a suitable paint type, like rust-inhibiting or epoxy, will help your finish last longer and look great. Additionally, selecting the appropriate sprayer tips ensures an even application and a professional-looking finish.
Surface Preparation Essentials
Selecting the right paint and supplies is essential for achieving a durable and attractive finish on wrought iron railings and metal fences. Proper surface preparation ensures ideal metal finishing and helps prevent corrosion. Begin by cleaning the surface thoroughly to remove dirt, rust, and old paint, using wire brushes or sandblasting if needed. Sanding the surface creates a smooth, keying surface that promotes adhesion. Removing rust is critical for corrosion prevention; use rust converters or primers designed for metal. Wipe down the surface with a damp cloth to eliminate debris. Properly prepared surfaces not only improve paint adhesion but also extend the lifespan of your finish. Investing time in surface prep ensures your spray paint adheres well and provides lasting protection against the elements. Additionally, understanding paint adhesion and how it interacts with different metal surfaces can significantly influence the durability of your project.
Suitable Paint Types
Choosing the right paint for wrought iron railings and metal fences is essential to guarantee a long-lasting, attractive finish. You want a paint that offers excellent metal finish, providing smooth coverage and vibrant color. Look for paints specifically designed for metal surfaces, as these will adhere better and resist chipping. To guarantee paint durability, select products with rust-inhibiting properties and weather-resistant formulas. Oil-based or epoxy paints are ideal choices for outdoor metalwork because they withstand harsh conditions. Additionally, consider spray paints formulated for metal to achieve an even, professional look. By choosing the appropriate paint type, you’ll enhance your fence’s appearance and extend its lifespan, making your spray painting project both effective and satisfying.
Preparing the Surface for Optimal Results
Before you start spray painting, making sure to prepare the surface properly is vital, as this step guarantees the paint adheres well and lasts longer. Begin by inspecting the metal for signs of corrosion or peeling paint. Remove loose rust or old paint to prevent metal corrosion from spreading and to improve paint adhesion. If the surface is smooth, lightly sand it to create a better grip for the new coat. Confirm the surface is clean and free of grease, dirt, or debris, as these can hinder adhesion. Proper preparation not only enhances the durability of your paint job but also guarantees a smooth, even finish. Taking the time to prepare the surface properly sets the foundation for a professional-looking, long-lasting spray paint application. Additionally, understanding AI’s role in material analysis can help identify areas requiring extra treatment or priming for optimal results.
Cleaning and Removing Rust From Metal Surfaces
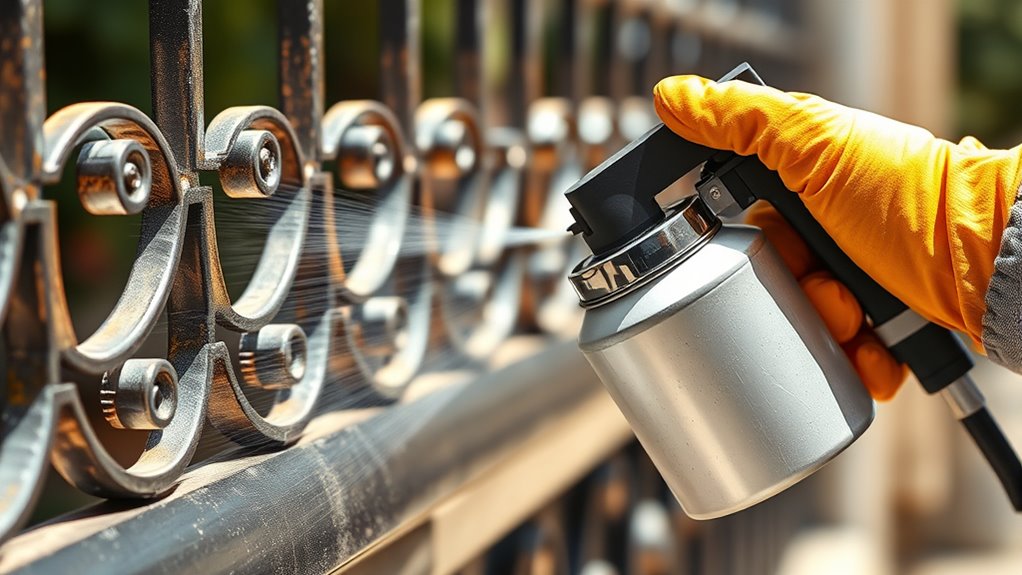
Cleaning and removing rust from metal surfaces is a crucial step to guarantee your paint job lasts. Rust removal and surface cleaning ensure a smooth, clean base for spray paint, preventing peeling or uneven coverage. To effectively remove rust, start by scrubbing the affected areas with a wire brush or steel wool. For stubborn rust, apply a commercial rust remover or a vinegar solution and let it sit before scrubbing again. After rust removal, wipe the surface with a clean cloth to eliminate debris and dust. Visualize a surface free of flaky rust, dirt, and grime, ready for priming and painting. Proper surface cleaning enhances adhesion, prolonging the life of your finish and keeping your wrought iron or metal fence looking its best. Additionally, choosing the right paint type for metal surfaces can significantly improve durability and resistance to weathering.
Protecting Surrounding Areas During Painting
Before you start spray painting, make sure to cover nearby surfaces to prevent overspray. Use protective tape to shield edges and delicate areas, ensuring clean lines. Clear the area of furniture and other items to keep everything safe from paint splatters. Additionally, consider the dog breeds involved in the project, such as sturdy breeds like Golden Retrievers, to ensure safety for all involved during the painting process.
Cover Nearby Surfaces
To prevent accidental paint splatters and overspray from damaging nearby surfaces, you should carefully cover everything around your work area. Proper surface protection keeps your surroundings clean and reduces cleanup time. Use drop cloths to cover floors and furniture, plastic sheeting for windows and walls, and painter’s paper for delicate fixtures. This not only safeguards your surfaces but also helps maintain your equipment in top condition by avoiding paint buildup that can clog nozzles. Remember, thorough coverage minimizes the risk of paint splatters reaching unintended areas, making your project neater and more efficient. Regularly check and adjust your coverings during the process to ensure they stay in place. Proper surface protection is essential for a professional-looking finish and easier equipment maintenance. Additionally, choosing appropriate protective materials can enhance the effectiveness of your surface safeguarding efforts.
Use Protective Tape
Using protective tape is a key step in guaranteeing your paint job stays neat and precise. Apply the tape carefully along edges and areas you want to safeguard from overspray. Make sure the tape adheres firmly to the surface to prevent paint from seeping underneath, which could ruin your finish. Proper surface adhesion of the protective tape creates a barrier that keeps paint confined to your intended areas. Press down firmly along the tape’s edges to eliminate gaps and ensure a tight seal. This will help you achieve clean lines and avoid accidental splatters on surrounding surfaces. Take your time during this step to ensure the tape is correctly positioned and securely adhered, setting a solid foundation for a professional-looking paint job. User control over data collection practices can also help tailor your painting process to your specific needs.
Clear the Area
Protecting the surrounding areas is essential to prevent overspray and accidental paint splatters from ruining nearby surfaces. Before you start spray painting your wrought iron railings or metal fences, clear the area around them. Move garden maintenance tools, furniture, and decorative accents out of the way. Cover delicate plants or flower beds with drop cloths to shield them from paint. If you have decorative accents nearby, ensure they’re safeguarded or removed temporarily. This not only keeps your yard tidy but also prevents costly cleanup. Consider placing tarps or plastic sheeting over nearby walkways or stonework. Proper preparation of the workspace is crucial for a smooth painting project and to avoid damage to your outdoor space. A careful prep phase makes your project smoother, avoiding damage and maintaining the aesthetics of your garden and outdoor space.
Applying Primer for Better Adhesion and Durability
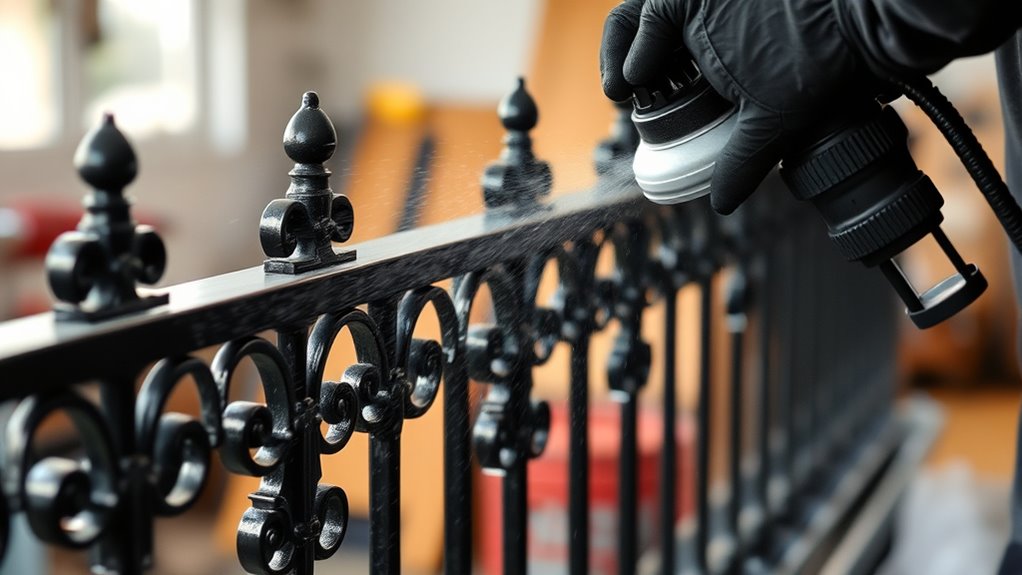
Applying primer is a essential step that guarantees your paint bonds properly to the metal surface, resulting in a longer-lasting finish. Primer adhesion is pivotal because it creates a strong bond between the metal and the paint, preventing peeling and chipping over time. Use a rust-inhibiting or metal-specific primer to maximize durability enhancement. Make sure the surface is clean, dry, and free of rust or grease before applying primer. Spray it evenly in light coats, allowing each layer to dry thoroughly. Proper priming improves the paint’s ability to adhere, which helps protect your wrought iron or metal fence from corrosion and weather damage. Skipping this step can compromise the overall finish, making your project less durable and requiring more frequent touch-ups.
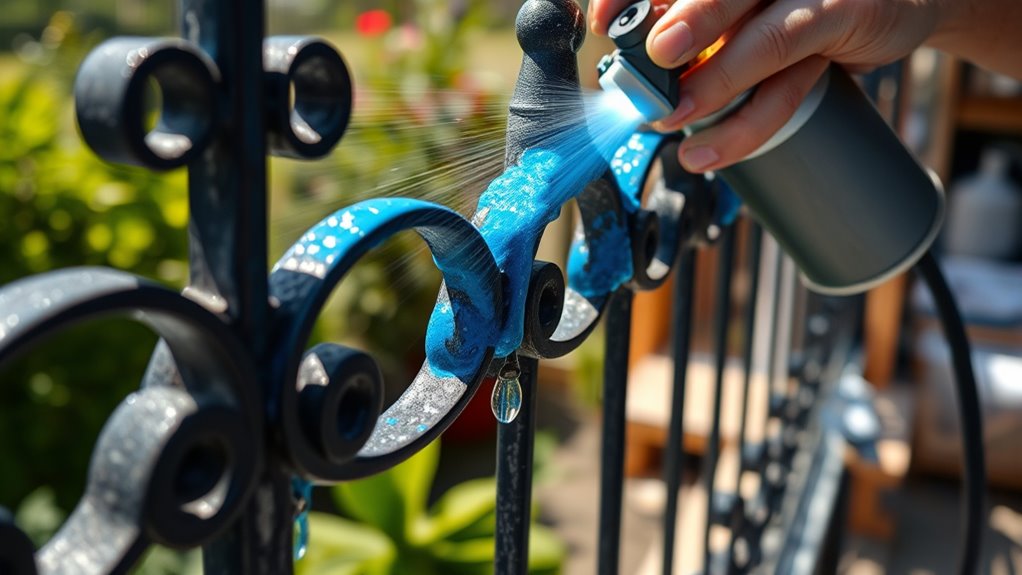
Techniques for Evenly Spraying Paint on Metal
To achieve a smooth, even coat, start with proper surface preparation to guarantee the paint adheres well. Keep your spray gun at a consistent distance and use steady, sweeping motions to avoid drips and uneven coverage. Maintaining a uniform movement and adjusting your speed will help you spray paint evenly across the metal surface.
Proper Surface Preparation
Before you start spraying, ensuring the metal surface is properly prepared is essential for a smooth, even finish. Proper surface prep enhances paint adhesion and improves paint durability, preventing chipping or peeling over time. Start by removing rust, old paint, and dirt with a wire brush or sandpaper. Then, clean the surface thoroughly with a degreaser or soap and water, allowing it to dry completely. Finally, apply a primer designed for metal to create a strong bond between the metal and the paint. Visualize a clean, smooth surface free of debris and rust, ready for even application. Additionally, considering local climate conditions can help you choose the right paint and finish for long-lasting results. This preparation step guarantees your spray job looks professional and lasts longer, delivering a beautiful and durable finish on your wrought iron or metal fence.
Optimal Spray Technique
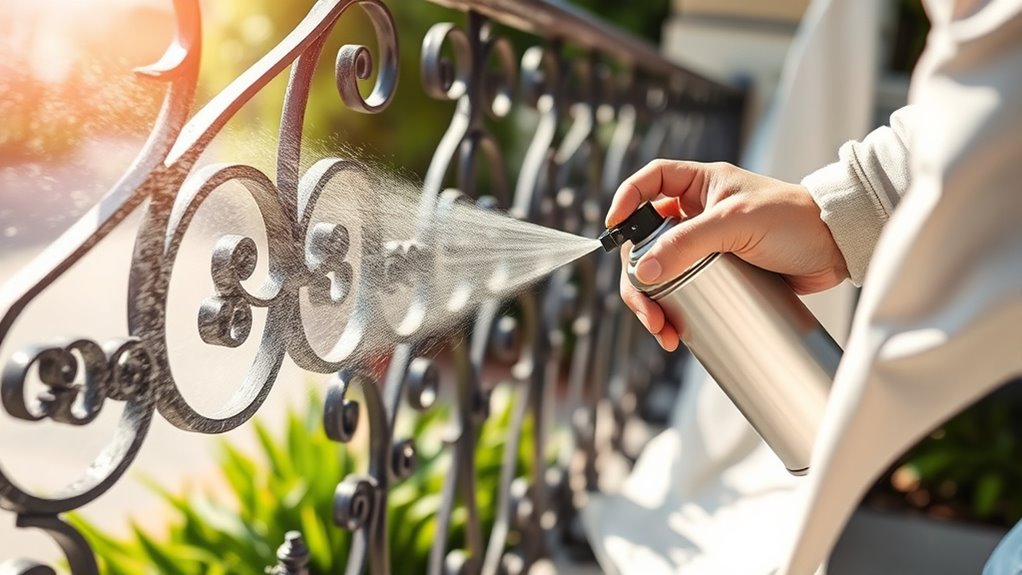
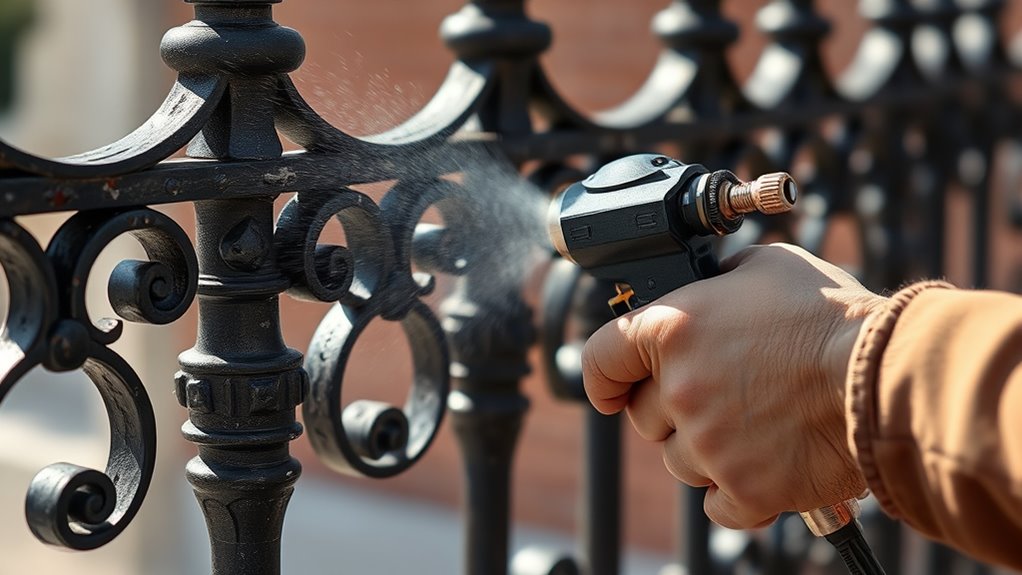
Achieving an even spray on metal surfaces requires a steady hand and proper technique. Start with a consistent brush technique, maintaining a smooth, controlled motion to prevent drips and uneven coverage. When using a spray gun, focus on creating uniform spray patterns by keeping the nozzle perpendicular to the surface. Keep the spray distance consistent, typically around 6-12 inches, to ensure even coverage. Overlapping each pass by about 50% helps avoid streaks and missed spots. Practice steady, sweeping motions rather than stopping and starting, which can cause uneven texture. Adjust your spray pressure and flow rate to match the paint type and surface. Using ergonomic tools can help reduce fatigue and improve control during application. With careful attention to spray patterns and technique, you’ll achieve a professional-looking, smooth finish on your wrought iron or metal fence.
Consistent Movement & Distance
Maintaining a steady hand and consistent distance from the surface is key to getting an even spray on metal railings and fences. Your spray technique relies on moving smoothly and maintaining a set distance, typically about 6 to 12 inches from the surface. This helps ensure even coverage and prevents drips or uneven patches. Keep in mind that your paint consistency should remain uniform; too thick or thin paint can ruin the finish. To visualize, imagine:
- Moving your spray can in smooth, overlapping strokes
- Keeping a constant distance from the surface
- Adjusting your speed to avoid stopping mid-spray
- Proper spray techniques can further improve your results and prevent common issues like runs and uneven coats.
Troubleshooting Common Spray Painting Issues

When spray painting wrought iron railings and metal fences, you might encounter issues like uneven coverage, drips, or paint that won’t adhere properly. To fix these problems, start by ensuring the surface is clean and free of rust, which is essential for rust prevention and good paint adhesion. If rust is present, use a wire brush or rust converter before painting. Uneven coverage can be caused by inconsistent spray distance or pressure—keep your spray gun at a steady distance and move evenly. Drips often result from applying too much paint at once; use light, even coats instead. If paint isn’t sticking well, check that the surface is properly prepared and dry. Additionally, avoiding environmental impacts such as dust and humidity can improve overall paint adhesion and finish quality. Correcting these issues will lead to a smoother, longer-lasting finish.
Allowing Proper Drying and Curing Time
After spray painting wrought iron railings and metal fences, it’s essential to let the paint dry and cure properly before handling or exposing the surface to weather. Proper paint curing ensures durability and a smooth finish. During drying times, the paint shifts from wet to touch-dry, which typically takes a few hours, depending on humidity and temperature. For complete curing, it can take several days. To visualize this process, consider:
- The surface becoming tack-free and no longer sticky
- The paint developing a uniform, hardened layer
- The weather conditions influencing drying and curing speeds
- Using proper ventilation can help speed up the curing process and improve overall finish quality.
Patience is key; rushing the process can compromise the finish. Allow ample time for paint curing, ensuring your wrought iron or metal fence remains protected and looks great for years to come.
Maintaining and Touching Up Your Painted Metalwork
Once your paint has fully dried and cured, keeping your wrought iron railings and metal fences looking their best requires regular maintenance and timely touch-ups. Inspect your metalwork for chips, scratches, or areas where the decorative finishes have worn. When touching up, focus on color matching closely to the original paint to maintain a seamless appearance. Use fine brushes or spray tools for precise application, especially on detailed decorative finishes. Regular cleaning also helps prevent rust and deterioration, making touch-ups easier. Keep a small amount of your original paint on hand for quick repairs. Proper maintenance preserves both the aesthetic appeal and longevity of your painted metalwork, ensuring your fence or railing remains attractive and protected against the elements. Recognizing patterns in angel numbers can also serve as a motivational reminder to stay attentive to your relationship needs.
Frequently Asked Questions
How Long Does Spray Paint Typically Last on Wrought Iron Railings?
You might wonder how long spray paint lasts on wrought iron railings. Generally, paint durability depends on factors like quality and application, but with proper prep and high-quality paint, it can last 5 to 10 years. Weather resistance plays a big role, especially in harsh climates. Regular maintenance and touch-ups help prolong its lifespan, ensuring your railings stay protected and looking great over time.
Can I Spray Paint Over an Old, Chipped Paint Layer?
Think of your project as a fresh canvas, ready for new life. Before you spray paint over old, chipped layers, you must first clear the path—remove the paint and treat any rust. This process guarantees a smooth surface, allowing the new coat to bond properly. Skipping these steps risks peeling and rust spreading, turning your effort into a fleeting impression. Proper prep transforms your wrought iron into a lasting masterpiece.
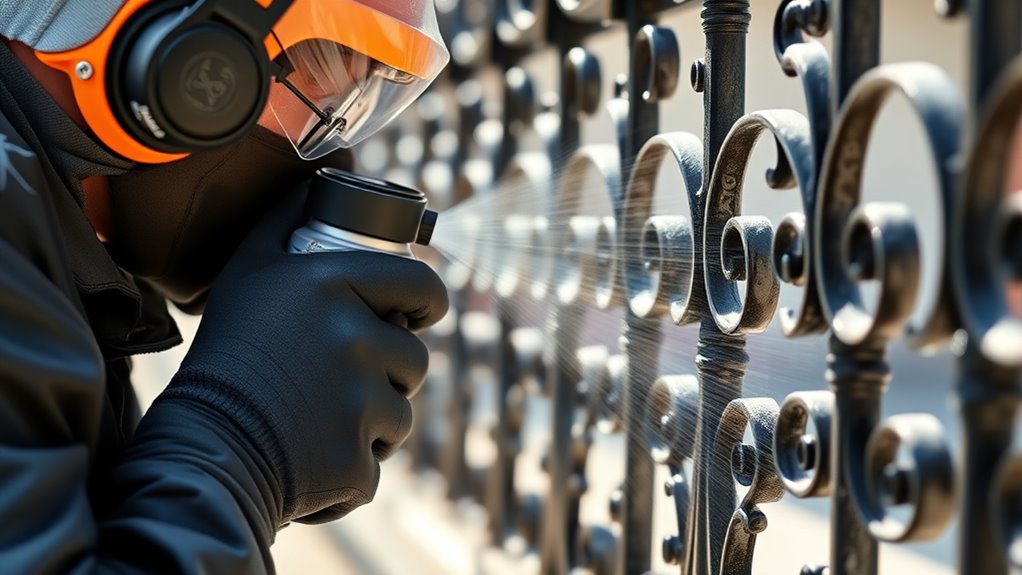
What Safety Precautions Should I Take During Spray Painting?
When spray painting, you should always prioritize safety. Wear personal protective gear like a mask, gloves, and goggles to protect yourself from fumes and paint splatters. Make certain proper ventilation by working outdoors or in a well-ventilated area to prevent inhaling harmful chemicals. Keep a fire extinguisher nearby, avoid open flames, and follow the manufacturer’s instructions. Taking these precautions helps you stay safe while achieving a professional finish.
How Do Weather Conditions Affect Spray Painting Outdoor Fences?
Think of weather conditions as the weather in a garden; they influence how your project blooms. You should avoid spray painting outdoors during extreme temperature fluctuations, as they cause paint to dry unevenly. High humidity levels can lead to drips and a dull finish, just like a garden overwhelmed by rain. For best results, choose calm, mild days with stable temperatures and low humidity, ensuring your fence gets a flawless finish.
Is It Necessary to Sand the Metal Before Spray Painting?
You should always sand the metal before spray painting to guarantee proper surface preparation. This step helps remove rust, old paint, and debris, creating a smooth surface. When you sand, you improve paint adhesion, making your finish more durable and long-lasting. Skipping this step can lead to chipping or peeling over time. So, taking the time to sand properly guarantees a professional-looking, long-lasting paint job.
Conclusion
With your flawless spray job, your wrought iron railing will shine brighter than the sun itself, turning heads everywhere you go. Your metal fence will stand proud and invincible, like a fortress forged by legends. Just follow these steps, and you’ll transform your outdoor space into a masterpiece so stunning, even the stars will envy its brilliance. Get ready to impress everyone—your perfect finish will be the talk of the town for generations!