
The “Two-Pass” method for railings and balusters involves first installing the structural components, ensuring everything is level, secure, and up to safety standards. Once the main framework is set, you move to the second pass, which adds decorative finishes like paint or stain for a polished, factory-quality look. This approach keeps safety and aesthetics separated, reducing damage and making refinements easier. Keep going to discover how this method guarantees a professional finish every time.
Key Takeaways
- The two-pass method separates structural installation from decorative finishing for a flawless, factory-quality look.
- First pass ensures safety, stability, and proper spacing of balusters and handrails.
- Second pass applies paint, stain, or coatings to achieve a seamless, high-end appearance.
- This approach minimizes damage to finishes during assembly and simplifies touch-ups.
- Combining safety with aesthetics results in durable, professionally finished railings and balusters.

Ever wondered how railings and balusters combine safety with style in your home or outdoor spaces? The secret lies in the “two-pass” method, a technique that guarantees your installation looks professional and polished, much like factory-made designs. When you choose this method, you’re not just installing functional safety features; you’re elevating the aesthetic appeal of your space. It involves applying decorative finishes during the assembly process, which helps you achieve a seamless, refined look. This approach also guarantees that your railing system complies with safety regulations, which are vital for both your peace of mind and legal adherence.
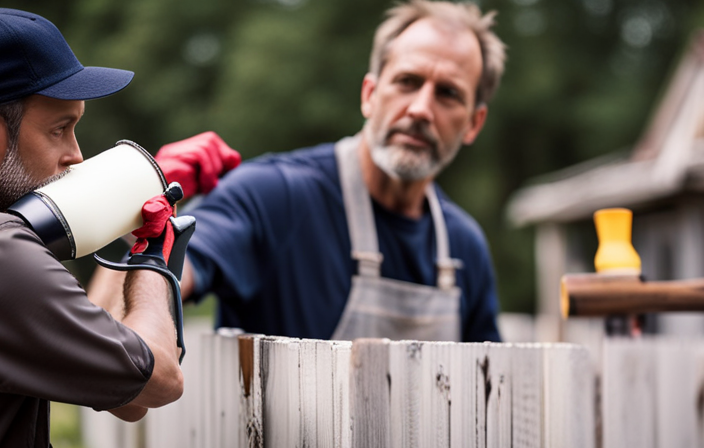
The first pass involves setting the primary components—balusters, handrails, and posts—in their correct positions. During this stage, you make sure everything is level, evenly spaced, and securely anchored. It’s essential to follow safety regulations here, like maintaining the proper baluster spacing to prevent small children from slipping through. Once the main framework is in place, you move on to the second pass, where the decorative finishes are added. These finishes might include paint, stain, or specialized coatings that not only enhance aesthetics but also provide durability against weather and wear. Applying these finishes after the initial assembly ensures a clean, factory-like appearance, with no visible flaws or uneven edges.
Using the “two-pass” method also streamlines your workflow. It allows you to focus on safety and structural integrity first, then turn your attention to decorative details. This separation reduces the risk of damaging the finishes during installation and makes touch-ups easier. Plus, it gives you the flexibility to customize the look of your railings and balusters by experimenting with different decorative finishes, from classic wood stains to modern powder coatings. It’s an approach that’s both practical and visually appealing, making your project look professionally done without the need for costly custom fabrication.
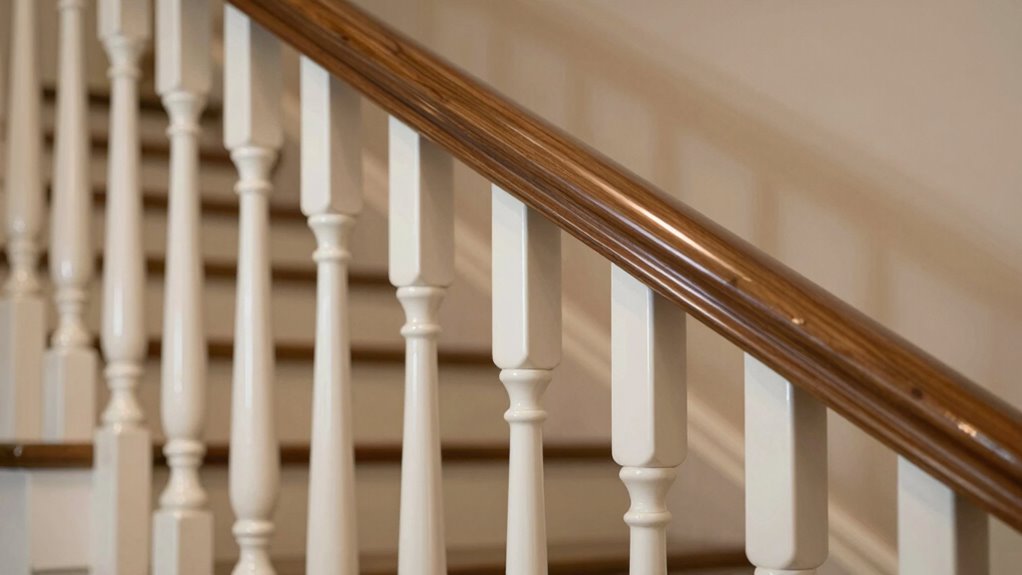
Most importantly, this method keeps safety at the forefront. By adhering to safety regulations during the initial pass, you guarantee your railing system is sturdy and reliable. Then, with the decorative finishes added in the second pass, you achieve a beautiful, factory-quality look that complements your home’s style. Whether you’re updating a staircase, balcony, or outdoor deck, the “two-pass” method helps you balance safety with style effortlessly. It’s a smart, efficient way to create a railing that looks like it was crafted by professionals, giving you peace of mind and a stunning finished product.

2 x 304 Stainless Adjustable Handrail Brackets, Heavy Duty Wall Square Brackets for Stair Handrail Flat Balusters with Base Cover 2pcs
ADJUSTABLE: The adjustment base allow the handrail to be changed from 0° to 270°, easy to be placed…
As an affiliate, we earn on qualifying purchases.
As an affiliate, we earn on qualifying purchases.
Frequently Asked Questions
What Tools Are Essential for the “Two-Pass” Method?
You’ll need essential power tools like a drill, saw, and possibly a router for the two-pass method. Accurate measurement techniques are vital, so have a tape measure and square on hand to guarantee precise cuts and placements. Using these tools, you can achieve clean, professional-looking railings and balusters that look factory-done. Take your time with measurements and cuts, and always double-check before proceeding to the next pass.
How Long Does It Typically Take to Complete?
You’re probably wondering how long it takes to complete this process. Typically, the installation timeline depends on your skill level, but for a skilled DIYer, it can take just a few hours to a day. If you’re a beginner, expect it to stretch longer. The two-pass method streamlines the work, making it efficient and rewarding. Patience and precision will get you a professional-looking result faster than you think.
Can This Method Be Used for Curved or Custom Designs?
Yes, you can use this method for curved railings and custom balusters. It’s versatile enough to handle intricate designs by carefully shaping and sanding each piece during the two-pass process. You’ll want to guarantee precise measurements and gentle adjustments to maintain the factory-quality finish. With patience and attention to detail, this technique allows you to create beautifully custom, curved railings that look professionally crafted, even for complex shapes.
What Types of Wood or Materials Are Best Suited?
Think of choosing your wood like selecting a fine wine; the right pick elevates the entire experience. For durability and a polished finish, hardwoods like oak, maple, or walnut are ideal, providing strength and a beautiful grain. Softwoods like cedar or pine work well for lighter, decorative touches. Prioritize wood selection based on material durability, ensuring your railing stands the test of time while maintaining that flawless, factory-like appearance.
Are There Safety Precautions to Consider During Installation?
Yes, you should always wear protective gear like goggles and gloves to shield yourself from splinters and dust. Prepare your workspace by clearing debris and securing the area to prevent accidents. Guarantee proper lighting and ventilation, especially when using power tools. Follow manufacturer instructions carefully, and double-check measurements before cutting or drilling. Taking these safety precautions helps prevent injuries and ensures a smooth, professional-looking installation.

Maasechs DIY Indoor Stair Railing Kit, 4 ft Red Oak Handrail, 10 Wrought Iron Balusters (Double Twist, Single Basket) 20 Baluster Shoes, Rail Section Kit for Interior Hallway Loft Remodel(Rake 4ft)
Complete DIY Kit with Ease: featuring 10 metal balusters for stairs, including 5 double twist and 5 single…
As an affiliate, we earn on qualifying purchases.
As an affiliate, we earn on qualifying purchases.
Conclusion
Think of this “two-pass” method as your trusted brushstroke on a blank canvas, transforming simple materials into a masterpiece. As each rail and baluster finds its place, you’re crafting a seamless, polished look—like a factory finish straight from an artist’s studio. With patience and attention, your staircase becomes a work of art, inviting admiration. Remember, with this technique, you’re not just installing railings—you’re creating a lasting impression, a beautifully crafted journey for all who walk your stairs.

Weatherables 36 in. H x 8 ft. W Stanford Deck Railing Kit – Aluminum Porch & Balcony Railing Kit with Black Powder-Coated Finish, Adjustable Outdoor Hand Rail System
ENHANCED DECK & PORCH SAFETY: This aluminum porch railing kit features an ergonomic “breadloaf” top rail that provides…
As an affiliate, we earn on qualifying purchases.
As an affiliate, we earn on qualifying purchases.

Wooden Baluster Spindles 9", Pack of 6 Spindles for Crafts, Woodworking, and Furniture, by Woodpeckers
FURNITURE-MAKING, AHOY! — You're all ready to craft a masterpiece, whether that's a crib, bassinet, rocking chair, or…
As an affiliate, we earn on qualifying purchases.
As an affiliate, we earn on qualifying purchases.