
After winter, preparing your airless sprayer is key for a smooth project. Clear your workspace, check the equipment for leaks or damage, and test pressure settings before starting. Choose the right nozzle and properly thin your paint or stain for the best results. Practice your spray technique, maintain even overlaps, and keep everything clean to avoid drips. Following safety tips and proper maintenance will guarantee a professional finish—learn more tips to perfect your post-winter spruce-up.
Key Takeaways
- Thoroughly clean and inspect your airless sprayer before starting to ensure optimal performance.
- Select the correct nozzle size and adjust pressure settings for smooth, even application.
- Test paint or stain on a small surface to confirm proper viscosity and spray pattern.
- Maintain a steady technique with consistent distance and overlapping passes for professional results.
- Prioritize safety with proper PPE and ensure workspace ventilation during post-winter projects.
Preparing Your Workspace and Equipment
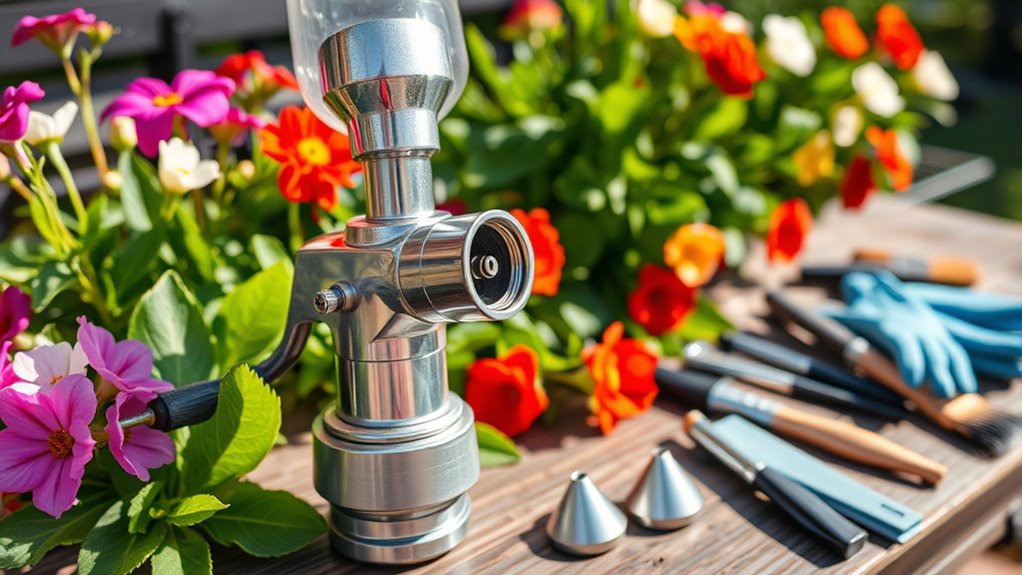
Have you prepared your workspace and equipment for painting? Proper workspace organization is essential to guarantee a smooth project. Clear the area of clutter, cover surfaces you want to protect, and make sure you have enough lighting. Next, focus on equipment calibration. Check that your airless sprayer is clean and functioning correctly. Test the pressure settings and flow rate to match your paint and project requirements. Proper calibration prevents uneven coverage and paint wastage. Keep your tools organized so you can quickly access nozzles, filters, and hoses when needed. Taking these steps minimizes interruptions and helps you work efficiently. A well-prepared workspace and calibrated equipment set the foundation for a successful painting project, saving you time and ensuring professional results.
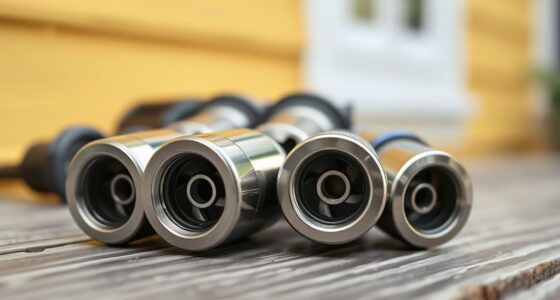
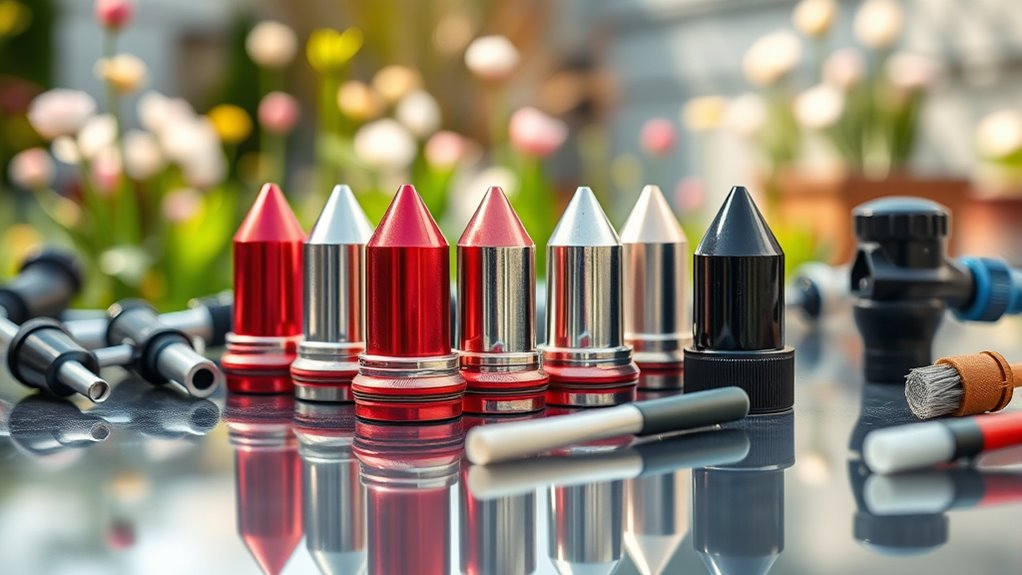
Choosing the Right Nozzle and Pressure Settings
Selecting the appropriate nozzle and pressure settings is essential for achieving a smooth, even finish with your airless sprayer. Nozzle selection impacts spray pattern and coverage, so choose a size suited to your project—smaller nozzles for detail work, larger ones for broad surfaces. Adjust the pressure to control the spray’s speed and atomization; too high can cause drips and overspray, while too low may result in uneven coverage. Start with the manufacturer’s recommended pressure for your nozzle and material, then fine-tune as needed. Consistent pressure adjustment helps maintain an even spray and prevents paint from pooling or spattering. Taking the time to select the right nozzle and set the correct pressure ensures professional-looking results and minimizes waste. Additionally, understanding sound vibrations can help optimize your spraying technique by reducing vibrations that may affect spray consistency.
Properly Thinning and Mixing Your Paint or Stain
To achieve a smooth and consistent application with your airless sprayer, properly thinning and mixing your paint or stain is essential. Start by checking the paint’s viscosity; if it’s too thick, it won’t spray evenly. Use appropriate mixing tools like a paddle or drill mixer to ensure thorough blending. Adjust the paint’s thickness by adding water or a compatible thinning agent gradually, mixing well after each addition. Refer to the table below for typical thinning ratios:
| Paint Type | Thinning Ratio | Mixing Tools |
|---|---|---|
| Latex Paint | 10% water | Paddle, Drill |
| Oil-Based Stain | 5% solvent | Stir Stick |
| Primer | 15% water | Paddle |
| Exterior Paint | 10% water | Drill Mixer |
Proper thinning and mixing optimize paint viscosity for a flawless spray, and understanding the contrast ratio of your projector can help ensure your images are vivid and detailed.
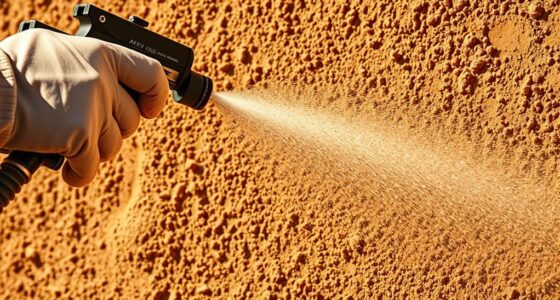
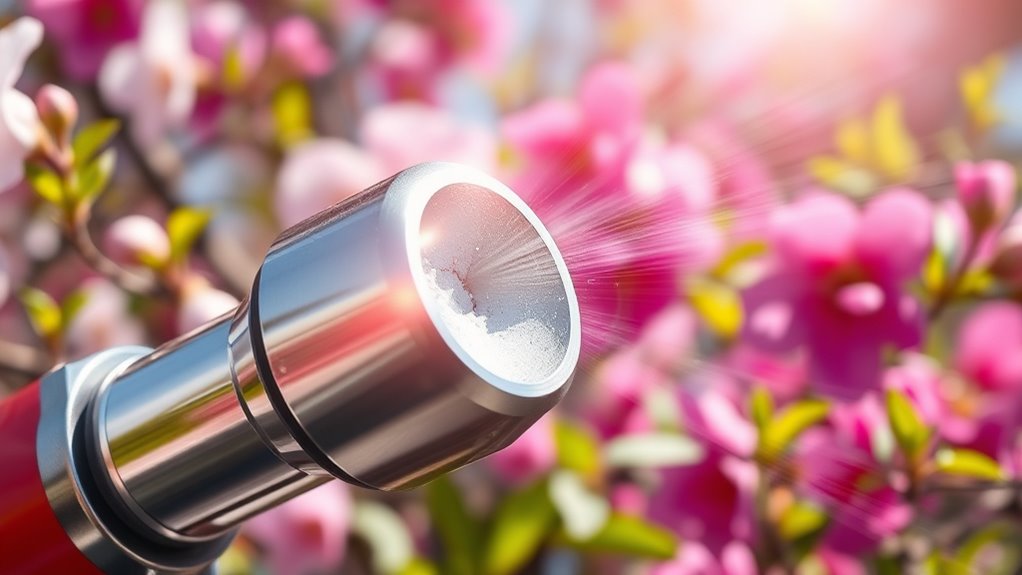
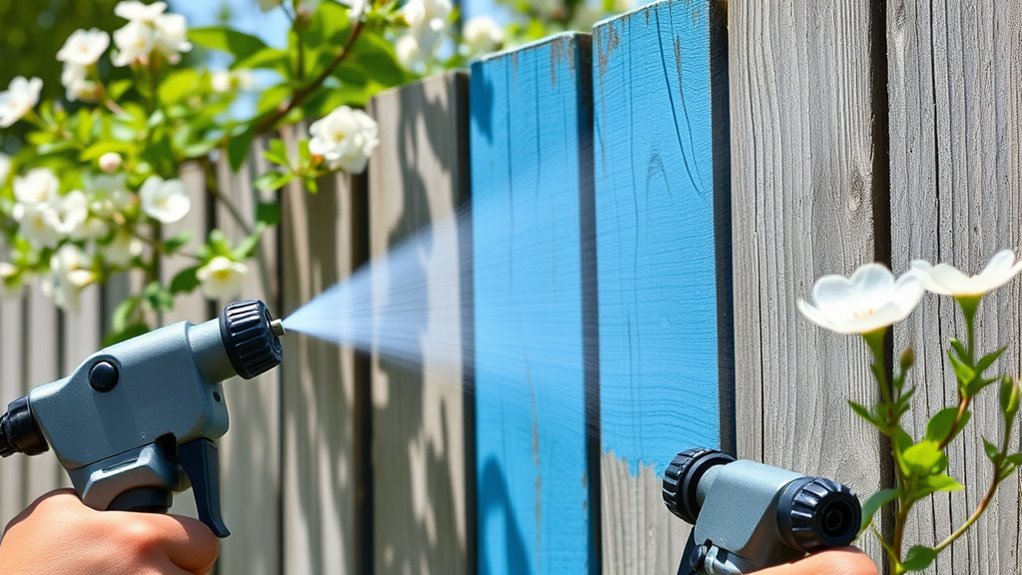
Testing Your Spray Pattern and Adjustments
Before starting your project, inspect your spray pattern to guarantee even coverage. Adjust your pressure settings until the spray is consistent and smooth. Always test on scrap material first to confirm your adjustments produce the desired results. Being aware of the caffeine content in espresso can help you plan your work schedule and avoid overstimulation during busy projects.
Inspect Spray Consistency
Ensuring your spray pattern is consistent is crucial for achieving a smooth, even coating. To inspect this, hold the spray gun at a steady distance from a test surface and activate the sprayer. Look for uniform coverage without drips or thin spots. Pay close attention to the spray pattern; it should be symmetrical and even across the entire area. Check if the nozzle size matches the recommended specifications for your project, as an incorrect size can cause uneven spray. If the pattern appears inconsistent, adjust the nozzle or replace it if necessary. Consistent spray pattern ensures your finish is professional-looking and saves you time correcting mistakes later. Regular inspection and adjustments keep your project on track and produce the best results. Additionally, verifying that your tip size is appropriate for your paint viscosity can significantly improve spray consistency and finish quality.
Fine-Tune Pressure Settings
Fine-tuning your pressure settings is essential for achieving an even spray pattern. Proper pressure calibration ensures consistent coverage, preventing drips or uneven coats. To optimize your spray, consider these steps:
- Adjust your pressure based on the manufacturer’s recommendations for your nozzle selection.
- Test spray on a scrap surface, observing the pattern’s uniformity.
- Fine-tune pressure until the spray is steady without overspray or sputtering.
- Recheck pressure calibration after initial adjustments, making certain settings hold during operation.
- Regularly inspecting and maintaining your sprayer’s pressure control components can help sustain optimal performance.
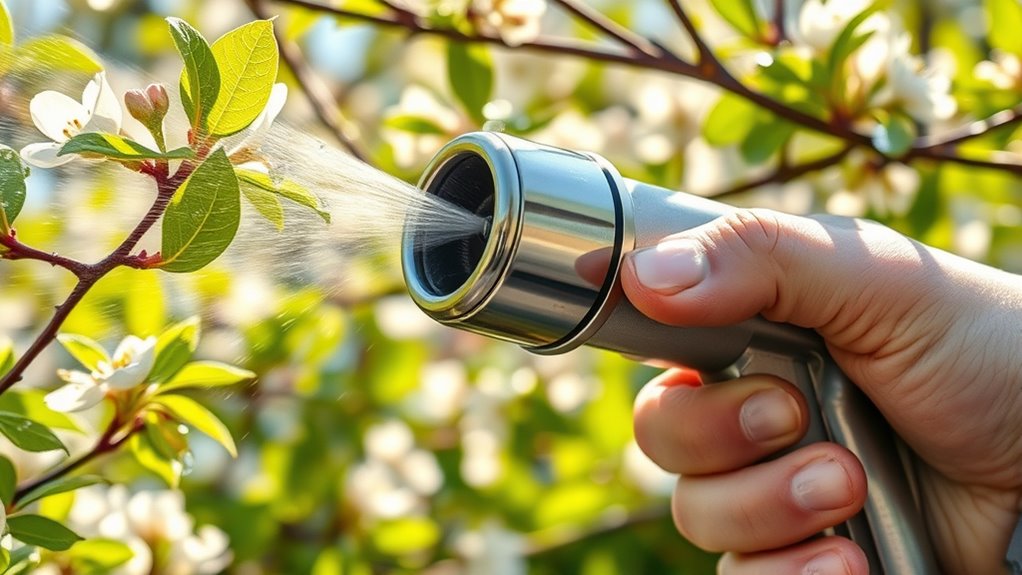
Test on Scrap Material
Testing your spray pattern on scrap material is a crucial step to verify your adjustments and guarantee even coverage. This allows you to check for consistent spray width, pattern shape, and paint flow before tackling your project. Pay attention to color matching, especially if you’re blending new paint with existing colors or touch-ups. Make sure your adjustments produce a uniform finish that blends seamlessly. Weather considerations, like wind or humidity, can affect how the paint sprays and dries, so test under similar conditions to your project day. Adjust your pressure and spray pattern as needed, then run a few more tests until you’re confident. Taking these steps helps prevent costly mistakes, ensures a professional look, and makes your spring sprucing up more efficient. Proper surface preparation is also essential for achieving a smooth, durable finish.
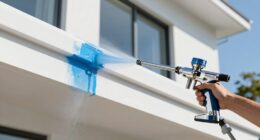
Applying Paint or Stain With Consistency and Technique
To get a smooth, professional finish, you need to maintain a steady paint flow throughout your spray. Using proper technique guarantees even coverage and reduces overspray or drips. Focus on consistent movement and pressure to achieve the best results. Additionally, paying attention to lighting conditions can help you spot missed spots or uneven areas during application.
Consistent Paint Flow
Maintaining a steady paint flow is essential for achieving a smooth, professional finish when using an airless sprayer. To keep flow consistent, consider these tips:
- Check your paint viscosity regularly; if it’s too thick, thin it out for better flow.
- Keep your nozzle clean to prevent clogging, which disrupts steady application.
- Maintain a consistent spray distance from the surface to avoid uneven coverage.
- Adjust pressure settings to match the paint type and viscosity, ensuring a smooth spray.
Proper Technique Application
Applying paint or stain with consistency and proper technique is key to achieving a professional-looking finish. To do this, focus on your brush techniques to ensure smooth, even coverage, especially when blending edges or touching up areas. Keep your strokes steady and maintain a consistent speed to prevent streaks or uneven layers. When working with multiple colors, pay close attention to color matching, blending edges seamlessly to avoid noticeable progressions. Use the airless sprayer at a steady pace, overlapping each pass slightly to create a uniform coat. Practice proper technique by holding the sprayer at the right distance and maintaining a consistent motion. Additionally, proper filter maintenance is essential for optimal airless sprayer performance, ensuring smooth operation and a high-quality finish. This disciplined approach guarantees your project looks polished, with no missed spots or uneven texture.
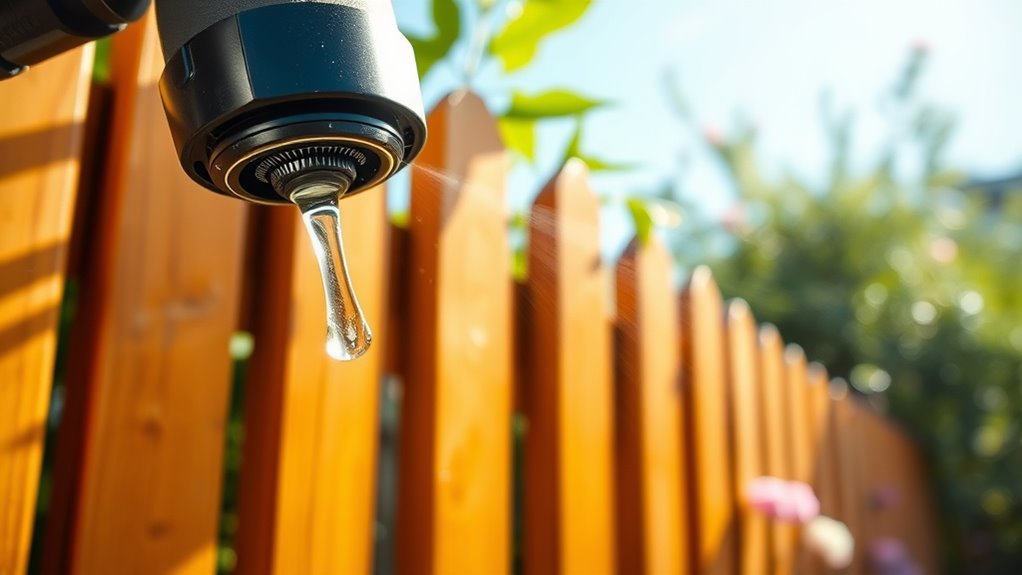
Managing Overlaps and Avoiding Drips

When using an airless sprayer, managing overlaps and avoiding drips is essential for a smooth, professional finish. Proper spray pattern overlap ensures even coverage without excess buildup. To prevent drips, follow these drip prevention techniques:
- Maintain a consistent distance from the surface to control spray pattern overlap.
- Use slow, steady strokes to avoid over-application at edges.
- Overlap each pass by about 50% to ensure seamless coverage.
- Watch for signs of runs or drips and back off slightly on pressure if needed.
- Adjusting tuning of the sprayer can also improve spray consistency and reduce over-application.
These steps help you master spray pattern overlap, reducing the risk of drips and uneven spots. Focusing on these details guarantees a clean, polished look on your post-winter project.
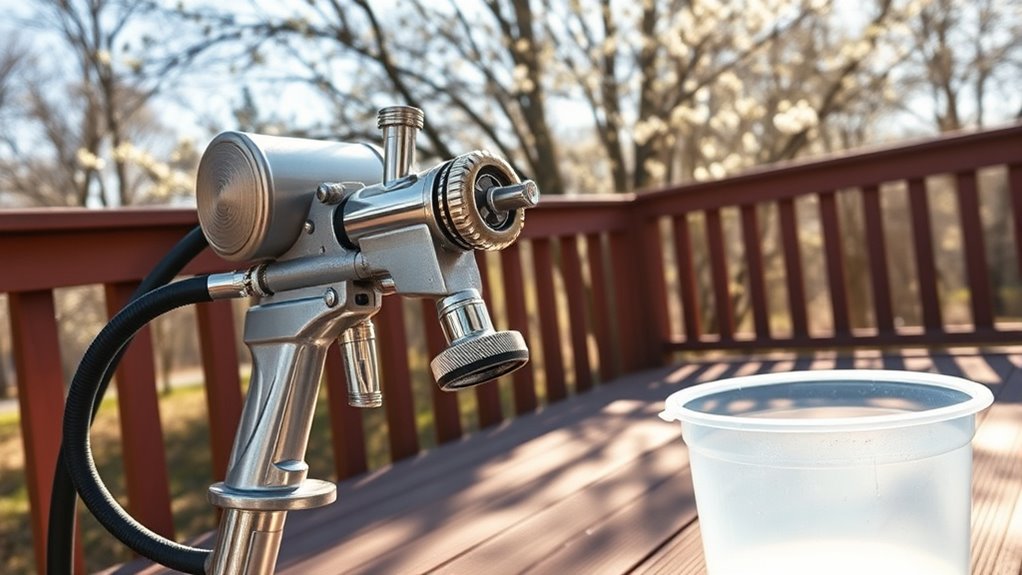
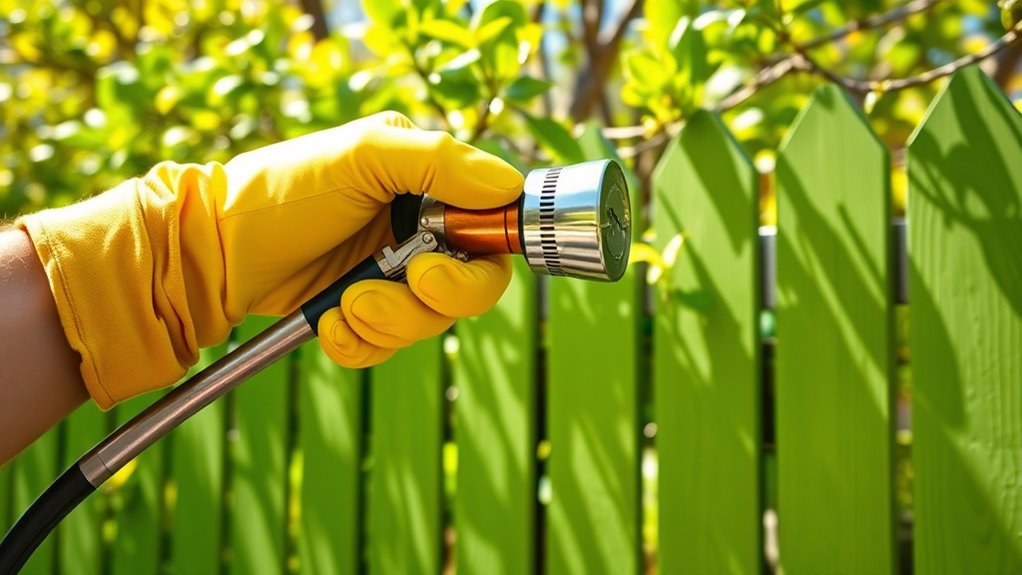
Cleaning and Maintaining Your Airless Sprayer
Proper cleaning and maintenance of your airless sprayer guarantee it performs reliably and lasts longer. After each project, flush the system with water or the appropriate solvent to clear paint residue. Check the paint viscosity before spraying to ensure it flows smoothly; thick paint can clog the nozzle, affecting spray quality. Regularly calibrate your airless sprayer to maintain consistent coverage and spray pattern. Inspect hoses, filters, and seals for wear or damage, replacing parts as needed. Clean the spray tip thoroughly to prevent clogs and ensure even application. Properly storing the sprayer in a clean, dry area helps prevent rust and corrosion. Consistent maintenance keeps your equipment in top shape, saving you time and money on future projects.
Safety Tips for a Smooth Spraying Experience
Have you taken steps to guarantee your safety before starting to spray? Ensuring a smooth spraying experience starts with proper precautions. First, always wear personal protective equipment like masks, goggles, and gloves to protect against fumes and splatters. Second, make sure your spray area is well-ventilated to disperse fumes safely. Third, double-check your equipment for leaks or damage to prevent accidents. Fourth, keep a clean workspace free of tripping hazards to avoid falls. By following these steps, you minimize risks and ensure a safer project. Remember, safety isn’t just about protecting yourself—it’s about creating a smooth, efficient spraying process that delivers the best results. Proper gear for every prepper can significantly enhance your safety and effectiveness. Prioritize safety, and your post-winter projects will be a success.
Frequently Asked Questions
How Often Should I Replace the Spray Tip?
You should replace your spray tip when you notice signs of wear or reduced spray quality, typically every few projects. Regular spray tip maintenance helps prevent clogs and uneven coating. When choosing the right tip, consider the material and project type. Inspect the tip frequently for damage or buildup, and replace it promptly to guarantee peak performance. Proper maintenance keeps your sprayer working smoothly and delivers the best results every time.
What Environmental Conditions Affect Spray Results?
Ironically, the weather seems to care more about your spray results than you do. Climate considerations like humidity, temperature, and wind can wreak havoc on your finish. High humidity can cause drips, while wind may create overspray. Before you start, guarantee proper surface preparation and choose ideal conditions. Keep an eye on weather forecasts, and don’t rush—your project’s success depends on environmental factors beyond your control.
Can I Use Latex Paint With an Airless Sprayer?
Yes, you can use latex paint with an airless sprayer, but you should prioritize painting safety by wearing proper gear. Make sure to check the paint’s compatibility with your equipment, and always follow manufacturer instructions. Regular equipment maintenance is essential—clean your sprayer thoroughly after use to prevent clogs and damage. Proper preparation guarantees smooth application and prolongs your sprayer’s lifespan.
How Do I Prevent Clogging During Spraying?
Think of your sprayer like a well-oiled machine; to keep it running smoothly, you must prevent clogging. Regular nozzle maintenance and filter cleaning act as essential oil changes, ensuring no blockages hinder your progress. Always check for debris before spraying, and clean filters often. By maintaining these parts diligently, you’ll spray seamlessly, avoiding interruptions and achieving a flawless finish every time.
What Are Common Troubleshooting Signs During Spraying?
During spraying, you might notice uneven paint flow, sputtering, or loss of pressure, which are common troubleshooting signs. These issues often indicate the need for sprayer maintenance or adjustments in paint consistency. Check for clogs or debris in the nozzle, and make certain the paint isn’t too thick. Regular maintenance keeps your sprayer operating smoothly, preventing problems and achieving a professional finish every time.
Conclusion
With your sprayer tuned and your skills sharpened, you’ll transform your projects into works of art, like a painter wielding a fine brush. Embrace each spray stroke with confidence, letting the freshly coated surfaces gleam like a springtime bloom. Remember, patience and preparation are your paintbrush and palette—guiding you to a flawless finish that turns your space into a masterpiece. Happy spraying!