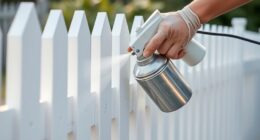
Have you ever thought about the best way to use an airless sprayer with oil-based paint? Well, look no further, because I’m here to provide you with all the essential information.
In this article, I will guide you through the step-by-step process of preparing your paint, choosing the right nozzle size, and testing your sprayer settings. I’ll also share proper techniques, safety precautions, and tips for maintaining your sprayer.
With my detailed and informative approach, you’ll be able to achieve professional-looking results with your airless sprayer and oil-based paint. Whether you’re a seasoned painter or just starting out, this article will equip you with the expertise to tackle any project.
So, let’s dive in and discover the best method for running oil-based paint through an airless sprayer!
Key Takeaways
- Choosing the right nozzle size based on the thickness of the oil-based paint
- Testing and adjusting the sprayer settings for a smooth spray pattern
- Cleaning and maintaining the sprayer thoroughly to ensure optimal performance
- Following safety measures and wearing protective gear while working with oil-based paint and an airless sprayer
Prepare Your Paint Properly
Get ready to have a blast as we dive into the best way to prepare your oil-based paint for a flawless finish with your airless sprayer!
Pre-treating surfaces is crucial when it comes to using an airless sprayer with oil-based paint. Make sure to clean the surface thoroughly and remove any dirt or grime. If there are any imperfections, such as cracks or holes, patch them up before applying the paint.
Additionally, choosing the right paint additives can greatly improve the performance of your oil-based paint. Additives like flow control agents can help prevent clogging in the sprayer and ensure a smooth application.
Once you have pre-treated the surface and added the necessary additives, it’s time to move on to the next step: choosing the right nozzle size for your airless sprayer.
Choose the Right Nozzle Size
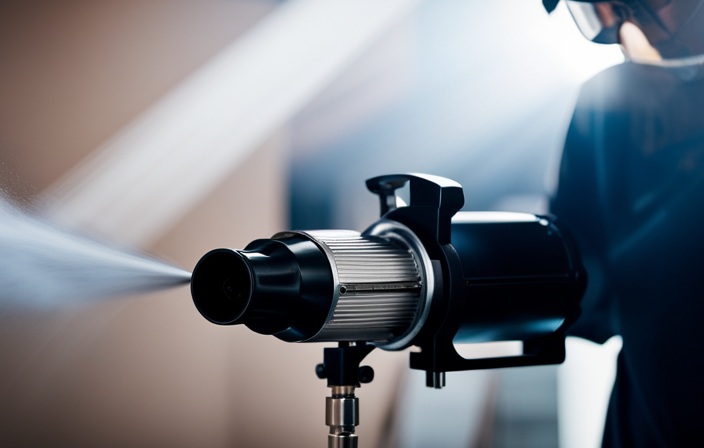
When selecting the nozzle size for your airless sprayer, imagine the smooth and precise flow of paint, creating a beautiful and even coat on your surface. Choosing the right nozzle size is crucial for achieving optimal results with oil-based paint.
For thinner oil-based paints, it’s recommended to use a smaller nozzle size, such as a 0.013 or 0.015. This’ll help prevent clogs and ensure a smooth spray pattern. However, if you’re using a thicker oil-based paint, you may need a larger nozzle size, like a 0.017 or 0.019, to allow for proper atomization.
It’s important to test your sprayer settings before starting your project to ensure everything is working smoothly. By following these tips for thinning oil-based paint and troubleshooting common paint spraying issues, you can achieve professional-looking results.
Now, let’s move on to testing your sprayer settings.
Test Your Sprayer Settings
Now it’s time to put my sprayer to the test and see how well it performs with different settings.
When testing my airless sprayer settings for oil-based paint, I start by adjusting the pressure. I gradually increase the pressure until I achieve a smooth and even spray pattern. It’s important to regularly inspect the spray pattern to ensure it’s consistent and not too heavy or too light. If the pattern is uneven, I adjust the pressure accordingly.
Additionally, I test different nozzle sizes to find the one that provides the best coverage and atomization for my specific project. By testing different settings and troubleshooting any issues, I can ensure that my sprayer is working properly and ready for use.
Now, let’s move on to the next section and learn about using proper technique.
Use Proper Technique
When using an airless sprayer, it’s crucial to maintain a consistent distance from the surface you’re painting. This ensures an even and smooth application of the paint.
Additionally, overlapping each pass is essential for achieving complete coverage and avoiding any missed spots.
By following these two key points, you can achieve professional-looking results with your airless sprayer.
Maintain a Consistent Distance from the Surface
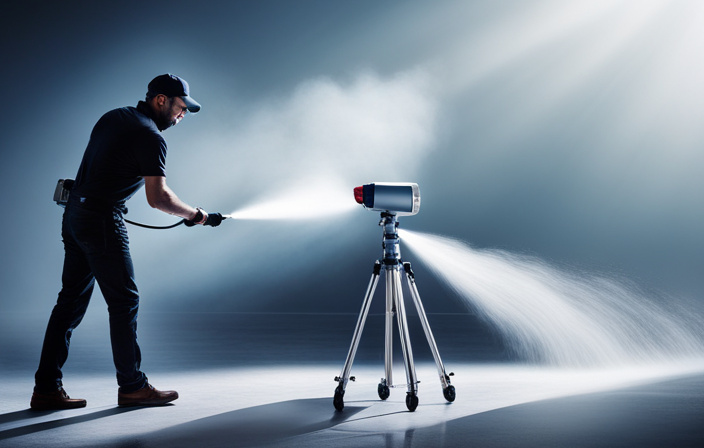
To achieve a smooth and even finish, keep your sprayer nozzle a steady distance from the surface as you effortlessly glide across, creating a flawless coat of oil-based paint. Maintaining consistent pressure is crucial to ensure an even application.
By keeping a consistent distance, typically around 12 to 18 inches, you can control the amount of paint being sprayed and prevent overspray. This will help you avoid wasting paint and minimize any potential mess.
Additionally, maintaining a steady distance allows the paint to adhere evenly, preventing any blotchiness or streaks. As you maintain this distance, remember to overlap each pass for even coverage, ensuring that no areas are missed.
This technique will result in a professional-looking finish with no visible lines or inconsistencies.
Overlap Each Pass for Even Coverage
Ensure a flawless and seamless finish by effortlessly gliding your sprayer nozzle across the surface, overlapping each pass to achieve even coverage that’ll leave your audience in awe. When using an airless sprayer for oil-based paint, the key to achieving a smooth finish lies in your overlap techniques.
As you move the sprayer across the surface, make sure to overlap each pass by about 50%. This ensures that every inch of the surface receives an even coat of paint, preventing any streaks or unevenness. By overlapping each pass, you create a uniform layer that hides any imperfections and creates a professional-looking finish.
Once you’ve mastered this technique, you can confidently move on to the next step of the process, which is cleaning your sprayer thoroughly.
Clean Your Sprayer Thoroughly
First, make sure you clean your sprayer thoroughly to avoid any paint residue. Cleaning an airless sprayer is an essential part of the painting process, and it ensures that your equipment is in good working condition.
Here are four important steps to follow during the cleaning process:
-
Flush with solvent: Start by flushing the sprayer with an appropriate solvent to remove any remaining paint. This helps prevent clogs and ensures a smooth flow of paint during your next use.
-
Disassemble and clean: Take apart the spray gun, nozzle, and other removable parts. Clean them thoroughly using a brush, solvent, and water. Pay close attention to any areas where paint may have accumulated.
-
Safety measures: Wear protective gloves and eyewear while cleaning to prevent contact with harmful chemicals. Follow the manufacturer’s instructions for proper handling and disposal of cleaning agents.
-
Rinse and dry: After cleaning, rinse all the parts with clean water to remove any remaining solvent or cleaning solution. Allow them to air dry completely before reassembling the sprayer.
Once your sprayer is clean, you can proceed to the next step of using high-quality paint and additives for a professional finish.
Use High-Quality Paint and Additives
Once your sprayer’s squeaky clean, it’s time to step up your painting game with top-notch paint and additives that’ll give your project a professional touch.
When using oil-based paint with a sprayer, it’s important to choose the right thinning agent for optimal performance. Oil-based paints are generally thicker than latex paints, so thinning them is necessary to achieve a smooth and even finish.
The best thinning agent for oil-based paint is mineral spirits or paint thinner. These solvents help reduce the viscosity of the paint, making it easier to spray through the nozzle of the airless sprayer. However, it’s important to follow the manufacturer’s instructions for thinning ratios, as adding too much solvent can affect the color and drying time of the paint.
So, before you start spraying, make sure you have the right thinning agent and follow the recommended ratios for the best results.
Now, let’s move on to the next section about taking safety precautions.
Take Safety Precautions
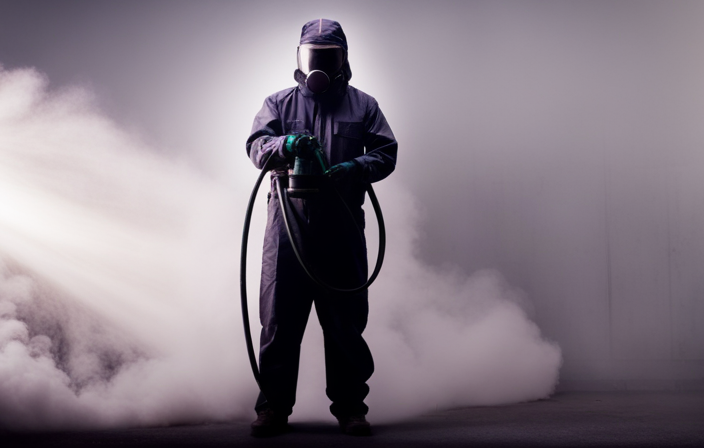
To protect yourself and ensure a successful painting experience, it’s crucial to prioritize safety precautions when using a sprayer. Safety equipment essentials include wearing a respirator mask, goggles, and gloves to protect against harmful fumes and overspray.
It’s also important to work in a well-ventilated area or use a ventilation fan to minimize exposure to paint fumes. Another common safety mistake to avoid is not properly securing the paint can or container, which can lead to spills and accidents.
Additionally, make sure to keep the sprayer nozzle pointed away from yourself and others to avoid any potential injuries. By taking these safety precautions, you can confidently and safely operate the sprayer.
Now, let’s talk about how to practice patience and attention to detail for optimal results.
Practice Patience and Attention to Detail
Remember, achieving professional-quality results with your paint sprayer requires patience and a keen attention to detail. When working with oil-based paints, it is important to follow a few tips for achieving a smooth finish. First, make sure to strain the paint before pouring it into the sprayer to remove any impurities that could clog the nozzle. Additionally, thinning the paint to the manufacturer’s recommended viscosity will help it flow smoothly through the sprayer. Another common mistake to avoid is spraying too quickly or too close to the surface, as this can result in drips and uneven coverage. Instead, take your time and apply multiple thin coats, allowing each coat to dry before adding another. Lastly, clean your sprayer thoroughly after each use to prevent buildup and maintain its performance. Transitioning into the next section, it is crucial to maintain your sprayer regularly to ensure its longevity and functionality.
Maintain Your Sprayer Regularly
To maintain your sprayer and ensure its longevity, it’s crucial to follow the manufacturer’s maintenance instructions.
Regularly cleaning and lubricating the necessary parts will keep your sprayer running smoothly and prevent any unnecessary damage.
Additionally, properly storing your sprayer after each use is essential in preventing any potential damage from occurring due to exposure or mishandling.
Follow the Manufacturer’s Maintenance Instructions
Ensure you carefully follow the manufacturer’s maintenance instructions for running oil-based paint through your airless sprayer, so you can achieve professional results and avoid any potential damage.
Here are three essential steps to consider when preparing your paint and selecting the nozzle:
-
Prepare your paint: Oil-based paint can be thick, so it’s crucial to strain it before pouring it into the sprayer. This step helps remove any impurities or clumps that could clog the nozzle and affect the paint’s application.
-
Nozzle selection: Choosing the right nozzle size is essential for optimal paint flow and coverage. Different nozzle sizes provide different spray patterns and fan widths, so refer to the manufacturer’s instructions or consult with professionals to select the appropriate nozzle for your specific project and paint viscosity.
-
Clean and maintain the nozzle: After each use, thoroughly clean the nozzle to prevent dried paint from clogging it. Follow the manufacturer’s instructions for disassembling, cleaning, and reassembling the nozzle to ensure proper functioning.
By following these maintenance instructions, you can ensure that your airless sprayer runs smoothly and efficiently. Properly maintaining your sprayer will help prevent any potential damage.
Store Your Sprayer Properly to Prevent Damage
Properly storing your sprayer is crucial in preventing any potential damage and ensuring its longevity. By taking a few simple steps, you can prevent clogging and extend the lifespan of your airless sprayer. One key aspect of storing your sprayer is cleaning it thoroughly after each use. This involves flushing the system with an appropriate cleaning solution to remove any leftover paint or debris. Additionally, it is important to properly lubricate the sprayer’s moving parts to prevent rust and corrosion. Lastly, store your sprayer in a clean and dry environment, away from extreme temperatures. To help you remember these important steps, here is a handy table:
| Steps for Proper Sprayer Storage |
|---|
| Clean thoroughly after use |
| Lubricate moving parts |
| Store in a clean, dry environment |
Remember, proper storage not only prevents damage but also ensures optimal performance. If you encounter any issues or are unsure about the storage process, seek professional advice to avoid any potential problems in the future.
Seek Professional Advice if Needed
If you’re really struggling with running oil-based paint through an airless sprayer, don’t be afraid to reach out to a professional for help. Seeking professional advice can be incredibly valuable when it comes to troubleshooting common issues with your sprayer.
These professionals have extensive experience and knowledge in dealing with various types of sprayers and can provide you with expert guidance. They can help you identify any potential problems or issues that may be hindering the smooth operation of your sprayer with oil-based paint. Additionally, they can offer solutions and tips to ensure that you achieve the best results.
By consulting a professional, you can save time, money, and frustration, as they can provide you with the necessary expertise to overcome any challenges you may be facing.
Frequently Asked Questions
Can I use water-based paint in an airless sprayer instead of oil-based paint?
Yes, you can use water-based paint in an airless sprayer instead of oil-based paint. Water-based paint is easier to clean up, has less odor, and dries faster. However, oil-based paint provides a more durable and smoother finish.
How do I know if I have chosen the right nozzle size for my airless sprayer?
To choose the right nozzle size for your airless sprayer, consider the paint type, surface, and desired finish. Consult the sprayer’s manual for recommendations. After use, clean the sprayer thoroughly to prevent clogs and maintain optimal performance.
Is it necessary to test my sprayer settings before starting the painting job?
It is crucial to test your sprayer settings before starting a painting job. Understanding the viscosity of oil-based paint is important for proper application. After use, clean and store the airless sprayer following manufacturer guidelines to ensure its longevity.
Are there any specific safety precautions I should take while using an airless sprayer with oil-based paint?
When using an airless sprayer with oil-based paint, it is important to follow safety guidelines. Ensure proper ventilation in the area to prevent inhalation of fumes. Additionally, wear protective clothing, gloves, and a mask to protect against any potential hazards.
How often should I seek professional advice or assistance for maintaining my airless sprayer?
I seek professional advice or assistance for maintaining my airless sprayer whenever I encounter common issues. Troubleshooting problems can be done by following specific steps and guidelines provided by experts. Using an airless sprayer for painting projects offers numerous benefits.
Conclusion
In conclusion, running oil-based paint through an airless sprayer can be a challenging task that requires proper preparation, technique, and maintenance. While some may argue that it’s easier and more convenient to use a brush or roller for painting, using an airless sprayer offers numerous advantages such as faster application, smoother finish, and better coverage.
By following the steps outlined in this article and taking necessary safety precautions, you can achieve professional-looking results with your airless sprayer. So, don’t be afraid to give it a try and enjoy the efficiency and effectiveness of this method.
