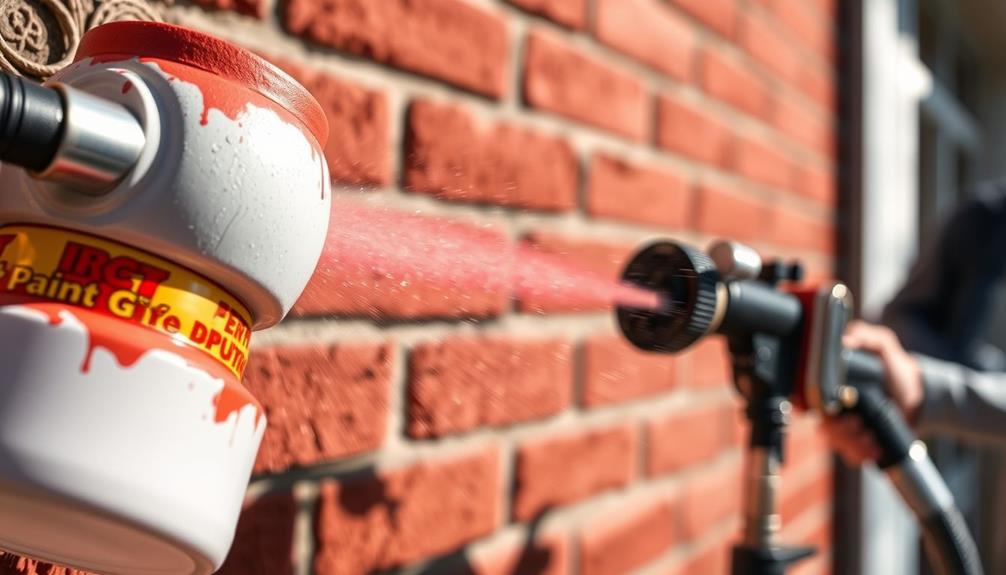
When you're painting brick exteriors with an airless paint sprayer, start by thoroughly cleaning the surface using a pressure washer to remove dirt and mildew. Choose the right spray tip size (519-525) for even coverage, and maintain a distance of 8 to 12 inches from the wall while spraying. Overlap your spray patterns by 50% to avoid missed spots. Make sure to fill cracks and gaps with masonry filler or caulk before you begin. With the right technique, you'll achieve a smooth finish. There's plenty more to explore about maximizing your painting project's success.
Key Takeaways
- Use a high-pressure airless paint sprayer for smooth, even coverage on textured brick surfaces, ensuring good adhesion.
- Maintain a distance of 8 to 12 inches from the surface and overlap spray patterns by 50% for uniform application.
- Thoroughly clean the brick with a pressure washer and fill any cracks to ensure optimal paint adhesion before spraying.
- Choose the correct spray tip size (519-525) for standard paints or larger sizes for specialty masonry paints to enhance results.
- Follow proper clean-up procedures and store equipment in a dry area to maintain its longevity for future projects.
Project Overview
When tackling a brick exterior painting project, you'll often find that airless paint sprayers are your best ally. These sprayers allow you to efficiently cover large surfaces, making them ideal for brick, which has a textured surface that can be challenging with traditional methods.
By using high-pressure airless technology, you can achieve a smooth, even finish that adheres well to the brick. Additionally, understanding airless paint sprayer basics can enhance your technique and results, guaranteeing a professional touch.
Before you start, proper preparation is vital. Clean the brick facade thoroughly and fill any holes to guarantee peak adhesion. This step will help your paint stick better and provide a professional look.
Choosing the right spray tip is also important. For standard paints, a spray tip size between 519-525 typically works well, while larger sizes are better suited for specialty masonry paints. This selection will guarantee you get the desired coverage even on the rough surface of your exterior walls.
Don't forget to use a long hose with your sprayer. This makes accessing hard-to-reach areas easier while minimizing overspray and cleanup efforts.
With the right tools and preparation, your brick painting project can be both efficient and successful.
Essential Tools and Equipment
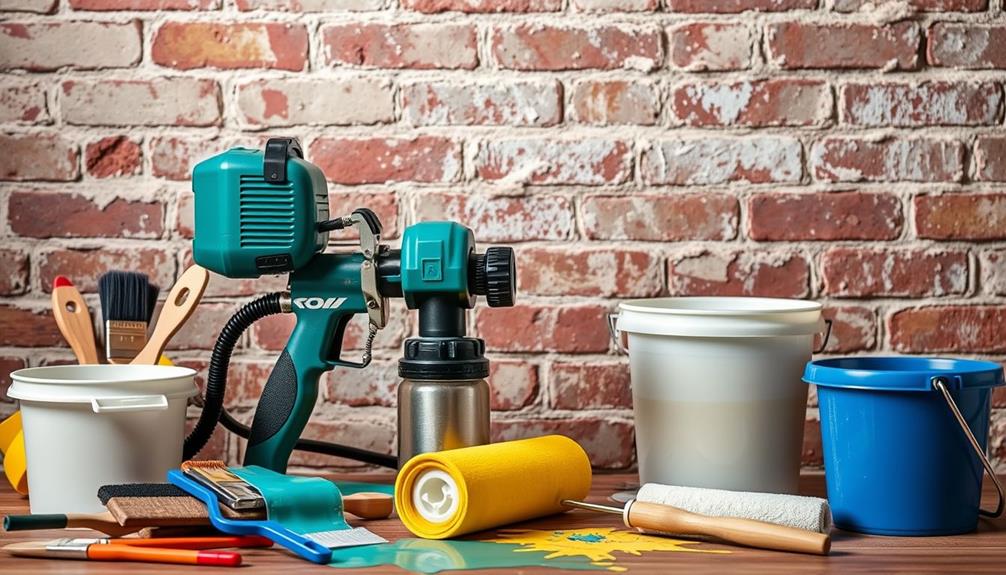
To achieve a professional finish on brick exteriors, gathering the right tools and equipment is key. A high-quality airless paint sprayer is essential for getting that smooth, even application on the textured surface of the brick. Brands like Graco or Wagner are great options to take into account.
Proper preparation of the surface can greatly affect the durability of your paint job, much like how proper disposal practices can prevent plumbing issues down the line.
Here's a quick list of essential tools you'll need:
- Pressure Washer: Start by cleaning the brick surface with a pressure washer. This removes dirt, mildew, and debris, ensuring better paint adhesion.
- 5-Gallon Bucket: Use this to mix paint from multiple containers. Consistency in color is vital for a uniform look across the entire surface.
- Pre-Taped Plastic Sheeting: Protect your windows and doors from overspray. This will save you time on cleanup and help maintain a clean finish around your painted areas.
Selecting the right spray tip size (typically 519-525 for dispersion paints) will also enhance your results.
With these tools in hand, you're well-equipped to tackle your brick exterior painting project confidently.
Surface Preparation Steps
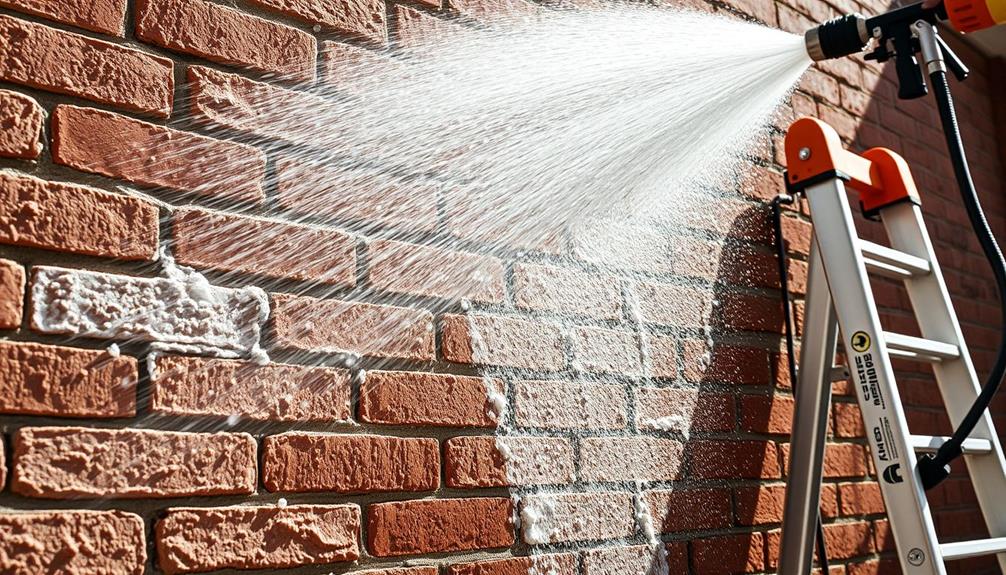
How do you guarantee your brick surface is ready for painting? Start with thorough surface preparation.
Begin by power washing the entire exterior to eliminate dirt, mildew, and any peeling paint. For best results, consider using a high-quality grout cleaner to make sure all grime is removed. Allow the wall to dry for a few days before you engage in the painting process.
Next, inspect the brick for common types of damage like cracks or holes. Fill these imperfections with a suitable masonry filler to create a smooth surface for using paint.
After that, sand down any rough areas to make certain an even texture across the surface.
Don't forget to caulk any gaps between bricks or around windows and doors, as this prevents paint from seeping through and guarantees a neat finish.
To protect areas like windows and trim, cover them with pre-taped plastic sheeting, which simplifies the masking process and guards against overspray.
Spraying Techniques
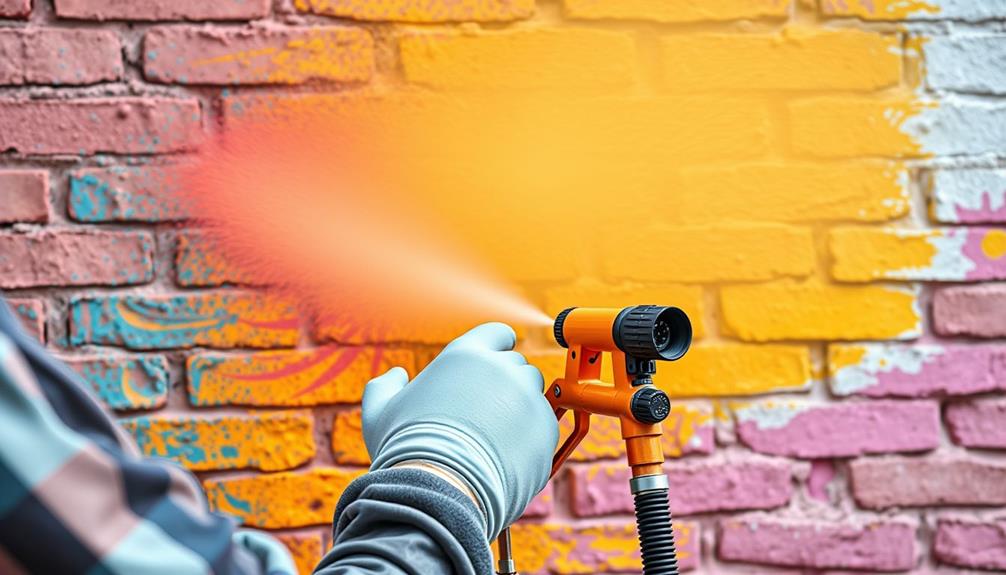
When spraying brick exteriors, it's essential to maintain an ideal distance of about 12 inches from the surface to guarantee even coverage.
To achieve the best results, consider utilizing a home cleaning service for preparation and cleanup tasks.
You'll also want to overlap your spray patterns slightly to avoid any missed spots or uneven application.
Optimal Distance for Spraying
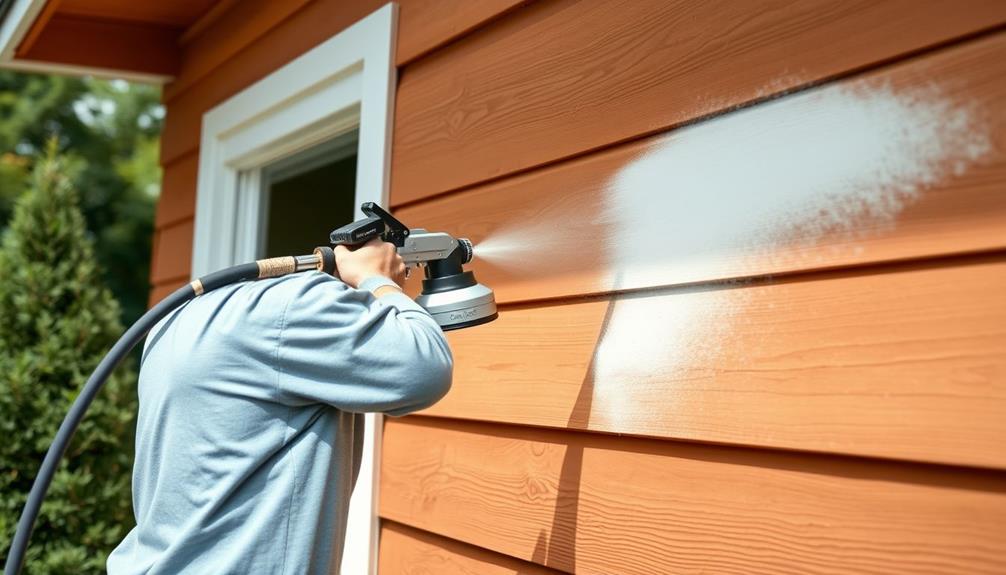
Getting the ideal distance while spraying is essential for achieving a professional finish on brick exteriors. Maintaining a consistent distance of 8 to 12 inches from the surface guarantees an even coat without excessive overspray. This ideal distance helps you make the most of your airless sprayers and results in a smoother finish.
Additionally, using the right tip size can enhance your ability to achieve that perfect finish, especially when working on textured surfaces like brick effective filtration and pump protection.
Here are some tips for perfecting your spraying technique:
- Keep the spray gun perpendicular to the wall. This position prevents uneven coverage and promotes a uniform application.
- Start the gun motion before pulling the trigger. This technique helps avoid paint drips and maintains a steady flow during your painting job.
- Adjust your distance based on texture. If you're working with rough brick, a closer distance may be necessary for better paint penetration.
Overlap Spray Patterns
Achieving an even coat on brick exteriors heavily relies on effective overlap spray patterns. When you're spraying, aim to overlap each pass by about 50%. This technique guarantees even coverage and prevents unsightly streaks on the brick surface.
Maintaining a consistent speed is vital, so keep your distance at 8-10 inches from the wall to achieve a uniform coat and avoid areas with heavy paint accumulation. Additionally, maintaining good air quality in your workspace can help prevent paint fumes from accumulating, making it essential to take into account using tools like ozone air purifiers to neutralize any pollutants present.
Before you start, remember to initiate the spray motion before pulling the trigger and finish after releasing it. This practice minimizes drips and contributes to a professional finish. Use a fan pattern and adjust your nozzle size according to the paint type and surface texture for best results.
Don't forget to practice on inconspicuous areas first. This allows you to refine your technique and guarantee proper overlap before tackling the main application on your brick exterior.
Mastering overlap spray patterns won't only enhance your efficiency but also elevate the overall quality of your paint job, giving your brick a flawless and polished look.
Clean-Up Procedures
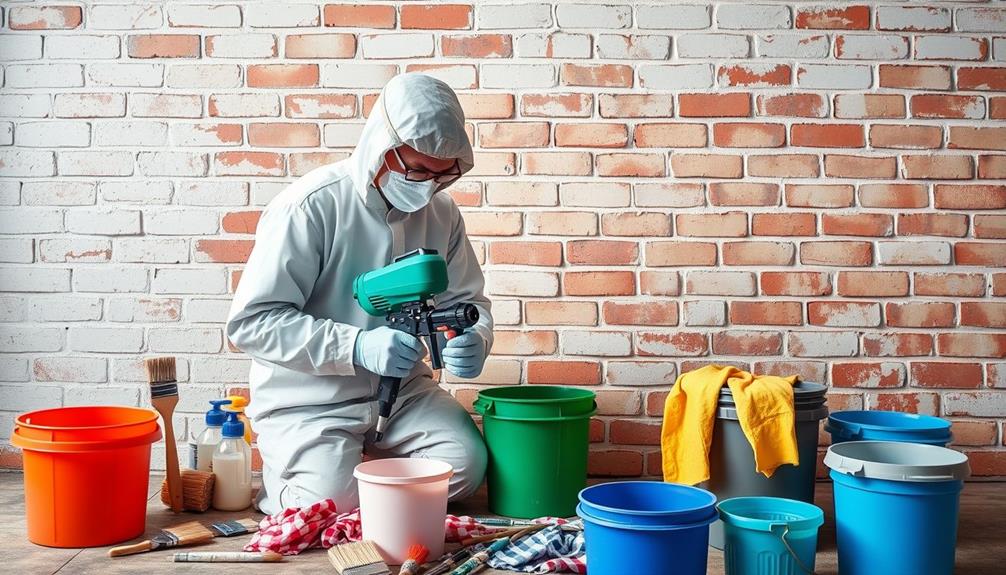
After finishing your painting project, cleaning the airless paint sprayer is vital to prevent clogs and guarantee it performs well in the future.
Start by following the manufacturer's instructions for cleaning, which is imperative for maintaining your equipment's longevity. This makes certain that all paint residues are removed, keeping your sprayer in prime condition for the next job.
Regular maintenance is important, much like how home security systems require routine checks for peak performance.
Next, carefully remove the masking tape and coverings once the paint is dry. This step is essential for achieving clean edges and avoiding peeling on your freshly painted surfaces.
Here's a quick clean-up checklist:
- Clean Up Overspray: Use a suitable solvent to remove any overspray from surrounding areas before it dries, preventing permanent stains.
- Dispose of Leftover Paint: Adhere to local regulations when disposing of any leftover paint, ensuring responsible waste management.
- Store Your Equipment: Store the sprayer and all painting supplies in a dry, protected area. This helps prolong their lifespan and keeps them ready for future use.
Future Painting Projects
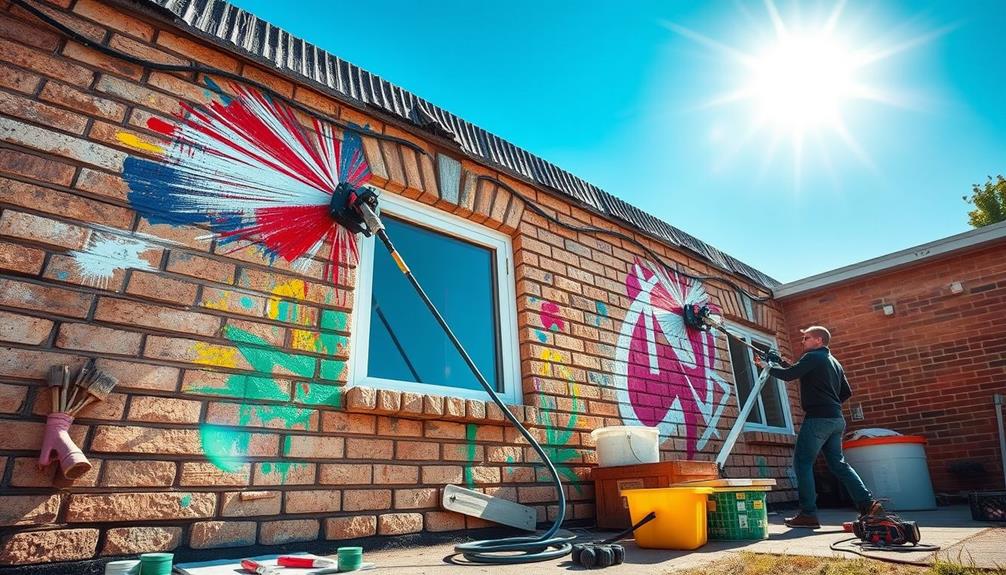
As you plan your future painting projects, think about upcoming home improvements that can elevate your exterior's look.
Consider how seasonal HVAC maintenance is essential for keeping your indoor environment comfortable while you focus on your outdoor aesthetics.
Seasonal maintenance is key, so consider how weather changes might impact your updates.
Upcoming Home Improvements
What exciting home improvements are on your horizon?
You've already tackled a painting project using airless sprayers, and now it's time to plan your next moves.
Consider incorporating elements of modern farmhouse decor trends to elevate your home's aesthetic.
Here are three ideas to enhance your home's appeal:
- Upgrade Your Front Door: Consider installing a solid wood door. Sanding and staining it will create a polished finish that boosts curb appeal.
- Install Antique Shutters: After your exterior painting is complete, visit an antique shop to find unique shutters. They'll add authenticity and character to your home's look.
- Refresh Your Landscaping: New plants can breathe life into your yard. Just remember to replace any that didn't fare well in the heat.
Seasonal Maintenance Considerations
When it comes to seasonal maintenance, keeping an eye on your brick exterior can save you from bigger headaches down the line. Regularly inspect for cracks, peeling paint, and mildew, especially during mild weather in spring or fall, as this guarantees ideal paint adhesion.
Additionally, consider enhancing your home's curb appeal with various best window treatments that complement your brick exterior. Before repainting, clean the brick surface with a pressure washer to eliminate dirt and mildew. Make sure it dries completely for at least 48 hours to prevent trapping moisture.
When you're ready to paint, opt for high-quality masonry paint specifically designed for brick. This type of paint offers durability and weather resistance, so you might consider applying a second coat for added protection against seasonal elements.
To maintain your brick's appearance and prevent deterioration, schedule touch-ups and repainting every 5-10 years, depending on your local climate.
Frequently Asked Questions
Can You Use a Sprayer to Paint Exterior Brick?
Yes, you can use a sprayer to paint exterior brick. Just make sure to clean the surface, choose the right tip size, and maintain a consistent distance for even coverage. Test your technique before full application.
Is It Better to Roll or Spray Paint Brick?
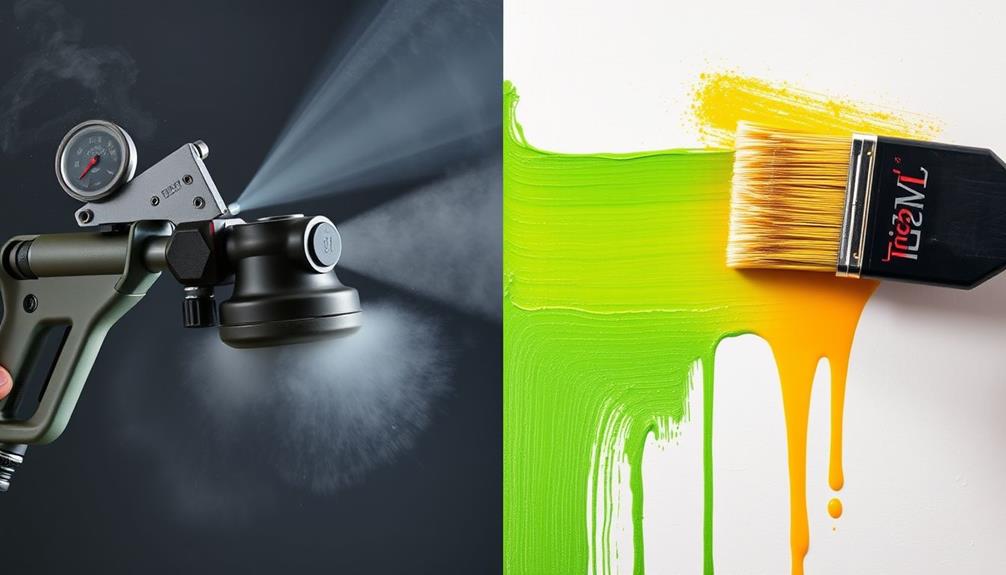
Did you know spraying can cut painting time by up to 50%? When deciding whether to roll or spray paint brick, spraying offers a faster, more uniform finish, especially for textured surfaces and larger areas.
How Do You Thin Exterior Paint for an Airless Sprayer?
To thin exterior paint for an airless sprayer, add 5-10% water based on the paint type. Mix thoroughly, test the viscosity, and strain the paint to guarantee a smooth application without clogs.
What Is the Best Way to Paint Exterior Brick?
You wouldn't believe how easy it is to transform your exterior brick! Just clean it, apply a primer if needed, and use a sprayer for flawless coverage. Finish with a brush for that perfect touch!
Conclusion
To summarize, using airless paint sprayers can cut your painting time by up to 50%, making it a game-changer for brick exteriors. By mastering the techniques outlined in this guide, you'll achieve a smooth, professional finish that'll last for years. Remember, proper surface preparation and clean-up are key to your success. So, get ready to transform your brick surfaces and impress everyone with your newfound skills in your next painting project!
