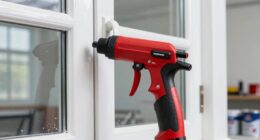
I will never forget the time I tried to paint a piece of furniture using a regular paintbrush. The outcome was a complete disaster, with drips and inconsistent streaks, nothing like the perfectly finished piece I had imagined. It was then that I discovered the amazing advantages of using an airless paint sprayer.
With this powerful tool, I was able to achieve smooth, even coats of paint without any huge drips. In this article, I will share with you the step-by-step process of using an airless paint sprayer on furniture to create a flawless finish.
From gathering the necessary materials to applying a protective finish, I will guide you through each stage, providing precise and detailed instructions along the way.
Say goodbye to messy paintbrushes and hello to drip-free painted furniture that will impress everyone who sees it.
Key Takeaways
- Proper drying time is crucial to minimize drips and achieve an even and professional appearance.
- Applying a protective finish can enhance the durability of the paint and protect the furniture from wear and tear.
- Following the manufacturer’s instructions for applying the protective finish ensures proper application and desired results.
- Consistency in application and quick removal of forming drips are important for achieving a flawless and drip-free finish.
Gather the Necessary Materials
Now that you’ve chosen the perfect airless paint sprayer, it’s time to gather all the necessary materials.
Choosing the right sprayer is crucial to avoid paint splatters and achieve a smooth finish on your furniture. Make sure to select a sprayer with adjustable pressure settings and a nozzle suitable for furniture painting.
Additionally, you’ll need a drop cloth or plastic sheeting to protect your working area from paint drips. Don’t forget to have some painter’s tape on hand to cover any areas you don’t want to paint.
It’s also a good idea to have a paint strainer to remove any impurities from the paint before spraying.
With all the materials gathered, you’re now ready to move on to preparing the furniture for painting.
Prepare the Furniture for Painting
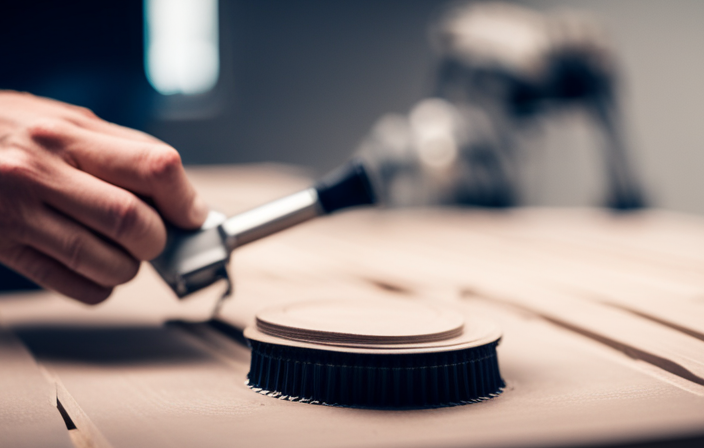
First things first, make sure your furniture is prepped and ready for a flawless paint job. To prepare the surfaces, start by cleaning the furniture thoroughly with a mild detergent and water. Remove any dirt, grease, or old paint using a scrub brush or sponge.
Next, assess the condition of the furniture and determine if any repairs are needed, such as filling in holes or cracks with wood filler. Once the furniture is clean and repaired, it’s time to sand the surfaces. Use a medium-grit sandpaper to gently sand the furniture, creating a smooth and even surface for the paint to adhere to. Pay attention to any rough spots or imperfections and sand them until they are smooth.
Remember to wipe away any dust with a damp cloth before moving on to the next step. By properly preparing the furniture surfaces and using effective sanding techniques, you’ll ensure a professional-looking finish.
Now, let’s move on to choosing the right paint and primer for your project.
Choose the Right Paint and Primer
To ensure a professional-looking finish, it’s important for you to carefully select the appropriate paint and primer for your project.
When choosing the right paint color, consider the type of furniture you’re working with and the desired outcome. For furniture, it’s best to use a high-quality latex or oil-based paint that is durable and easy to clean.
Additionally, using a primer specifically designed for furniture can help ensure better adhesion and smoother coverage.
Tips for achieving a smooth finish include properly preparing the surface by sanding and cleaning it beforehand. Applying thin, even coats of paint with the airless paint sprayer can also help prevent drips and ensure a professional result.
Transitioning into the next section about ‘practice proper sprayer technique,’ it’s crucial to master the right movements to avoid streaks and achieve an even, flawless finish.
Practice Proper Sprayer Technique
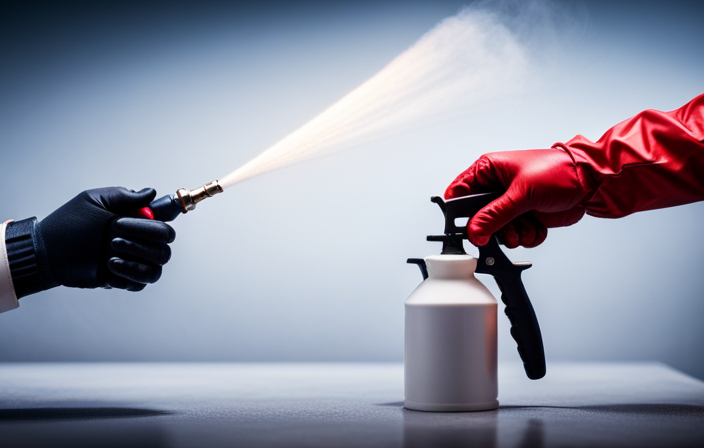
To get the hang of practicing proper sprayer technique, start with small, controlled movements that sweep smoothly across the surface, creating an even and flawless finish. It is crucial to maintain your sprayer properly to ensure successful spraying. Clean the sprayer thoroughly after each use, removing any leftover paint or debris that could clog the nozzle. Regularly inspect the sprayer for any worn or damaged parts and replace them as needed.
Common paint sprayer mistakes can lead to unsatisfactory results, such as drips or uneven coverage. Avoid these issues by following these tips:
- Hold the sprayer at a consistent distance from the furniture, typically around 12 inches.
- Maintain a steady pace, moving the sprayer in a side-to-side motion.
- Overlap each pass slightly to ensure even coverage.
- Use a back-brushing technique to smooth out any excess paint.
By practicing proper sprayer technique and avoiding common mistakes, you’ll be well-prepared to move on to the next step of applying thin coats of paint.
Apply Thin Coats of Paint
Applying thin coats of paint ensures a smooth and flawless finish while using the sprayer. To achieve this, it is important to avoid overspray and select the right nozzle for your project. Overspray occurs when the paint particles are not properly contained and can result in uneven coverage or drips. By using a narrow nozzle, you can control the spray pattern and minimize overspray. Additionally, applying multiple thin coats allows the paint to adhere evenly without creating heavy build-up or drips. This technique ensures a professional-looking finish and reduces the risk of paint running or pooling on your furniture. In the table below, you can see the recommended nozzle sizes for different types of paint:
| Paint Type | Nozzle Size |
|---|---|
| Latex | 0.015-0.019 |
| Oil-based | 0.013-0.015 |
| Lacquer | 0.011-0.013 |
| Stain | 0.009-0.011 |
By following these guidelines, you can achieve a beautiful finish on your furniture without worrying about huge drips or uneven coverage. In the next section, we will discuss how to use a paint strainer to prevent clogs.
Use a Paint Strainer to Prevent Clogs
When using a paint strainer, you can prevent clogs and ensure a smooth flow of paint through the sprayer, giving your furniture a flawless finish.
Paint strainers have several benefits when using an airless paint sprayer on furniture. First, they help remove any impurities or debris that may be present in the paint, preventing them from clogging the sprayer nozzle. This ensures that the paint flows evenly and without any interruptions, resulting in a professional-looking finish.
Moreover, paint strainers come in different types, such as mesh or paper filters, allowing you to choose the one that best suits your needs. Mesh filters are ideal for thicker paints, while paper filters work well with thinner paints.
By using a paint strainer, you can avoid clogs and achieve a seamless paint application.
To properly maintain your sprayer, it is essential to clean it thoroughly after each use.
Clean the Sprayer Properly After Use
To properly maintain your sprayer and avoid messy clean-up, make sure you thoroughly clean the equipment after each use. Cleaning your airless paint sprayer is essential for its longevity and optimal performance. Here are some tips for maintaining an airless paint sprayer and troubleshooting common issues:
-
Flush the system: After each use, flush the sprayer with clean water or an appropriate cleaning solution to remove any remaining paint residue. This prevents clogs and build-up in the system.
-
Disassemble and clean the parts: Take apart the sprayer and clean each component separately. Pay attention to the nozzle, filters, and any other areas where paint may accumulate.
-
Inspect for wear and tear: Check the sprayer for any damaged or worn-out parts. Replace them as necessary to ensure smooth operation.
By following these maintenance tips, you can keep your airless paint sprayer in top condition and prevent issues during your next painting project. Now, let’s move on to the next step: allowing sufficient drying time for your painted furniture.
Allow Sufficient Drying Time
Properly allowing sufficient drying time is crucial to achieving a flawless finish on your painted furniture. It is of utmost importance to understand the significance of drying time in order to avoid unsightly paint drips. Here are three reasons why proper drying time is essential:
-
Prevents smudging: Rushing the drying process can lead to smudging or smearing of the paint, resulting in an uneven and unprofessional appearance.
-
Minimizes drips: Allowing sufficient drying time ensures that the paint has settled evenly on the furniture surface, reducing the chances of drips forming.
-
Enhances durability: Adequate drying time allows the paint to cure properly, making it more resistant to wear and tear, ensuring a longer-lasting finish.
To achieve the best results, it is crucial to wait until the paint is completely dry before moving on to the next step of applying a protective finish.
Apply a Protective Finish
For a professional and long-lasting finish, don’t forget to apply a protective finish after your paint has dried completely. This will increase the durability of your furniture by up to 50%. A protective finish acts as a shield, safeguarding your furniture against wear and tear, moisture, and other potential damages.
There are different types of protective finishes available, each offering unique benefits. Polyurethane, for example, provides a hard, glossy coat that is resistant to scratches and stains. On the other hand, wax finishes offer a more natural look and feel, enhancing the beauty of wood furniture.
Whether you choose a clear or tinted protective finish, make sure to follow the manufacturer’s instructions for application. By applying a protective finish, you can enjoy your drip-free painted furniture for years to come without worrying about it losing its luster or getting damaged.
Enjoy Your Drip-Free Painted Furniture
Now that your furniture is beautifully painted and protected, it’s time to sit back, relax, and enjoy the drip-free finish for years to come. To ensure that your airless paint sprayer doesn’t cause any unwanted paint build-up or drips, there are a few troubleshooting tips to keep in mind.
Firstly, always make sure to properly clean and maintain your sprayer after each use to avoid any clogs or blockages.
Secondly, when applying the paint, maintain a consistent distance from the furniture surface and keep your hand steady to achieve an even application.
If you notice any drips starting to form, quickly wipe them away with a clean cloth before they have a chance to dry.
By following these simple steps, you can achieve a flawless, drip-free finish on your furniture every time.
Frequently Asked Questions
Can I use an airless paint sprayer on other surfaces besides furniture?
Using an airless paint sprayer on surfaces other than furniture is possible. To achieve a smooth finish, proper airless paint sprayer maintenance is essential. Here are some tips to ensure a flawless result.
How long does it take for the paint to dry completely on furniture?
To speed up the drying process of paint on furniture, factors like temperature, humidity, and ventilation play a role. Higher temperatures and lower humidity accelerate drying, while poor ventilation can prolong it.
What type of protective finish is recommended for furniture painted with an airless paint sprayer?
For furniture painted with an airless paint sprayer, it is recommended to apply a protective finish to enhance durability and longevity. Some popular options include polyurethane, lacquer, or varnish. When applying a protective finish, it is important to follow best practices such as applying thin coats, allowing proper drying time, and sanding between coats for a smooth and even finish.
How often should I clean the paint strainer to prevent clogs?
I should clean the paint strainer regularly to prevent clogs and ensure smooth operation of my airless paint sprayer. Regular maintenance is important for the longevity and proper functioning of the sprayer.
Are there any specific safety precautions I should take when using an airless paint sprayer on furniture?
Proper safety precautions when using an airless paint sprayer on furniture include wearing protective eyewear and a respirator, ensuring proper ventilation, and keeping the spray gun at a safe distance from the body. To prevent drips and achieve a smooth finish, it is important to maintain a consistent spraying motion and apply thin, even coats of paint.
Conclusion
In conclusion, using an airless paint sprayer on furniture without huge drips requires careful preparation and technique. Here are some key steps to follow:
- Gather the necessary materials
- Prepare the furniture
- Select the right paint and primer
Proper sprayer technique is essential to avoid drips. Here’s what you need to do:
- Apply thin coats of paint
- Clean the sprayer properly after use
- Allow sufficient drying time
To ensure a flawless finish, don’t forget to apply a protective finish. This will help your painted furniture stay looking great for years to come.
Remember, a little preparation goes a long way.
