Are you looking for an airless paint sprayer gun? Look no further as I have all the information you need to buy one.
In this article, I will guide you through various avenues where you can easily locate an airless paint sprayer gun. From local hardware stores to online marketplaces, there are plenty of options available to suit your needs and preferences.
Whether you’re a DIY enthusiast or a professional painter, having the right tools is essential to achieve a flawless finish. An airless paint sprayer gun is a versatile and efficient tool that can make your painting projects a breeze.
So, if you’re ready to take your painting game to the next level, let’s dive into the different places where you can find an airless paint sprayer gun for sale.
Key Takeaways
- Manufacturer websites
- Social media marketplace groups
- Online marketplaces
- Paint supply companies

NoCry Clear Safety Glasses for Men and Women with Anti-Fog and Scratch Resistant Wrap Around Lenses, Adjustable Temples and Nose Pads — ANSI Z87 Certified Protective Eyewear with 100% UV Shielding
- Durable Polycarbonate Frame: Wraparound design for full protection
- Lightweight & Comfortable Fit: Adjustable arms and soft nose pads
- Anti-Fog & Scratch Resistant Lenses: Ultrashield coating for clarity and durability
As an affiliate, we earn on qualifying purchases.
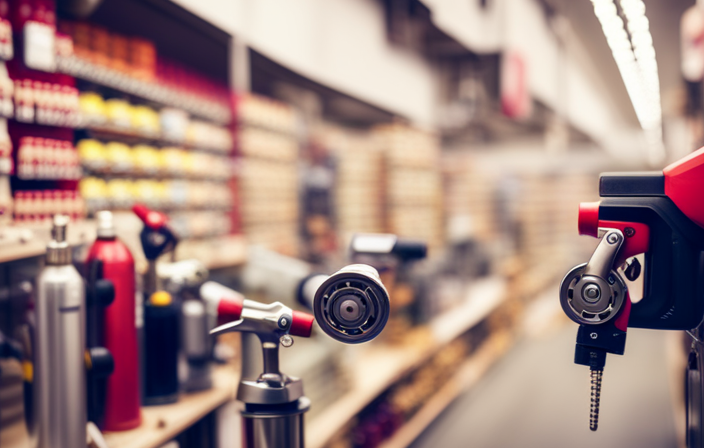
Local Hardware Stores
You can easily find an airless paint sprayer gun for sale at local hardware stores. These stores are a great option for DIY enthusiasts who want to tackle their own painting projects.
They offer a wide range of paint sprayer guns, catering to different needs and budgets. When choosing the right paint sprayer gun, there are a few tips to keep in mind. First, consider the size of your project and the type of paint you’ll be using. Different sprayer guns are designed for different types of paint and surfaces. Additionally, think about the power source, as some guns are electric while others are gas-powered.
By considering these factors, you can find the perfect paint sprayer gun for your project.
Moving on to home improvement retailers, they also offer a variety of options for purchasing an airless paint sprayer gun.
Home Improvement Retailers
Look no further than your local home improvement store, where they have exactly what you need to give your walls a flawless, professional finish. Home improvement retailers offer a wide selection of airless paint sprayer guns to suit your DIY needs. These powerful tools are designed to make painting projects faster and more efficient. Here are some DIY tips for using an airless paint sprayer gun effectively:
- Start by preparing the surface properly, ensuring it is clean and free of any debris.
- Practice using the sprayer on a test surface to familiarize yourself with the technique.
- Maintain a consistent distance from the surface and move the sprayer in a steady motion.
- Use overlapping strokes to ensure even coverage.
- Clean the sprayer thoroughly after each use to prolong its lifespan.
Using an airless paint sprayer gun has its pros and cons for home improvement projects. On one hand, it allows for quick and even application, saving time and effort. On the other hand, it can be messy and requires proper preparation and cleanup. Transitioning into the subsequent section about online marketplaces, you can find a wide variety of airless paint sprayer guns available for purchase.
Online Marketplaces
Check out online marketplaces for a wide range of options when it comes to purchasing an airless paint sprayer gun. Comparison of online marketplaces for purchasing airless paint sprayer guns:
-
Amazon offers a vast selection of airless paint sprayer guns from various brands, with customer reviews to help you make an informed decision.
-
eBay provides both new and used airless paint sprayer guns, allowing you to find affordable options or rare finds.
-
Home Depot is known for its extensive collection of home improvement products. It offers a range of airless paint sprayer guns from different manufacturers.
-
Lowe’s, similar to Home Depot, is a reliable online marketplace where you can find a variety of airless paint sprayer guns.
-
Walmart offers airless paint sprayer guns at competitive prices, making it a great option for budget-conscious shoppers.
When searching for the best deals on airless paint sprayer guns through online marketplaces, be sure to compare prices, read customer reviews, and consider seller ratings.
Transitioning into the subsequent section about specialty paint stores, you can explore other options beyond online marketplaces.
Specialty Paint Stores
Don’t you just love how specialty paint stores offer a unique and exclusive selection of painting equipment that you won’t find anywhere else? When it comes to finding an airless paint sprayer gun, these stores can be a great option. While online marketplaces offer convenience, specialty paint stores have their own advantages. Firstly, shopping at these stores allows you to physically see and test the equipment before making a purchase. Secondly, the staff at these stores are knowledgeable and can provide expert advice on which airless paint sprayer gun is best suited for your needs. Lastly, these stores often offer specialized services such as equipment maintenance and repair, ensuring that your investment is well taken care of. So, if you’re looking for an airless paint sprayer gun, consider checking out your local specialty paint store. In the next section, we will explore the option of auction websites for finding these tools.
Auction Websites
Auction websites can be a treasure trove for those seeking unique and hard-to-find painting equipment. When looking for an airless paint sprayer gun for sale, these sites can offer a wide variety of options from different sellers.
To make the most of your auction experience, here are a few tips. First, research the best brands of airless paint sprayer guns to ensure you’re bidding on a quality product. Some top brands to look out for include Graco, Wagner, and Titan.
Additionally, read the item descriptions carefully and ask the seller any questions you may have before placing a bid. Lastly, set a budget and stick to it to avoid overspending.
With these auction tips in mind, you can navigate these websites confidently and find the perfect airless paint sprayer gun for your needs. Speaking of finding the perfect equipment, let’s now explore rental equipment companies.
Rental Equipment Companies
Looking to save money and try out different equipment options? Why not explore rental companies for all your painting needs? Renting an airless paint sprayer gun can be a cost-effective choice, especially if you only need it for a one-time project or don’t want to invest in owning one.
Plus, rental equipment companies often offer a variety of airless paint sprayer gun models, allowing you to compare and choose the best one for your specific needs. Additionally, these companies usually have multiple locations, so you can compare rental prices in different areas and find the most affordable option. Renting also eliminates the need for maintenance and storage, making it a hassle-free solution.
Now, let’s move on to the next section and explore secondhand stores or thrift shops for finding an airless paint sprayer gun.
Secondhand Stores or Thrift Shops
If you’re in the market for a budget-friendly option and want to broaden your search, consider checking out secondhand stores or thrift shops for a wide range of previously owned painting equipment. These stores often have a variety of tools and equipment available at discounted prices.
Additionally, you may find airless paint sprayer guns at garage sales or flea markets, where individuals sell their used items. Another option is to explore community buy/sell groups online, where people in your local area may be selling their painting equipment. These platforms can be a great way to find a good deal on a secondhand airless paint sprayer gun.
Transitioning into the subsequent section about ‘manufacturer websites,’ it’s important to also consider new options available directly from the manufacturers.
Manufacturer Websites
One treasure trove for budget-friendly painting equipment can be found on manufacturer websites. Not only can you find brand new airless paint sprayer guns for sale, but you can also take advantage of the manufacturer’s customer service and support.
Manufacturer websites often provide detailed product descriptions, specifications, and user reviews, which can help you make an informed decision. You can compare different models, features, and prices all in one place. Additionally, some manufacturers offer exclusive deals and discounts on their websites, which can further save you money.
So, before exploring other options, be sure to check out the manufacturer websites to find the best airless paint sprayer gun for your needs.
Moving on to the next section, let’s talk about social media marketplace groups.
Social Media Marketplace Groups
Social media marketplace groups are a hidden gem for scoring great deals on top-notch painting equipment. Not only do they provide a convenient platform to connect with local sellers, but they also offer a range of benefits when purchasing an airless paint sprayer gun.
- Benefits of buying from local sellers in social media marketplace groups:
- Lower prices: Local sellers often offer competitive prices, allowing you to save money on your purchase.
- Instant availability: Unlike waiting for shipping, buying locally means you can get your hands on the paint sprayer gun right away.
- Personal interaction: You can meet the seller in person, inspect the equipment, and ask any questions before making a decision.
When negotiating prices on online marketplaces, remember these tips:
- Do your research: Know the average price range for the specific airless paint sprayer gun you’re interested in.
- Be polite and respectful: Building a rapport with the seller can increase your chances of getting a better deal.
- Be flexible: Consider compromising on certain aspects, such as accessories or delivery options, to negotiate a lower price.
Transitioning to the next section about paint supply companies, it’s important to explore all avenues when searching for an airless paint sprayer gun.
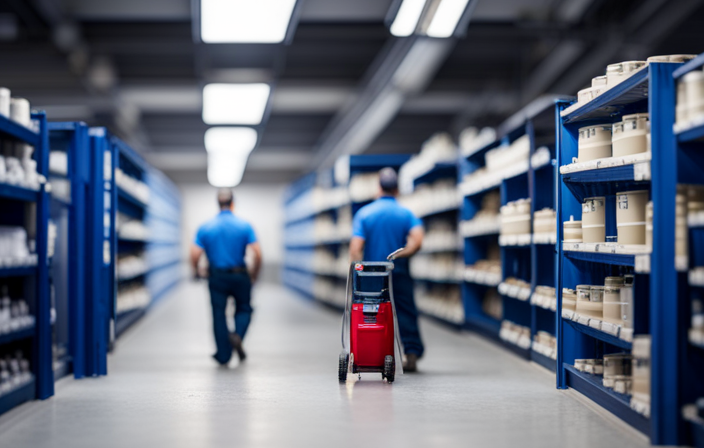
Paint Supply Companies
After exploring the option of Social Media Marketplace Groups, I turned my attention to Paint Supply Companies in my search for an airless paint sprayer gun. These companies specialize in providing professional-grade paint supplies to cater to various needs. Not only do they offer a wide selection of airless paint sprayer guns for sale, but they also provide expertise and guidance to help customers make informed decisions. Additionally, these companies often offer the option to customize paint colors according to specific preferences, allowing for a truly unique and personalized result. Furthermore, they provide valuable resources and tips on paint sprayer maintenance, ensuring that the equipment remains in optimal condition for long-lasting performance. With their comprehensive range of products and services, Paint Supply Companies are an excellent choice for anyone seeking a high-quality airless paint sprayer gun and expert support in custom paint colors and maintenance.
| Column 1 | Column 2 | Column 3 | Column 4 |
|---|---|---|---|
| Professional-grade paint supplies | Expertise and guidance | Custom paint colors | Paint sprayer maintenance |
Frequently Asked Questions
Are airless paint sprayer guns suitable for both indoor and outdoor use?
Airless paint sprayer guns are versatile tools that excel in both indoor and outdoor projects. They offer the advantage of quick and even coverage, and choosing the right size and pressure ensures efficient and precise results.
How do I properly clean and maintain an airless paint sprayer gun?
To properly clean and maintain an airless paint sprayer gun, start by disconnecting it from the power source and relieving the pressure. Then, disassemble the gun and clean each part with warm soapy water. After drying, lubricate the moving parts and reassemble. For troubleshooting common issues, check for clogged nozzles, loose connections, or worn seals. To achieve a smooth and even finish, ensure the paint is properly mixed, adjust the spray pattern and pressure, and maintain a consistent distance from the surface.
Can I use any type of paint with an airless paint sprayer gun?
Yes, you can use a variety of paints with an airless paint sprayer gun. However, it is important to choose the right type of paint for the surface and follow manufacturer recommendations for best results. To achieve a smooth finish, ensure proper preparation, use the correct tip size, maintain a consistent spraying distance, and apply multiple thin coats.
What safety precautions should I take when using an airless paint sprayer gun?
To ensure safe use of an airless paint sprayer gun, it is important to take precautions such as wearing protective clothing, using proper ventilation, and following equipment maintenance guidelines.
Are there any specific brands or models of airless paint sprayer guns that are highly recommended by professionals?
When choosing the right airless paint sprayer, professionals often recommend brands like Graco, Wagner, and Titan. Consider factors such as power, tip size, and ease of use to find the best one for your painting needs.
Conclusion
In conclusion, finding an airless paint sprayer gun for sale can be an exciting adventure, like searching for hidden treasure. Whether you choose to visit local hardware stores or browse online marketplaces, options are plentiful. Don’t forget to check auction websites, secondhand stores, and manufacturer websites for great deals. Additionally, social media marketplace groups and paint supply companies may also offer the perfect sprayer gun for your needs. With these diverse options, you’ll surely find the ideal airless paint sprayer gun to unleash your creativity. Happy hunting!